


 Search
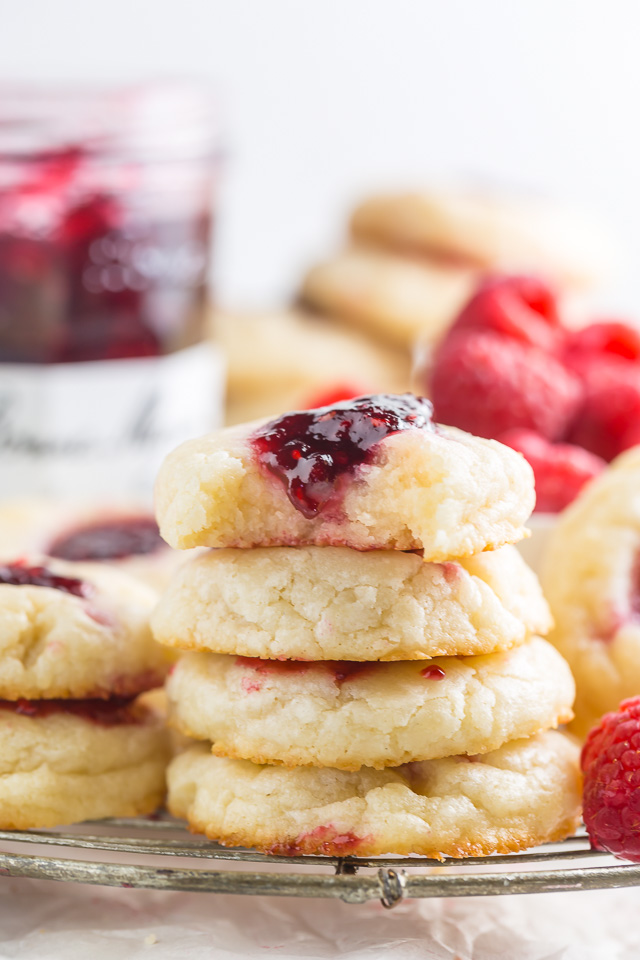
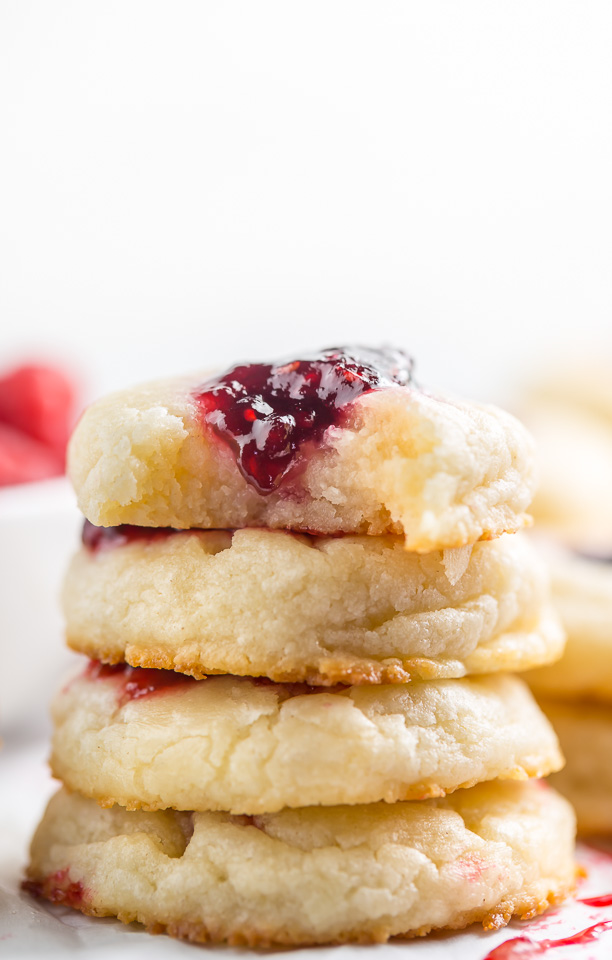
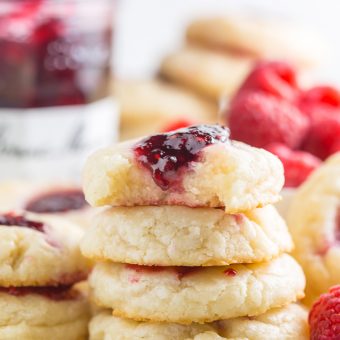
Made with just 5 ingredients, you can fill these thumbprint cookies with your favorite flavor jam. One of the easiest desserts, just make the thumbprint cookie dough, roll the dough into balls, stuff with jam, and bake. Get ready to bake these jam thumbprints over and over again! Store thumbprints at room temperature for up to 2 days or freeze them for 2 months!
Praise for Thumbprint Cookies!
Jenna says ![]() “I have made these cookies so many times I’ve lost count. It’s a bold statement but they’re my favorite cookie out there! So simple, but so good and addicting.”
“I have made these cookies so many times I’ve lost count. It’s a bold statement but they’re my favorite cookie out there! So simple, but so good and addicting.”
I bake Christmas cookies for about 75 people every holiday season. I rotate the flavors each year, but the one cookie that’s ALWAYS in my cookie boxes? Raspberry Thumbprint Cookies!!! They’re even more popular than my famous chocolate chip cookies, molasses cookies, and gingerbread men! My husband has even gone as far as to say these thumbprint cookies are his favorite cookies ever.
Why these are the Best Raspberry Thumbprint Cookies…
- Quick to prep – the cookie dough comes together in less than 10 minutes!
- Short chill time – you can roll the dough into balls, stuff with jam, and bake after just 45 minutes of chilling.
- An egg-free dessert recipes (great for an allergy friendly cookie platter). And no messing with separating egg yolks and egg whites! Yay.
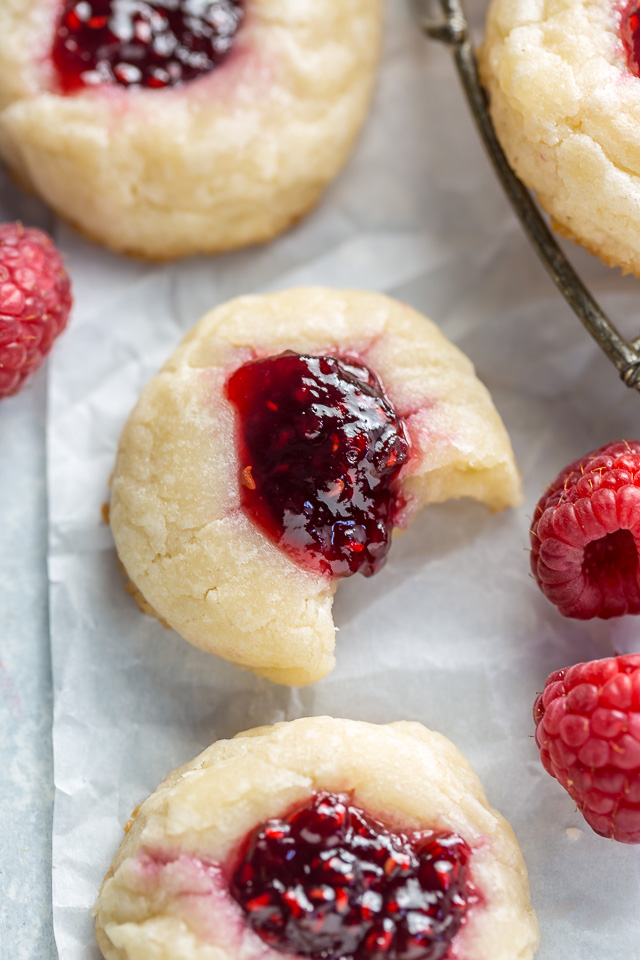
- Use raspberry jam like me, or any kind of jam or jelly! Apricot jam, lemon curd, blueberry preserves, or apple butter are a few of my favorite flavors.
- Fun to make with kids – let them gently press their fingertips into the dough balls.
- Add more flavor to the cookie dough by adding a splash of vanilla extract or almond extract.
Thumbprint Cookie Recipe: The Ingredients
- Cream Cheese: Full-fat brick-style cream cheese works best for this recipe. Soften your cream cheese to room temperature before making the thumbprint cookie dough.
- Salted Butter: If you don’t have salted butter, use unsalted butter and add a 1/4 teaspoon of salt to the flour. Add the flour and salt at the same time.
- Granulated Sugar: Do not sub with light brown sugar or any other sugar variety. I also don’t suggest cutting back the amount of sugar used.
- All-Purpose Flour: I don’t suggest using any other variety of flour. Some readers have reported good results using a 1-for-1 gluten free flour substitute. For best results, weigh flour with a digital kitchen scale.
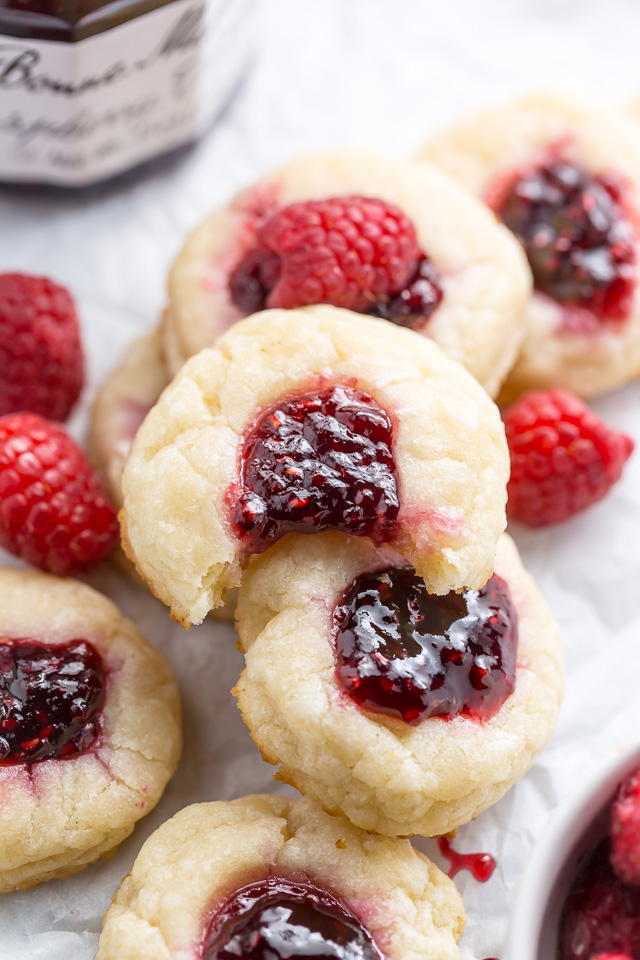
- Raspberry Jam: Or use your favorite flavor of jam, jelly, curd, or preserves! Or bake without any filling, then add chocolate ganache to the indentation. There’s no wrong way to fill these thumbprint cookies!
You’ll also need a baking sheet lined with parchment paper, a stand mixer or hand mixer, and a cookie scoop.
How to Make Thumbprint Cookies: The Method
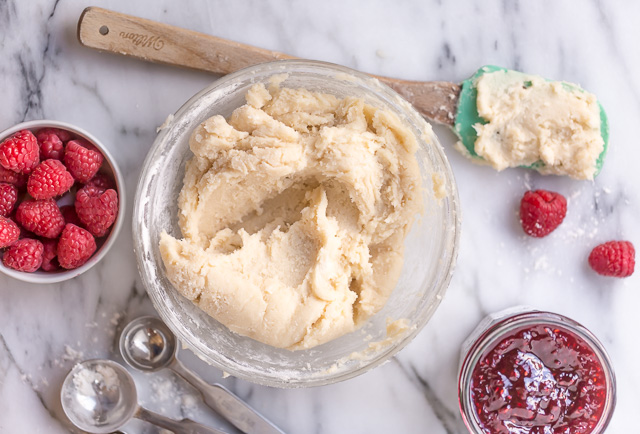
- Make the Cookie Dough: Using an electric mixer, beat the cream cheese, butter, and sugar until well combined. Use a spatula to scrape the sides and bottom of the bowl. This will help you evenly combine the ingredients. Once you add the flour, beat on low just until combined.
- Chill the Cookie Dough: Cover the mixing bowl with plastic wrap and place in the refrigerator for at least 45 minutes. You can chill the cookie dough up to 2 hours, so you can wait to bake a few hours. I don’t suggest chilling the cookie dough much longer than this.
- Preheat the Oven: 30 minutes before you’re ready to bake, preheat the oven. This is also a good time to prep your large baking sheet lined with parchment paper.
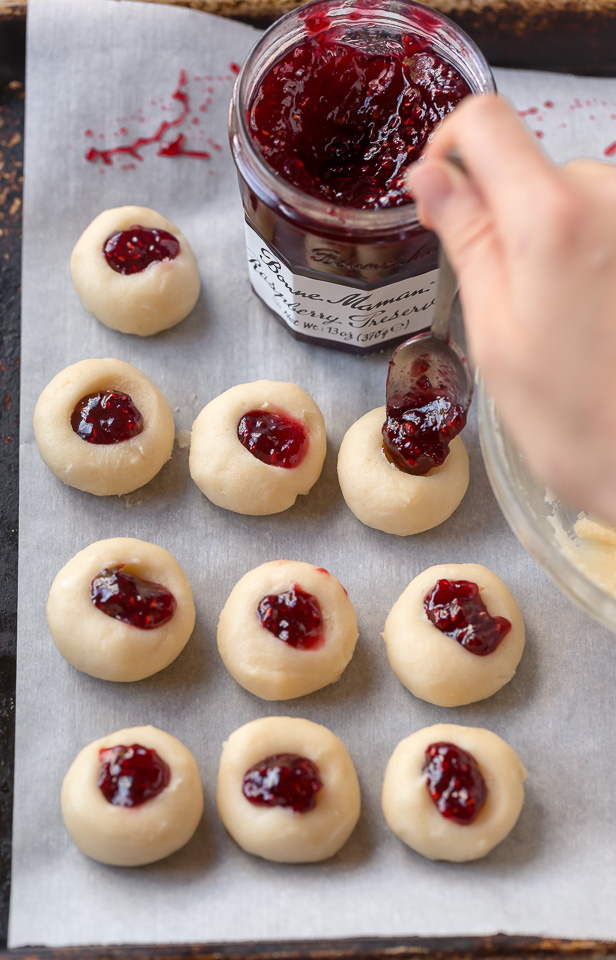
- Roll the Cookie Dough: Using a cookie scoop to scoop out 1 tablespoon sized balls of cookie dough. Roll them into rounds and place them on the cookie sheet.
- Thumbprint Time: Gently press your thumb in the center of each round of cookie dough. Then fill each indentation with a 1/2 teaspoon of jam before baking.
Can I add Almond Extract or Vanilla Extract?
To add vanilla extract or almond extract to the cookie dough, add it with the cream cheese and butter in step 1. I suggest adding 1 teaspoon of vanilla extract and 1/4 to 1/2 teaspoon of almond extract.
Time to Bake Thumbprint Cookies
- Bake the Cookies: Place the baking sheet in the oven to bake for 11 to 12 minutes, or until just golden at the edges. The thumbprint cookies will still be soft when you remove them from the oven – that’s a good thing!
- Cool the Cookies: On the baking sheet for a full 10 minutes. Carefully transfer them to a cooling rack to cool completely. They will firm up quite a bit as they cool, but remain soft inside.
- Add a little Pizzazz: If the cookies look like they could hold more jam, add more filling into each indent. I usually add an extra 1/4 teaspoon so they look extra full and glossy.
How to Store Thumbprint Cookies
- You can store baked thumbprint cookies in an airtight container at room temperature for up to 5 days.
- Even though these cookies contain cream cheese, there’s no need to refrigerate them. However for a chewier cookie, you may store them in the fridge for up to 1 week.
- If you have extra cookies, feel free to freeze them for up to 2 months.
Can you Freeze Thumbprint Cookies?
- Like most cookies, these raspberry thumbprints taste best the day they’re baked. You can freeze these thumbprint cookies.
- Once fully cooled, place the cookies on a baking sheet, side to side, and freeze until solid. Then transfer the cookies into a freezer bag.
- Press as much air out of the freezer bag as possible before sealing. Then label, date, and place in the freezer for up to 2 months.
- Thaw in the fridge or on the counter until soft enough to enjoy.
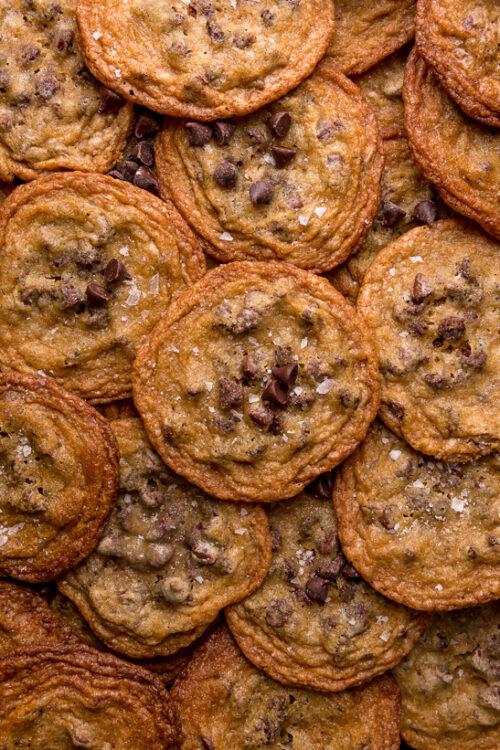
And if you love these, you have to try my 5-Ingredient Oreo Cheesecake Cookies next!
This post may contain affiliate links!
5-Ingredient Raspberry Cheesecake Thumbprint Cookies
Ingredients
- 4 ounces cream cheese, softened
- 8 tablespoons salted butter, at room temperature
- 1/2 cup + 3 tablespoons sugar
- 1 cup + 3 tablespoons flour
- 1/4 cup raspberry preserves
Instructions
- In the body of a stand mixer fitted with a paddle attachment, beat cream cheese and butter until light and fluffy, scraping down the sides as needed.
- Add the sugar and beat well.
- Add in flour, a small bit at a time, beating in on low speed, just until incorporated.
- Cover bowl with plastic wrap and place in the refrigerator for at least 45 minutes, and up to 2 hours.
- 30 minutes prior to baking, preheat oven to 375 degrees (F).
- Line a large baking sheet with parchment paper.
- Using a cookie scoop, scoop out 1 tablespoon sized balls of dough, roll them into rounds, and place them on the cookie sheet. Lightly press your thumb in the center of each round. Fill each indentation with a 1/2 teaspoon of jam.
- Place pan in the oven to bake for 11 to 12 minutes, or until just golden at the edges. They will still be very soft when you remove them from the oven – that’s a good thing!
- Cool on the baking sheet for 10 full minutes, then very carefully transfer to a cooling rack to cool completely.

Can you make them sugar free?
try swerve sugar substitute.
Hello. These sound delicious. I’m starting my Christmas baking so just wondering how these freeze?
How do you store these? Refrigerate or sealed container. And how long would they last? I say this as I will make more than one batch as the first will fly of the sheets.
Had anyone made these with Almond Flour? We eat Keto and I was wondering if this recipe will work with Almond Flour. Thanks! These look wonderful!
Please, please, please can we have all the recipe in grams/ounces as we don’t tend to use cups in the UK? I could easily experiment but don’t want to waste ingredients. Thank you.
Delish recipe! My family loves them!
I am not experienced at baking at all. These came out amazing! I appreciated the easy instructions. Refrigerated mine for about an hour and cooked for 12 minutes. They are tiny, so I recommend doubling the recipe. A little time consuming to put the jam in each one. But so worth it! Seriously addicting!
1 cup is 250ml?
I just made these and they’re amazing! Love the flavour and texture!
Although I refrigerated it for a little over 2 hrs they spread quite a bit so they don’t look as firm as yours. Would it make a difference if after I roll it out (as I noticed the dough started to get sticky) I refrigerate it or freeze it before baking?
I refrigerated mine overnight and no problem at all! Marvelous!!!
I only discovered this recipe about two months ago and I’ve made them about 6 times already. They are very easy and so delicious. I double the recipe every time now as the cookies go so fast and I make some of the cookies with apricot jam for my husband. This recipe is a definite keeper. Thank you!