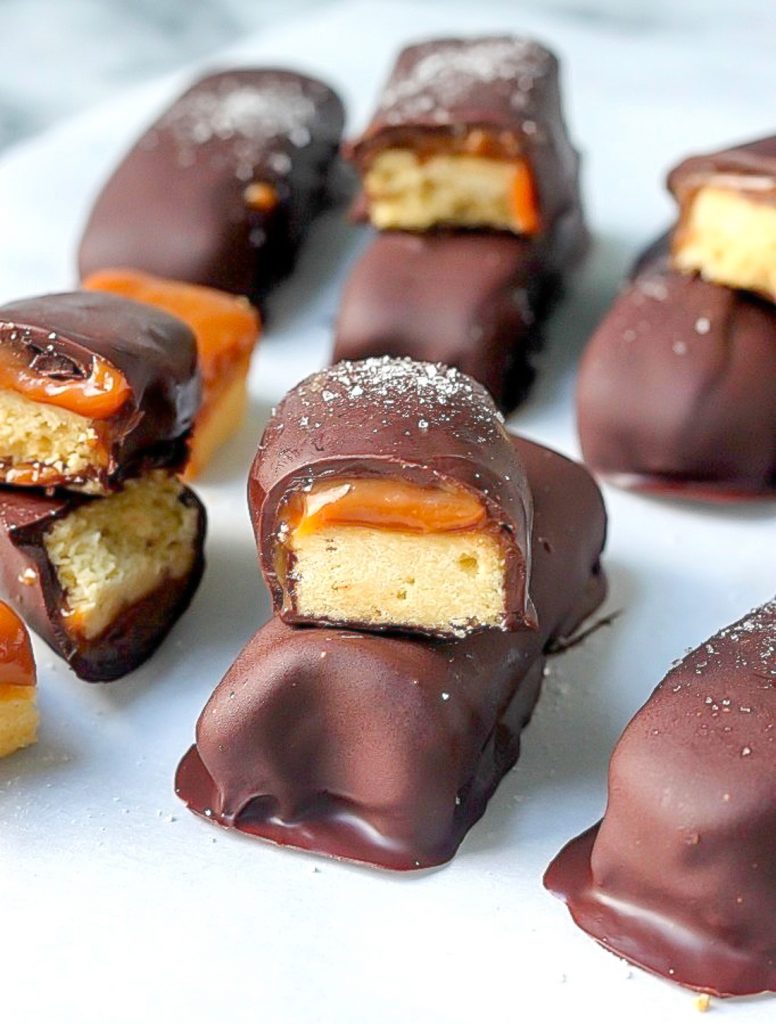
 Of all the sweet things in the world, homemade candy is one of my all-time favorites! Homemade candy BARS, I should say. I just love them!!! They’re a million and one more times tastier than the store bought packaged stuff. AND so much more fun to make!
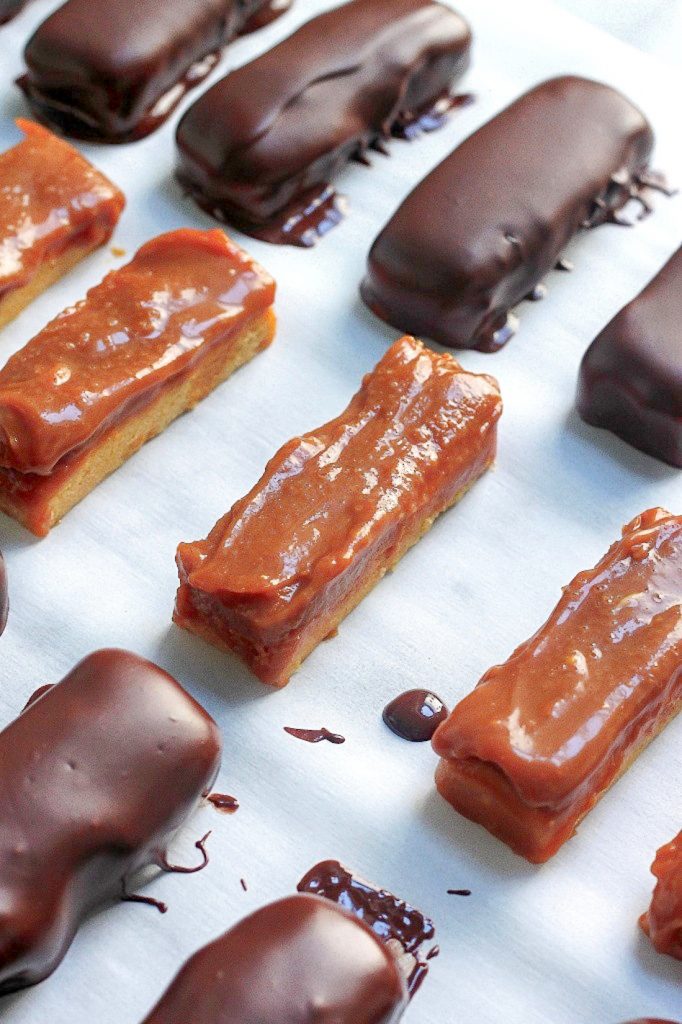
Just a few notes on making these tasty treats!
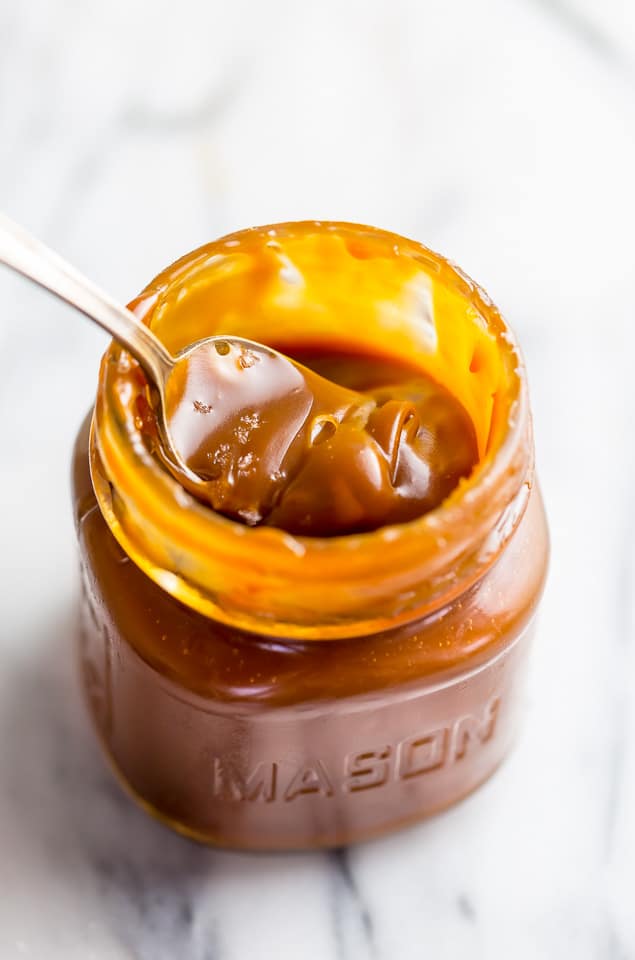
1) The salted caramel will NEVER completely “set”. That is a good thing. We don’t want hard, stringy, tooth achingly sweet caramel. We want gooey, sweet, SALTED caramel. Ooooh yes!
2) You must let the caramel cool on the cookies for at least 4 hours. I know. But I promise, it is worth it! And this means you can start making them the night before. Silver lining!
3) When you cut the bars into pieces, the caramel will still be gooey. Like I said before, this is GOOD. But it also means you have to go slow and cut in an – ahem – calculated manner. A sharp knife and a cut made with precise intent goes a long way 😉
4) When it comes to dipping, place the cookie/ caramel piece on a fork and carefully emerge it into the melted chocolate, keeping it under until completely covered in chocolate. I know this may sound like common sense, but I get a lot of questions about chocolate dunking, so I just thought I’d say it 😉
The finished product is a buttery shortbread base topped with gooey salted caramel and a thick dark chocolate shell… candy bar perfection, if you ask me 😉 And a fun weekend project, too! xoxo
Dark Chocolate and Salted Caramel “Twix” Bars
Ingredients
- (3) Packages of Walkers Shortbread Fingers
- 1 cup heavy cream
- 4 tablespoons unsalted butter
- 3/4 teaspoon sea salt
- 1 1/2 cups dark brown sugar
- 1/4 cup honey
- 1/4 cup water
- 1 teaspoon vanilla extract
- 10 ounces dark chocolate, chopped
- 1 tablespoon coconut oil
Instructions
- Line an 8x8 baking dish with parchment, using a large enough sheet so that some excess paper hangs over the edges. Spray the parchment and the sides of the pan with nonstick spray.
- Spread the shortbread fingers in an even layer in prepared pan, nestling them as close together as possible. Set aside.
- Make the caramel: Over medium heat, warm the cream, butter, and salt in a medium-sized heavy bottomed saucepan until the butter is completely melted. Remove from heat, keep the pan close by.
- In the separate (larger) saucepan, combine the sugar, honey, and water. Stir until the sugar is evenly moistened and has formed a thick paste. Scrape down the sides of the pan with a damp spatula so there are no sugar crystals above the surface of the sugar mixture. Do not stir the sugar after this point. Place pan over medium heat and allow the mixture to come to a boil - do not stir! But do watch closely. At first you will see tiny bubbles forming around the edge of the pan, those will gradually move inward and then the mixture will come to a rapid boil. Once the mixture darkens and begins to smell like caramel, keep a very close eye on it. I recommend pulling it off the heat 30 seconds after it darkens into that deep amber color. If you're using a candy thermometer, you can/should remove from heat anywhere between 275 and 320 degrees (F).
- Slowly pour the warm cream and butter mixture into the sugar syrup while whisking the sugar syrup gently. The sugar syrup will bubble up and triple in size. Continue whisking until all the milk and butter mixture has been added
- Return the pan to medium heat and once again allow the caramel come to a boil without stirring. It will eventually darken to reddish-brown caramel color. You should remove the pan from heat when the caramel reaches 245°F to 250° (F). If you don't have a candy thermometer, you can just eyeball this and remove it when it reaches that deep color. Just be sure to never leave the pan unattended. Things move fast with caramel!
- Once pan is removed from heat, quickly whisk in vanilla.
- Pour the caramel sauce into the prepared pan, being sure it covers all of the shortbread cookies, and spreading quickly if need be.
- Let the caramel set. Set the caramel pan somewhere cool for at least four hours or overnight.
- When the caramel has set, lift them out of the pan by the parchment paper flaps and onto a cutting board. Flip the cookie/caramel combination over, so the cookies face up. This makes it easier to cut into perfect bars. Cut along the edges of each cookie with a very sharp knife. If the caramels stick to your knife, spray your knife with nonstick cooking spray. Place cut cookies onto a cooling wrack and set aside.
- Melt chocolate and oil in a large bowl (I do this in the microwave) until chocolate can be whisked completely smooth. Let cool 2 minutes, whisk again - just to be sure it's still smooth - and get ready to dunk! To keep things clean, I suggest laying out a large sheet of parchment paper and doing your dipping over that.
- Place one cookie on a fork, then emerge it into the melted chocolate, keeping it under until it's completely coated. Transfer to parchment paper, and continue process until all bars have been dunked. Place chocolate coated bars in a cool area to "set". Then eat!!!


Can I substitute anything instead of shortbread fingers?
I had everything going great until the dunking part and the chocolate just slide off the caravel and mixed in with the chocolate and then the chocolate turned into a chunky mess 🙁
Hi Suzi. I’m so sorry to hear the caramel slid off. Sounds like they needed to be frozen a little longer. The caramel should be solid before dunking.