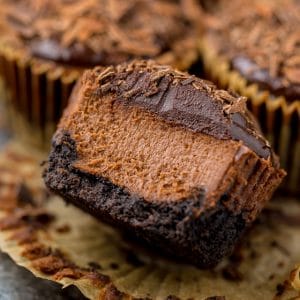
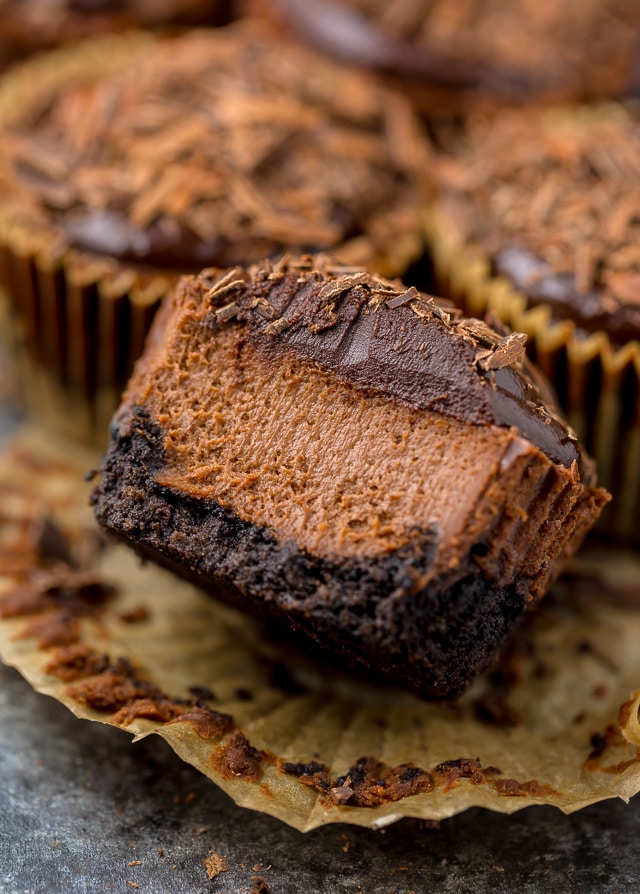
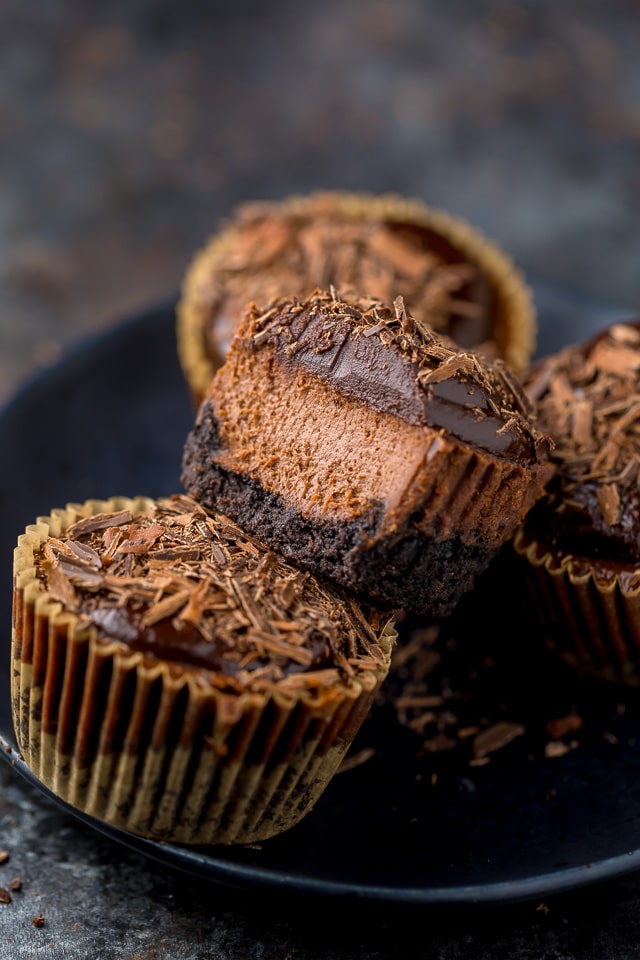
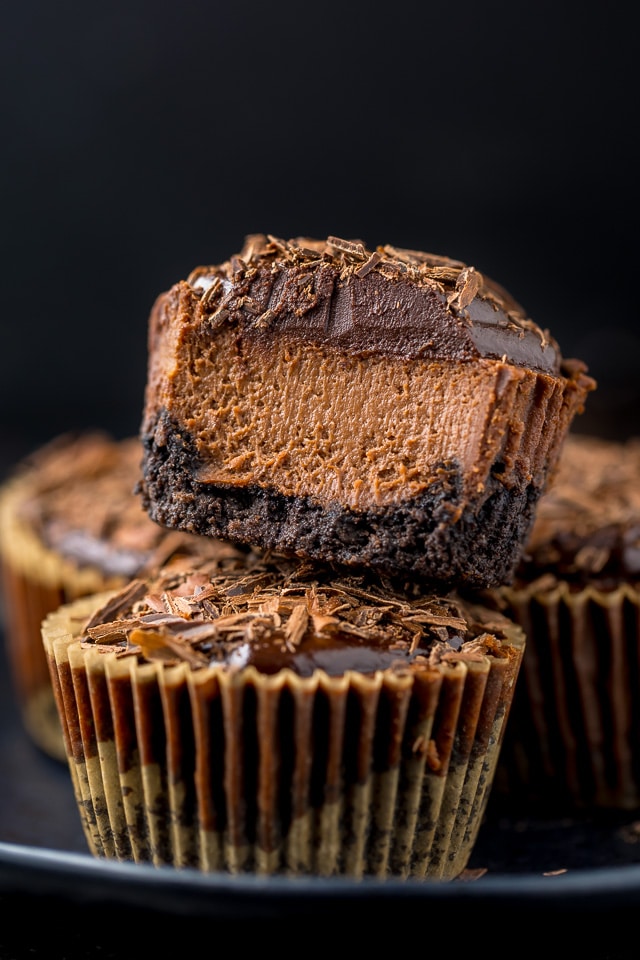
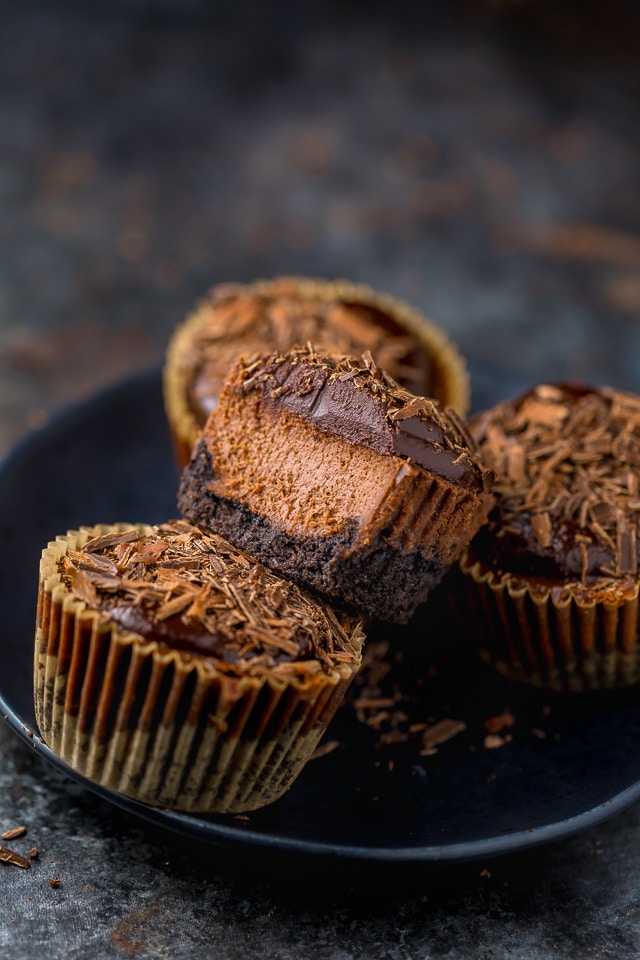
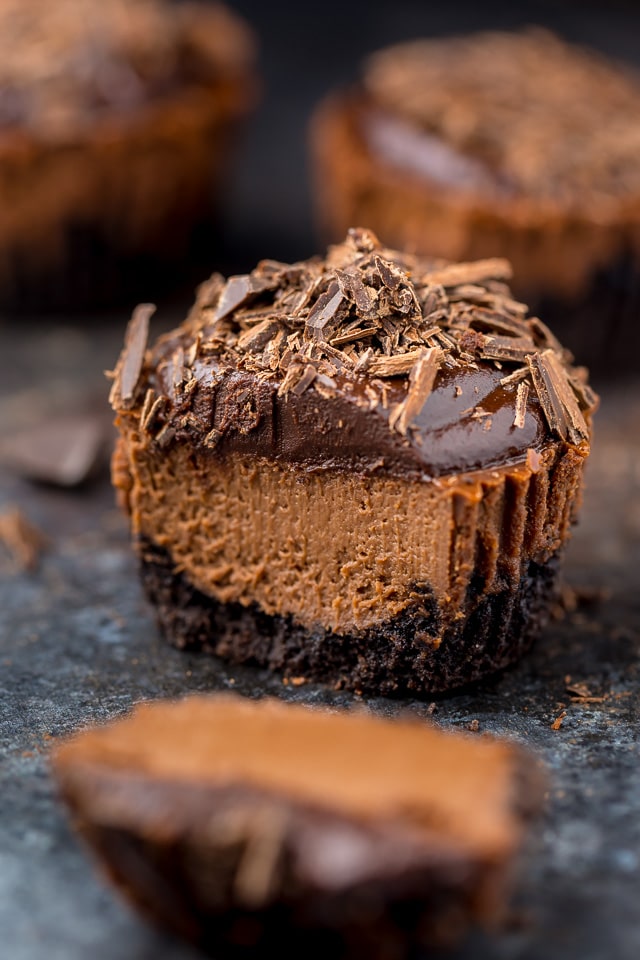
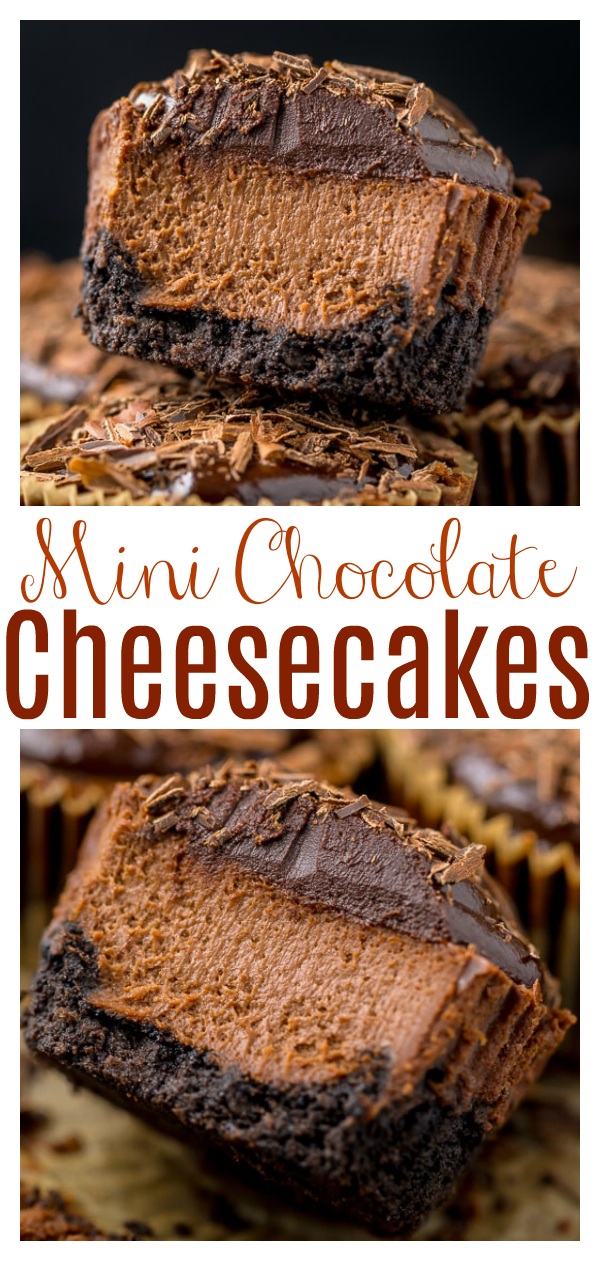
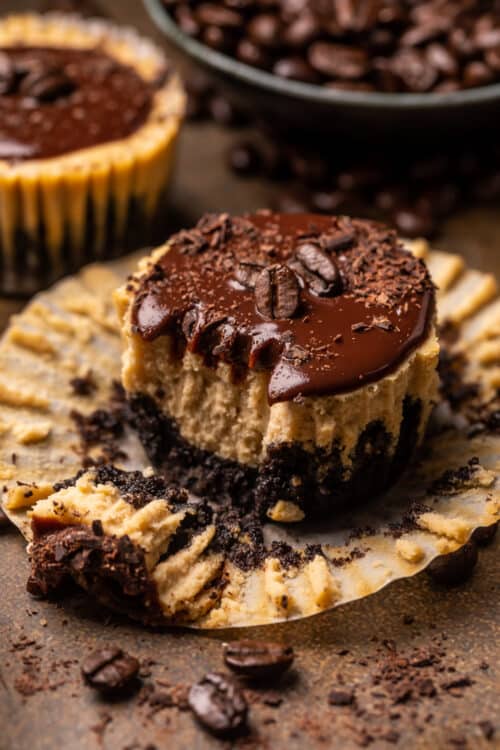
These rich and creamy Mini Chocolate Cheesecakes are made in a muffin pan! So easy and perfect for serving a crowd. Make up to two months in advance and store in the freezer!
Mini Chocolate Cheesecake Recipe
You may have noticed that 2018 has been the year of chocolate cheesecake!
It all started in June, when I shared my decadent recipe for the ULTIMATE Chocolate Cheesecake. Which was quickly followed by my No-Bake Espresso Chocolate Cheesecake, that debuted in late August. When November rolled around, I taught you guys how to make my Easy Chocolate Cheesecake Bars. And now, for my very last post of the year, I’m showing you how to make mini chocolate cheesecakes… in a muffin tin!!!
What chocolate cheesecake recipes will I dream up in 2019? Let me know if you have any requests!
Adorably delicious and FULL of chocolate flavor, these are a must try for any chocolate cheesecake fan! Bonus: no mini cheesecake pans required! Just use whatever tin you use to bake muffins or cupcakes.
How to make Mini Chocolate Cheesecakes:
Ingredients and Assembly
- Room temperature ingredients are crucial when it comes to making any cheesecake – including these mini chocolate cheesecakes! So be sure you bring your cream cheese, sour cream, eggs, egg yolks, and heavy cream to room temperature before you begin assembling the batter.
- You can use any full-fat brand of cream cheese, but I love Philadelphia Cream Cheese blocks (it’s the Philly girl in me lol).
- I suggest using high-quality chocolate, such as Lindt, for this recipe. Chocolate chips should not be used for this recipe!
- To make the chocolate cookie crust you will need two ingredients: melted butter and Oreo cookies. You do not need to remove the cream from the center of the cookies. And be sure you use classic Oreo cookies, not double stuff or any of the new flavors.
- To make the Oreo cookie crumbs you’ll use for the crust, simply place the cookies in a blender or food processor and pulse until finely crushed.
- You can make the cheesecake batter in a food processor, high-power blender, or stand mixer. You can also make it in a large bowl using a handheld electric mixer. So many options! But I always use my blender because that’s the most convenient for me.
Baking
- To prevent the crust and cheesecakes from sticking to the pan, you will need to line your muffin pan with paper liners and spray them lightly with nonstick baking spray.
- The crust is pre-baked for 5 minutes. Be sure to allow the crust to cool a bit before you pour the cheesecake filling on top of it.
- And most importantly, don’t forget to lower the oven temperature to 300 degrees.
- Finally, be sure you don’t over bake the mini cheesecakes! They will continue to cook as they cool, so don’t worry if they look a little jiggly when you remove them from the oven.
Cooling
- These tiny chocolate cheesecakes require at least 2 hours of chill time, so be sure to plan ahead time wise! But the good news? These will keep, stored in the refrigerator, for up to 3 days. And if you’d like, you can also freeze them and save them for a rainy day.
How to Make Chocolate Ganache
- The final part of this recipe is chocolate ganache, which is insanely easy to make! You’ll simply combine chopped chocolate with warm cream and stir. Does it get any easier than that?!
- I want to point out that while the ganache is delicious, it’s totally optional. These mini chocolate cheesecakes are so delicious and decadent on their own they don’t even need the ganache. However die hard chocolate fans (like me) will probably opt to use it! It also makes the mini cheesecakes extra pretty, which is great for special occasions.
- Chocolate ganache can be a little messy… so if you’re serving these to a bunch of kiddos, maybe skip it! Or be sure to have extra wet naps on hand
Can you Freeze Mini Chocolate Cheesecakes?
- YES!!! Simply cool the individual cheesecakes completely then wrap each one in a few layers of saran wrap. Place all of the cheesecakes in a large freezer bag, and freeze for up to two months! Simply thaw in the fridge the night before you plan on serving them.
- I suggest freezing the chocolate cheesecakes without the chocolate ganache, and then adding that before serving.
Next time you’re struck with a major chocolate craving, whip up a batch of these mini chocolate cheesecakes. I promise you won’t regret it!
More Mini Cheesecake Recipes:
- Mini Ricotta Cheesecakes
- Mini Baileys Irish Cream Cheesecakes
- Mini Key Limes Cheesecakes
- Mini Cheesecakes
IF YOU TRY THIS RECIPE FOR EASY MINI CHOCOLATE CHEESECAKES, PLEASE LET ME KNOW WHAT YOU THINK! LEAVE A COMMENT BELOW, AND DON’T FORGET TO SNAP A PIC AND TAG IT #BAKERBYNATURE ON INSTAGRAM! SEEING YOUR CREATIONS SERIOUSLY MAKES MY DAY ♥
Mini Chocolate Cheesecakes
Ingredients
For the Oreo Cookie Crust:
- (1) regular full-size package Oreo cookies, crushed into fine crumbs (36 sandwich cookies in total)
- 8 tablespoons (4 ounces) unsalted butter, melted
For the Chocolate Cheesecake Filling:
- 7 ounces semi-sweet chocolate, finely chopped
- 16 ounces full-fat cream cheese, at room temperature
- 2/3 cup sour cream
- 2/3 cup granulated sugar
- 1/2 Tablespoon unsweetened natural cocoa powder
- 2 large eggs plus 2 egg yolks, at room temperature
- 1/2 cup (4 ounces) heavy cream, at room temperature
- 1 teaspoons vanilla extract
For the Chocolate Ganache:
- 12 ounces semi-sweet chocolate, finely chopped
- 1 cup heavy cream
- Grated chocolate, for decoration, optional
Instructions
For the Oreo Cookie Crust:
- Preheat oven to 325 degrees (F). Line two 12-mold muffin tins with paper liners. Spray liners lightly with non-stick spray and set aside until needed.
- Place the cookies in the body of a small food processor - or blender - and pulse until the cookies are very fine crumbs. In a large bowl, combine the cookie crumbs with the melted butter and stir well to combine.
- Divide the mixture between the cupcake liners and press it firmly into the bottom of each mold.
- Bake crusts in preheated oven for 5 minutes. Remove from the oven and place the tins on a wire rack to cool while you make the filling.
- Reduce oven to 300°F.
For the Chocolate Cheesecake Filling:
- Fill a medium pot one-third full with water and bring it to a low simmer over medium heat. Place a heatproof bowl that will fit on top of the pan snugly, but will not touch the simmering water, on top of the pan. Reduce the heat to low and add the chopped chocolate into the bowl over the pot. Heat until the chocolate is completely melted, stirring occasionally with a rubber spatula. Remove the pot from the heat, leaving the bowl of chocolate over the hot water. Set aside until needed.
- In the bowl of a food processor (or high-powered blender), pulse the cream cheese and sour cream until completely smooth, scraping down the sides of the bowl as needed, about 2 minutes. Add in the sugar and cocoa powder and beat smooth. Add in the eggs, egg yolks, and heavy cream and mix until just combined, about 20 seconds. Fold in the chocolate. Finally add in the vanilla and pulse for another 20 seconds.
- Remove the bowl from the food processor and, using a rubber spatula, stir the filling several times to ensure it’s evenly blended.
- Divide the filling evenly among the cupcake liners, pouring the batter over the crust, and filling each mold until it’s almost full.
- Bake cheesecakes for 15 minutes, then turn off the oven and leave the door closed for another 5 minutes.
- Remove the cheesecake pans from the oven and place the pans on a wire rack to cool completely. Once cool to the touch, place the pans in the fridge to chill for at least 2 hours. Once the cheesecakes are completely cool, you can remove them from the pan.
For the Chocolate Ganache:
- Add the chopped chocolate to a medium-sized heatproof bowl. In a small saucepan over medium-heat, heat the heavy cream just until it begins to boil. Pour the cream over the chocolate and vigorously whisk until melted and completely smooth. Add a little chocolate ganache to the top of each cooled cheesecake, then top with grated chocolate, if using.
- Refrigerate cheesecakes until ready to serve. Cheesecakes will keep, stored in the fridge and covered, for 3 days.

Made these first in 23, made again today for Thanksgiving 24, cannot wait to serve them, they are incredible chocolate heaven.
I have made these on more than one occasion now and they are PERFECTION. I can’t even begin to describe how great this recipe is. The texture of the cheesecakes is so silky and the tang of the cream cheese paired with the chocolate is perfection. I always serve with whipped cream.
Made these for a Christmas youth gathering and people loved them so much that I was asked to make them for every gathering afterwards!
I have made this recipe multiple times now- SO creamy. SO yummy. So easy. SO chocolatey. I prefer to omit the ganache and do fresh whipped cream on top. Freezes incredibly well, too!
Just made these and serving them this afternoon! Haven’t taken a bite yet but they look fabulous!