


 Search
 Hello…
echo echo echo.
I know… it’s been way too long.
It would seem almost two months have slipped by without my fingers typing a single word here. Crazy town!

Ahh… ya know, I could sit here and type excuse after excuse after excuse… but who wants that?
I’m just thrilled to be back! I’ve missed this blog (and you – duh) like crazy! And now that I’m finally settled in my **new apartment, job, and all that snazzy stuff – I’m stoked to start sharing recipes and love and pretty pictures with you.
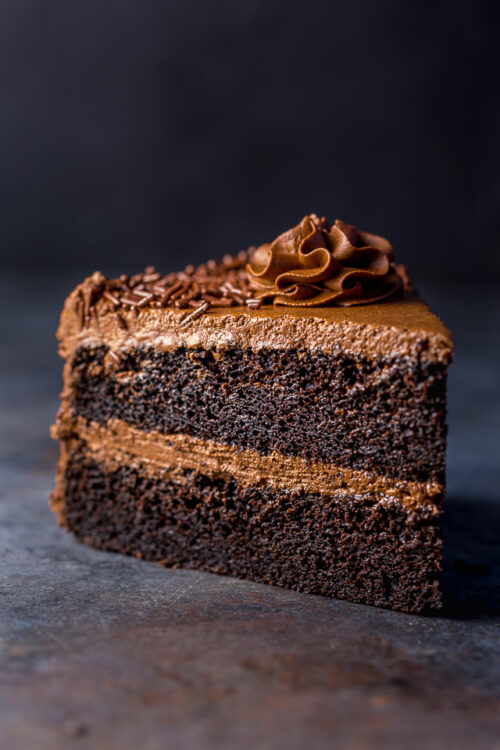
This here is chocolate cake decked out to the max with soft sweet pears and a seductive caramel lid: let’s do this!


 Do you see that caramel?! And those pears…
They’re totally making out! Color me jealous.

Little do they know it’s about to get even better…

 Here comes a deep, dark, heavenly robe of chocolate cake batter to make this cake major!
Majorly awesome, that is.

I couldn’t shovel this into my hungry face fast enough! And vanilla gelato melting all over the place only made matters worse (yes, add gelato!!).
This cake never met another soul besides the shockingly selfish chocolate hog hiding inside me.
Off to mix bacon with bananas and coconut… i’ll tell you more about that next time!!

Upside-down Pear Chocolate Cake – adapted, barely, from
Epicurious | September 2009
- 1 tablespoon unsalted butter, at room temperature, for pan
Fruit Topping
- 1 cup (7 ounces) granulated sugar
- 3 firm but ripe pears, peeled, cored, and each cut into 12 slices (1 pound prepped)
Cake
- 1/4 cup (2 ounces) unsalted butter
- 4 ounces dark chocolate, chopped
- 1 cup (5 ounces) all-purpose flour
- 1/3 cup (1 ounce) unsweetened Dutch-processed cocoa powder
- 3/4 teaspoon baking soda
- 1/2 teaspoon fine sea salt
- 3/4 cup (5 1/4 ounces) granulated sugar
- 2 eggs
- 1 teaspoon pure vanilla extract
- 1/2 cup whole milk (I used buttermilk)
- Chantilly cream or Vanilla Bean Ice Cream, for serving (optional)
Butter a 9-inch round baking pan.
To make the fruit topping, put the sugar and water in a heavy saucepan (one with a tight-fitting lid) and stir until the sugar dissolves. Bring the mixture to a boil over medium heat, then cover and cook for 2 minutes. (Covering in this way allows the steam to wash down the sides of pan, which will prevent any sugar crystals from forming.) Uncover the saucepan and continue to boil the sugar, gently and slowly swirling the pan as needed to cook the caramel evenly, until it becomes a dark amber color. Occasionally wash down the sides of the pan with a pastry brush dipped in cold water. Carefully pour the caramel into the prepared pan and allow it to harden. The pan will be very hot from the sugar, so take care in moving it if you need to. Fan the pear slices on top of the caramel in a circle around the perimeter, filling in the center with the remaining slices.
Preheat the oven to 350°F.
To make the cake, place the butter and chocolate in a small saucepan over low heat and melt, stirring occasionally. Sift the flour, cocoa, baking soda, and salt together in a bowl. Transfer the melted chocolate to a mixing bowl or the bowl of a stand mixer and add the sugar. Using a handheld mixer with beaters or a stand mixer with the paddle attachment, beat on medium speed for about 3 minutes, until light and fluffy. Add the eggs one at time, scraping down the sides of the bowl after each addition. Stir in the vanilla. Stir in the flour mixture in three additions alternating with the milk in two additions, beginning and ending with the flour and scraping down the sides of the bowl occasionally.
Pour the batter into the prepared pan and bake in the middle of the oven for 40 to 45 minutes, or until the cake bounces back slightly when touched. Cool on a wire rack for 15 minutes, then invert the cake onto a plate, leaving the pan on top of the cake for 5 minutes before you remove it. Serve the cake warm, topped with a small dollop of Chantilly cream or a scoop of Vanilla Bean Ice Cream.
Storage: Wrapped in plastic wrap, the cake will keep at room temperature for up to 3 days.
I cant see where you’ve said how much water to add with the sugar to make the topping.
everytime i bake, i always end up giving chocolate cake more preference. your cake looks so tempting…
Ashley! Wanted to stop by and say hello. Haven’t chatted with you in awhile, but the food you create never ceases to amaze me. 🙂
This looks amazing. The chocolate batter by itself even looks yummy 🙂
Yay! Glad to see that you’re back – and back with a droolworthy dessert too! Yum! 🙂