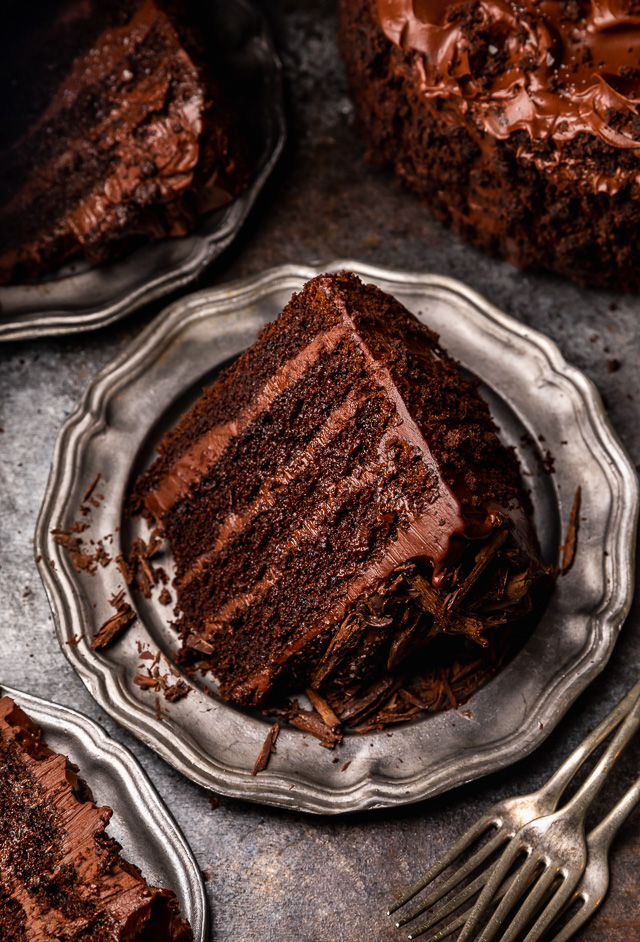
If you love standard chocolate cake, you have to try this sinfully delicious recipe for Devil’s Food Cake. Super moist with an intense chocolate flavor, it’s basically the opposite of angel food cake. Exploding with rich chocolate flavor and covered in chocolate buttercream, it’s my favorite chocolate cake recipe!
Devil’s Food Cake Recipe
Welcome to week 2 of CHOCOLATE MONTH! And today we’re diving into a classic recipe that’s a total indulgence and 100% worth the splurge: Devil’s Food Cake!
Can you believe when I was a kid I refused to eat this cake because the I thought the name was weird?! And, if I’m being 100% honest, because I was really scared of the devil. And I wanted NOTHING to do with his cake. A little fact my mom would be very proud of!
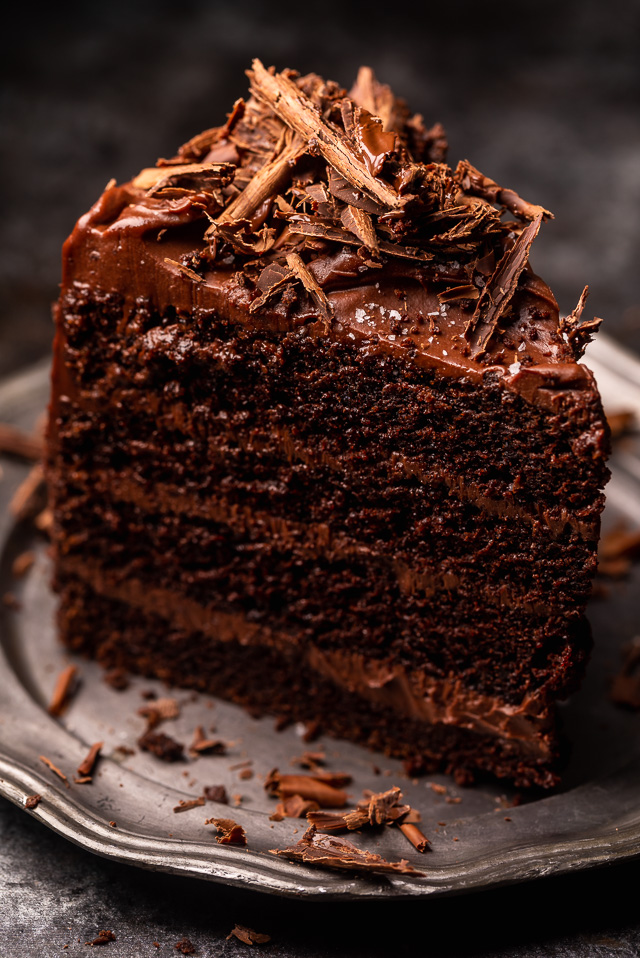
But seriously, the amount of years I passed over this cake kills me! Thankfully, I know better now and this quirky named but totally delicious dessert is now on regular rotation in our household!
Why’s it Called Devil’s Food Cake?
I absolutely love knowing the history behind recipes and their names, so naturally I had to investigate the origins of Devil’s Food Cake and share with you!
So here’s the deal: Devil’s Food Cake rose in popularity in the 1900’s. A time when it was very normal to give desserts dramatic names! Many believe the name was inspired by the cakes slightly red hue and sinfully decadent nature. Although it’s certainly a lot less devilishly red than red velvet cake! It’s more an orangey red from the cocoa powder.
One of the few solid facts available is that in 1902, the recipe was published for the first time in an American cookbook called Mrs. Rorer’s New Cookbook.
The recipe was developed by Sarah Tyson Rorer’s and it quickly spread across the country, becoming staple dessert in many households. And the rest, as they say, is history!
What Ingredients do I need for Devils’ Food Cake?
II wanted this cake to be easy for any baker to whip up. So I developed this recipe with an emphasis on using basic ingredients almost everyone has on hand. Or can find easily at their local grocery!
- The dry ingredients are all-purpose flour, cocoa powder, baking powder, baking soda, and salt. This flour mixture should be sifted before adding it to the batter!
- Do not sub Dutch-process cocoa powder for the non-alkalized cocoa.
- This extra step helps avoid any large lumps or pockets of dry ingredients, which could lead to over mixing. Or worse… unincorporated ingredients.
Our liquid/non dry ingredients are oil, butter, eggs (and an egg yolk), vanilla extract, sour cream, and hot coffee. This combination yields an extremely moist cake! And unfortunately, I cannot recommend substitutes if you want your cake to come out exactly like this one!
That said, full-fat Greek yogurt can work as a sour cream substitute in a pinch. It won’t be exactly the same, but it’s as close as you’re going to get! The sour cream helps activate the baking soda.
The hot coffee blooms the cocoa powder, but you can substitute it with hot water.
How about for the Chocolate Buttercream?
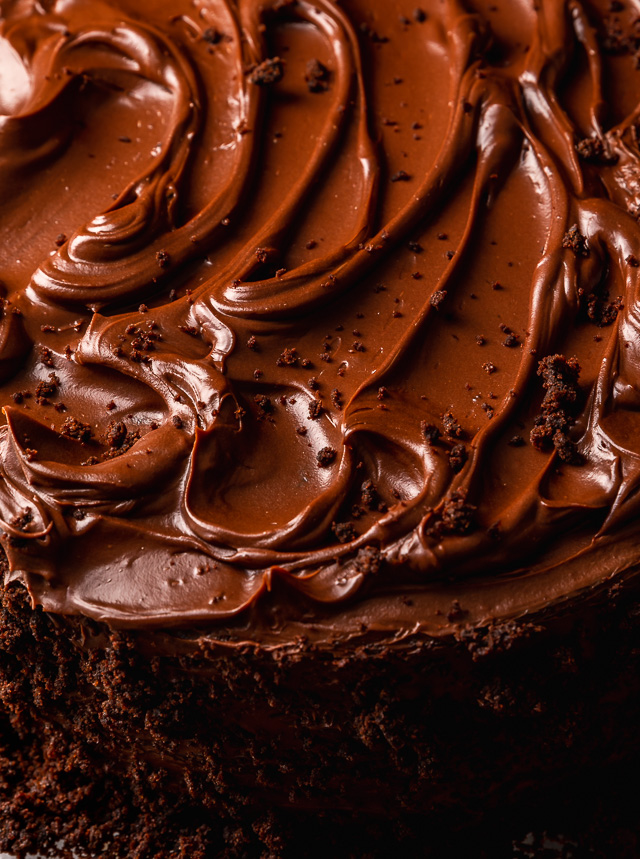
The frosting for this cake is a true star! Made with high-quality chopped chocolate, heavy cream, butter, vanilla, and just a touch of corn syrup. It’s thick, not too sweet, and melts in your mouth! And the corn syrup gives it a lovely shine!
One thing to note: this frosting needs to firm up in the refrigerator for at least an hour before being spread, so be sure to make it in advance. The good news? You can make this up to 24 hours in advances, and then let it soften to room temperature before using.
If this frosting is too indulgent, you can always use a cream cheese frosting or meringue buttercream instead!
Let’s Bake Cake!
- Ok, so first things first: preheat your oven to 350 degrees (F). I mention this because most ovens take about 30 minutes to actually preheat, so it’s best to do before you begin baking.
- Next, prepare your pans! You’ll need two 9″ round pans for this recipe, plus parchment paper and baking spray for lining and coating them. No one wants a stuck cake!
- Once your pans are ready, sift those dry ingredients! Then you’ll beat your butter and sugars together until the mixture is light and fluffy. This will take about 4 minutes, and you may need to stop the mixer and scrape down the sides and bottom of the bowl once in a while!
- Next add the eggs, one at a time, and then add the vanilla and beat until combined.
- Toss in the dry ingredients, alternating with the liquids, until just combined! Stop mixing when you can see the lightest trail of dry ingredients!
- Finally, pour in your hot coffee. Let the hot liquids sit for 30 seconds, then stir smooth!
- Divide the batter into the baking pans and bake for about 40 or until a toothpick inserted comes out clean.
- Cool the cakes – in the pans – and on a wire rack for 20 minutes before removing the cakes from the pans. Then cool completely before frosting!
You can make the cakes 24 hours in advance, cool completely, and wrap in plastic wrap.
Make the Frosting!
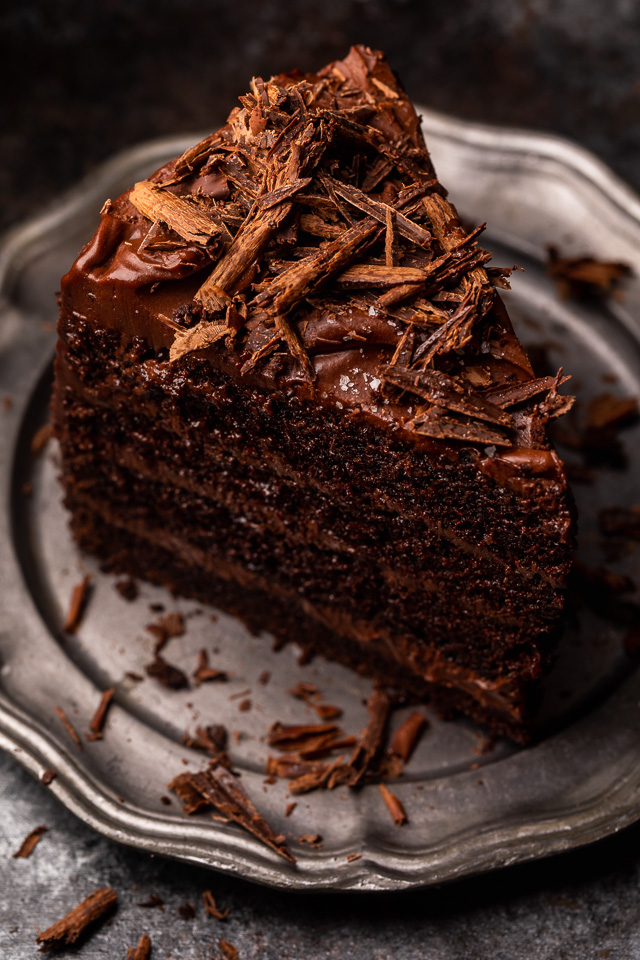
- Place your chopped chocolate in a medium bowl. Boil cream and corn syrup, then pour over the chopped chocolate!
- Pour the cream into the bowl and whisk smooth and glossy!
- Using an electric mixer, and beat in the butter on low to medium speed. Be sure to beat in the butter slowly, and mix until it’s fully incorporated into the frosting! Then pop it in the fridge until it’s firm enough to spread!
Assembly 101
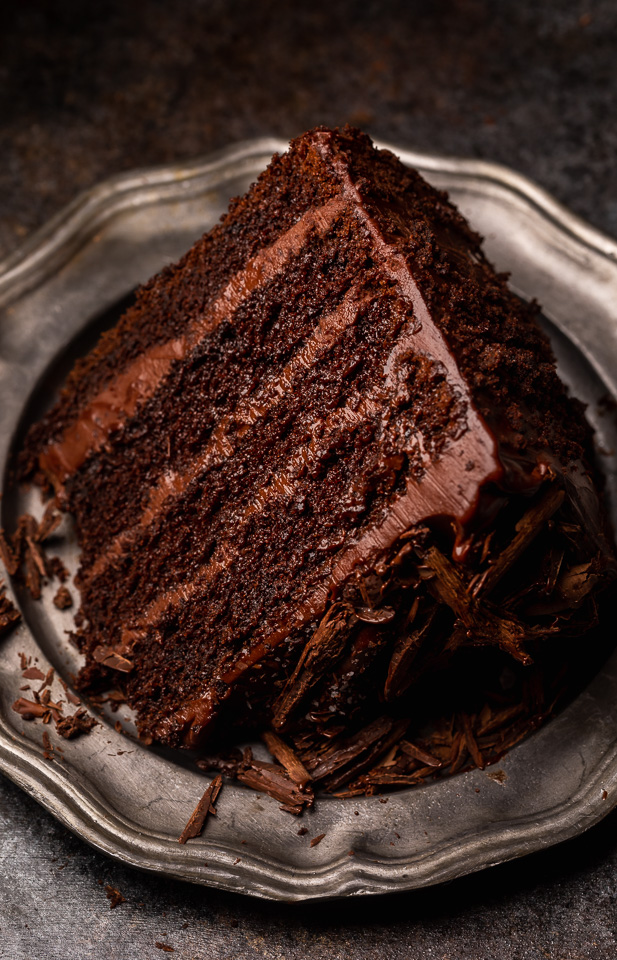
Once your cakes are cooled and your frosting is firm, you’re ready to assemble!
The first step is to cut each cake layer in half horizontally. It’s best to use a serrated knife for this task! You’ll also want to use the knife to serve off any domed parts on the tops of the cake. Set all of these cake scraps aside, we’ll use them later to decorate!
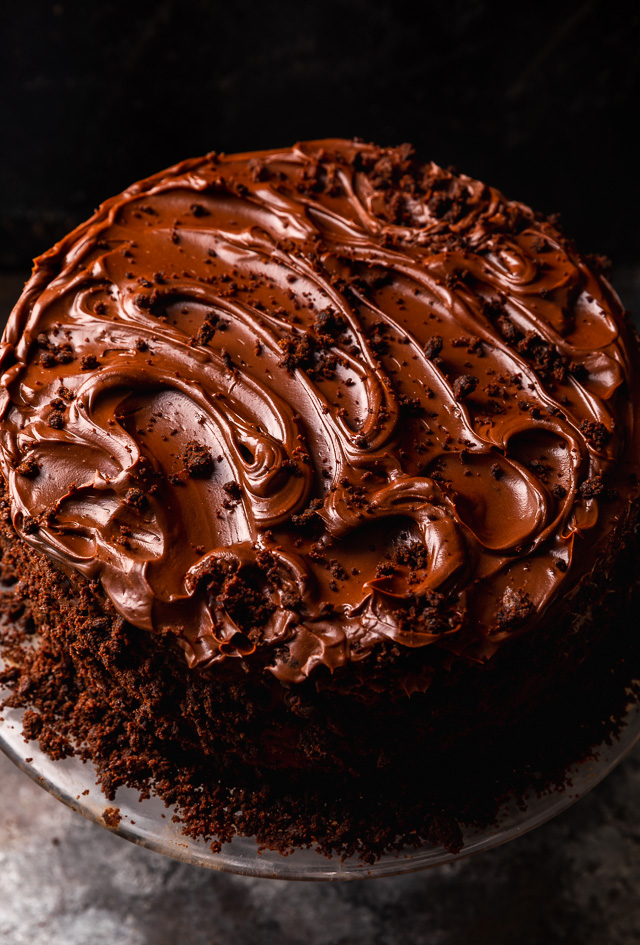
Place one cake layer on a cake plate and spread frosting on top of it, covering the surface completely. Top with another layer of cake, and repeat the frosting and layering process. At this point, spread remaining frosting over the top and sides of the cake. I like to use an offset spatula to do this!
How long will this Last?
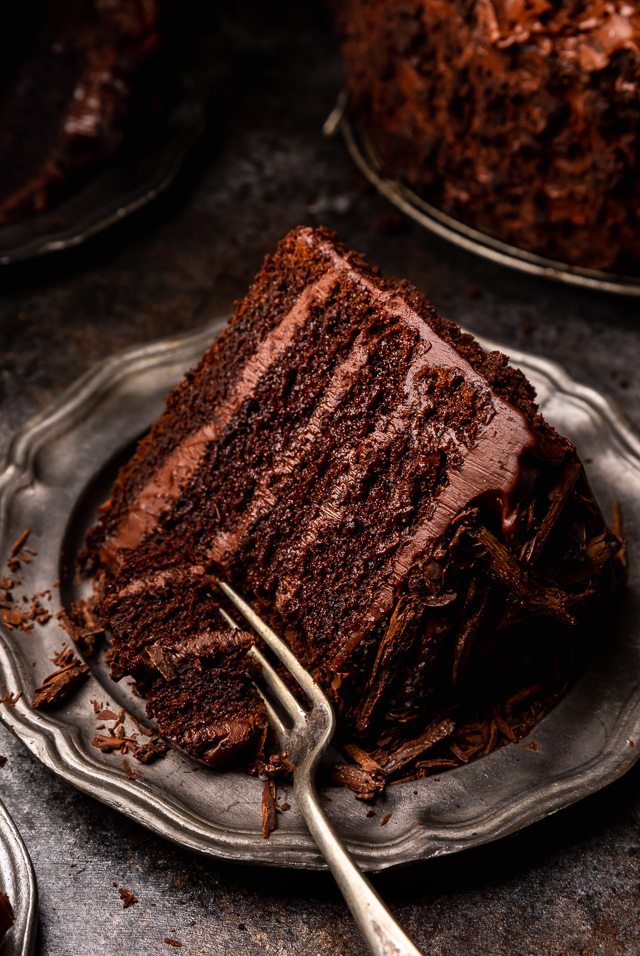
This cake is MASSIVE! But thankfully, it stores beautifully! Just keep the cake in the fridge and bring it to room temperature before serving. It will keep for about 5 days!
More Chocolate Cake Recipes:
- Super Decadent Chocolate Cake with Fudge Frosting
- The Best Chocolate Sheet Cake
- Best Ever Chocolate Bundt Cake
- Ultimate Chocolate Cheesecake
- Flourless Chocolate Fudge Cake
- Chocolate Zucchini Cake
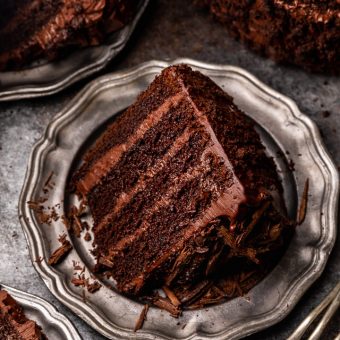
Old-Fashioned Devil’s Food Cake
Ingredients
For the Devil’s Food Cake:
- 2 and 1/4 cups all-purpose flour (270 grams)
- 1 cup cocoa powder, unsweetened non-alkalized (85 grams)
- 1 and 1/2 teaspoons baking soda
- 1 teaspoon baking powder
- 1 teaspoon salt
- 8 Tablespoons unsalted butter, at room temperature (113 grams)
- 2 cups granulated sugar (400 grams)
- 1/2 cup light brown sugar, firmly packed (106 grams)
- 3 large eggs plus 1 egg yolk, at room temperature
- 2 teaspoons vanilla extract
- 1/3 cup vegetable oil (64 grams)
- 1 cup sour cream (245 grams), at room temperature
- 1 cup hot freshly brewed coffee (245 grams)
For the Chocolate Frosting:
- 16 ounces high-quality semi-sweet chocolate, finely chopped (I prefer between 60% and 62%)
- 1 and 1/2 cups heavy cream
- 3 and 1/2 Tablespoons light corn syrup
- 1 teaspoon vanilla extract
- 16 Tablespoons unsalted butter, at room temperature
- 1/8 teaspoon fine sea salt
Instructions
For the Devil’s Food Cake:
- Preheat oven to 350 degrees (F). Spray two 9-inch round baking pans with non-stick baking pray. Line the bottom of each pan with a round of parchment paper. Then spray the parchment paper with non-stick baking spray. Set aside.
- In a large bowl sift together the flour, cocoa powder, baking soda, baking powder, and salt. Set aside.
- In the bowl of a stand mixer fitted with the paddle attachment, or in a large bowl using a handheld electric mixer, beat the butter at medium speed until smooth, about 1 minute.
- Gradually add in both sugars, one at a time, and beat until the sugar has been incorporated into the butter. Then increase the speed to high and beat until the mixture is light and fluffy, about 4 minutes. You may need to stop the mixer and scrape down the sides and bottom of the bowl once in a while to ensure no butter is getting stuck.
- Add in the eggs and egg yolks, one at a time, beating well after each addition, and scraping down the sides and bottom of the bowl as needed. Add in the vanilla extract and beat until combined.
- In a spouted measuring cup, combine the oil and sour cream.
- On the lowest speed setting available, add the flour in three additions, alternating with the sour cream mixture, in two addition, beating until just combined! You should still see the lightest trail of dry ingredients when you stop the mixer.
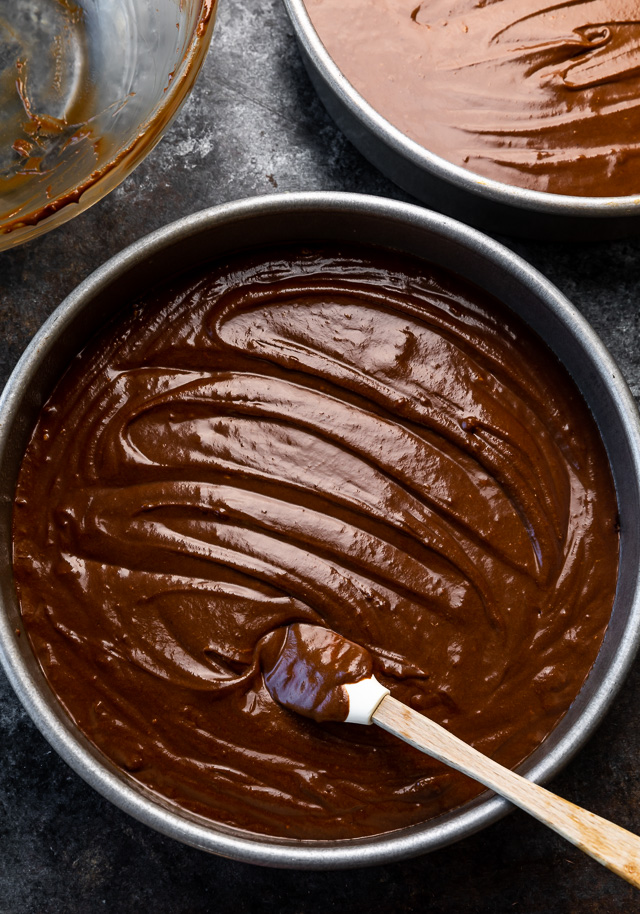
- Pour in the hot coffee and let the mixture sit, undisturbed, for 30 seconds. Then, using a rubber spatula, gently stir until the batter is just evenly combined.
- Divide the batter evenly among the prepared pans (around 850 grams per pan) and smooth the tops with a rubber spatula.
- Bake in preheated oven for 38 to 45 minutes, or until a toothpick inserted into the center of a cake comes out clean, or with a few moist crumbs attached.
- Place the cakes, in the pans, on a wire rack and cool for 20 minutes. Then invert the cakes onto the rack and let cool completely, about 1 hour.
For the Chocolate Frosting:
- Finely chop the chocolate using a large chef’s knife. Place the chopped chocolate into the bowl of a stand mixer fitted with the whisk attachment.
- In a small saucepan heat the cream and corn syrup over medium-high heat until the mixture comes just short of a rolling boil. Remove the pan from heat and pour over the chopped chocolate.
- Allow the mixture to sit, undisturbed, for 2 minutes. Then, using a rubber spatula or metal spoon, gently stir until the chocolate is completely melted and the mixture is smooth and glossy. Stir in the vanilla.
- With the mixer on medium-speed, add in the butter, 1 tablespoon at a time, beating well after each addition, and not adding more until the first addition has been completely incorporated into the frosting. Beat in the salt.
- Refrigerate the frosting, loosely covered, for about 1 hour, or until it’s firm enough to spread. Frosting may be made up to 24 hours in advance and stored, covered, in the fridge. You’ll need to let it come to room temperature before using.
Assembly:
- Using a long, serrated knife, slice off the domed top of each cake layer so it is smooth and even. Then slice each cake in half horizontally, so that you have 4 even layers. Set all of the cake scraps aside, we’ll use those later to decorate!
- Place one cake layer on a large plate or cake stand. Spread 1/2 cup of the frosting on top of the cake, covering it completely. Then top with another cake layer, and repeat the layering process, ending with the last cake layer on top. Spread all remaining frosting over the top and sides of the cake.
- Using your hands, crumble up the remaining cake scraps until they’re in fine crumbs. Pat the crumbs gently around the sides of the cake. You might have leftovers, which you may discard or enjoy as a snack!
- Allow the cake to set for 20 minutes before slicing. Then serve, or store, in the refrigerator, for up to 5 days. Bring to room temperature before serving!

Sounds Delicious!!! I have a Question: Instead of using Round 9″ Cake Pans, Can You Use One (1) 9 X 13 ” Rectangular Baking Pan? Thanks, Karen! 🙂
What happens if you leave the salt out of the recipes?
This recipe was rich and chocolatey. I paired it with cream cheese icing.
Can you share how long it takes to bake the cake if I use 6 inch pans?
Made this today for Mother’s Day tomorrow. looking forward to trying it out.
Just one comment, Following the grams measures, I found that there was too much sugar to butter ratio to get a creamy mixture. Let it go for 10 mins and it was still grainy Any suggestions?
Made this for my husband’s birthday! We loved it! Cake was moist and rich and not too sweet! We got hungry- and lazy- and ended up just doing a quick dark chocolate ganache to drizzle on top.
Sinful. Just sinful! This cake is so moist and chocolatey. You only need a small slice! Can I freeze leftovers?
Made this for my cousins birthday and she loved it! Like you said, it’s super rich and chocolatey so I wouldn’t make it for people who don’t love chocolate.
This is my go to chocolate cake recipe. Its always perfect and everyone loves it! Every last scrap gets consumed. Not too sweet, perfectly moist.
This made my day! Thank you so much for taking the time to let me know!
The cup measurements and do not align with the gram measurements
Absolutely beautiful recipe. Soft and silky texture. I highly recommend it. The frosting is decedent and its nice that it os not too sweet.