Sweet and simple Old-Fashioned Jelly Doughnuts. Totally worth every-single-bite.
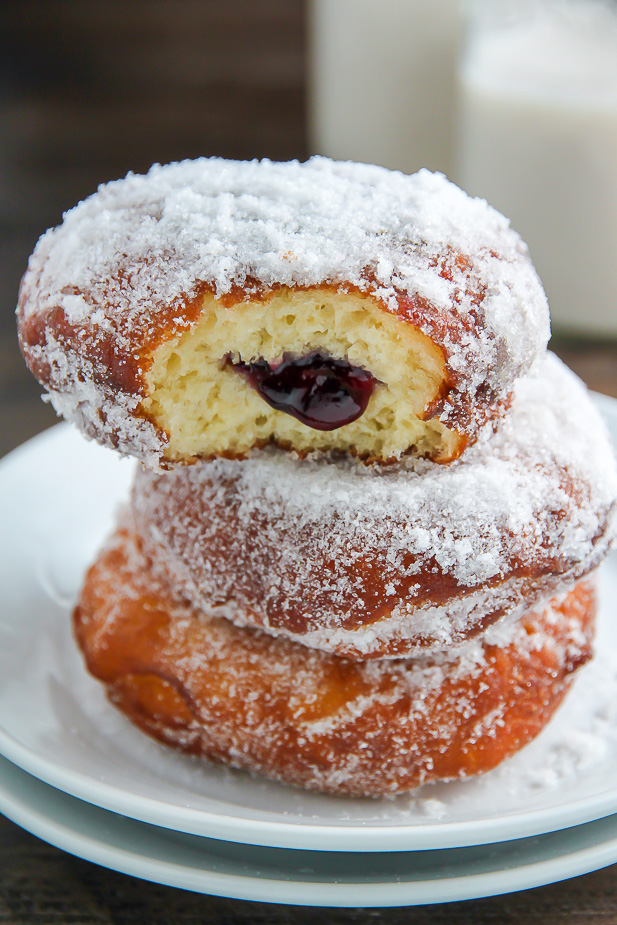
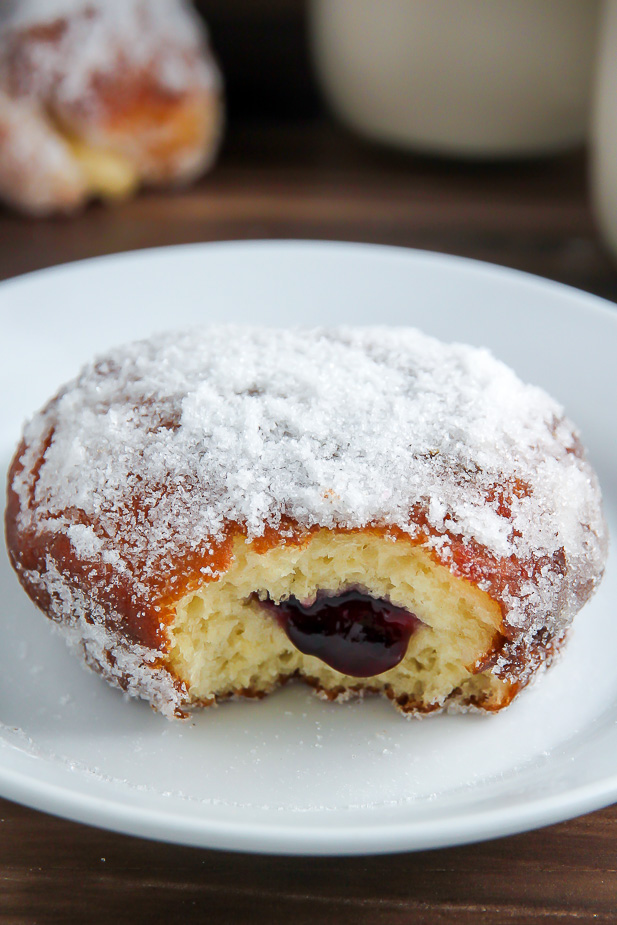
For these Old-Fashioned Jelly Doughnuts I use my go-to yeast based doughnut recipe. If you’re new to working with yeast, I have a few hopefully helpful tips to get you on your way.
- Make sure your yeast is not expired! Active yeast will dissolve completely into the warm water and start bubbling after a few minutes. If this doesn’t happen, your yeast is inactive.
- Rise your dough in a warm area. If your home is on the cooler side, place the bowl somewhere warmer, like the top of a fridge or in a slightly warm – but turned off! – oven. If your home is on the warmer side, your dough may rise a little more quickly than expected.
- Use a yeast or candy thermometer to accurately determine the temperature of liquids you’re using in the recipe. For this recipe you’ll want warm liquid (both water and milk) that are between 110 and 115 degrees (F). Yeast is a living organism. If the liquid in which the yeast is dissolved is too hot, it will kill the yeast cells; If it’s too cold, the yeast will remain dormant and won’t raise the dough. I bought my candy thermometer
for 7 bucks. Worth every-single-penny, my friends!
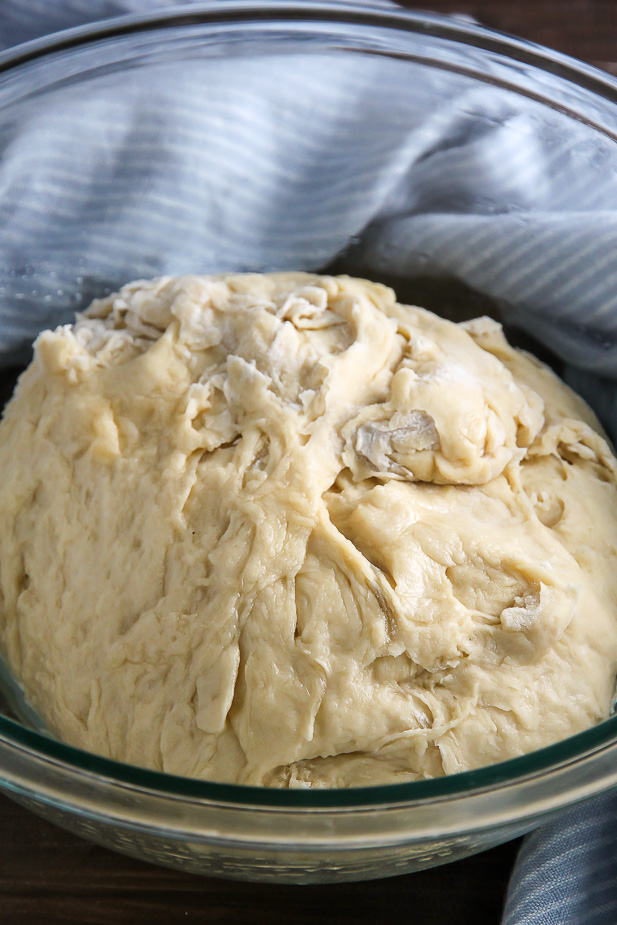
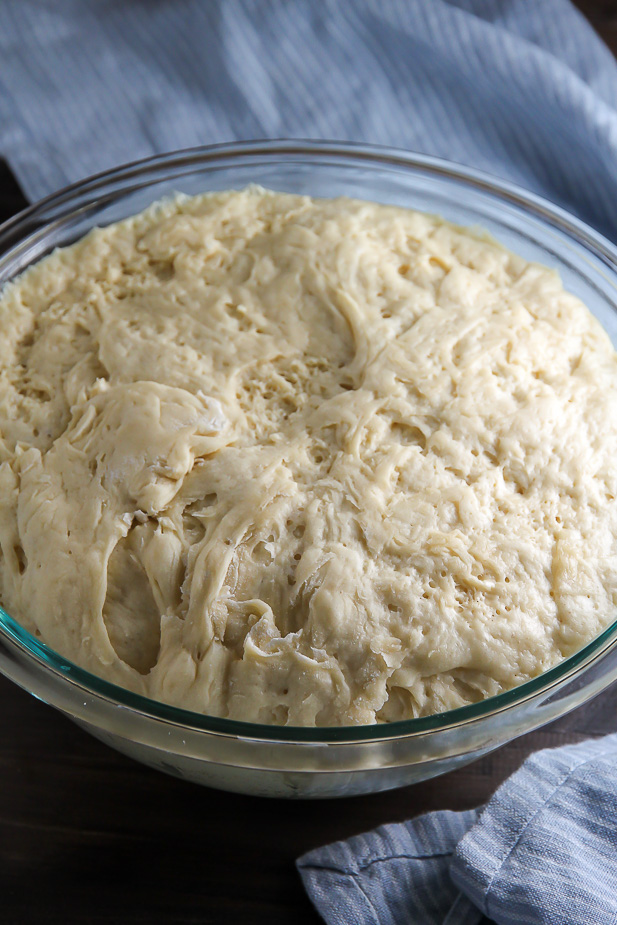
In case you’re a visual learner (like me), I’ve included a few photos of the dough process below.
When you first assemble the dough it will look like this ↓ It will be shaggy and slightly sticky.
Old-Fashioned Jelly Doughnuts
Ingredients
For the Jelly Doughnuts:
- 2 packages (1/4 ounce each) active dry yeast
- 1/4 cup warm water (110° to 115°)
- 3/4 cup warm full-fat milk (110° to 115°)
- 5 tablespoons unsalted butter, at room temperature
- 1/3 cup granulated sugar
- 1 large egg plus 1 egg yolk, at room temperature
- 3/4 teaspoon salt
- 3 and 3/4 cups all-purpose flour, divided
- 1/2 cup jelly, whisked smooth (use any flavor you like!)
- 1 egg white, lightly beaten
- 2 cups vegetable oil, for frying
For the Sugar Topping:
- 1 cup granulated sugar
Instructions
- In a small bowl combine the yeast and warm water; set aside and allow it to foam up - about 5 minutes.
- In a large bowl combine warm milk and butter; whisk until butter has completely dissolved. Add in the sugar, egg, egg yolk, salt, yeast mixture and 3 cups flour; beat until smooth. Stir in enough remaining flour to form a soft ball of dough (don't knead the dough just yet).
- Place the ball of dough in a lightly greased bowl, turning once to grease top. Cover tightly with saran wrap and let rise in a warm place for 1 hour. It will appear to have almost tripled in size.
- When the hour has passed, gently punch the dough down and turn it out onto a lightly floured work surface; knead into a smooth ball, about 7-8 times, or until it's uniform in texture.
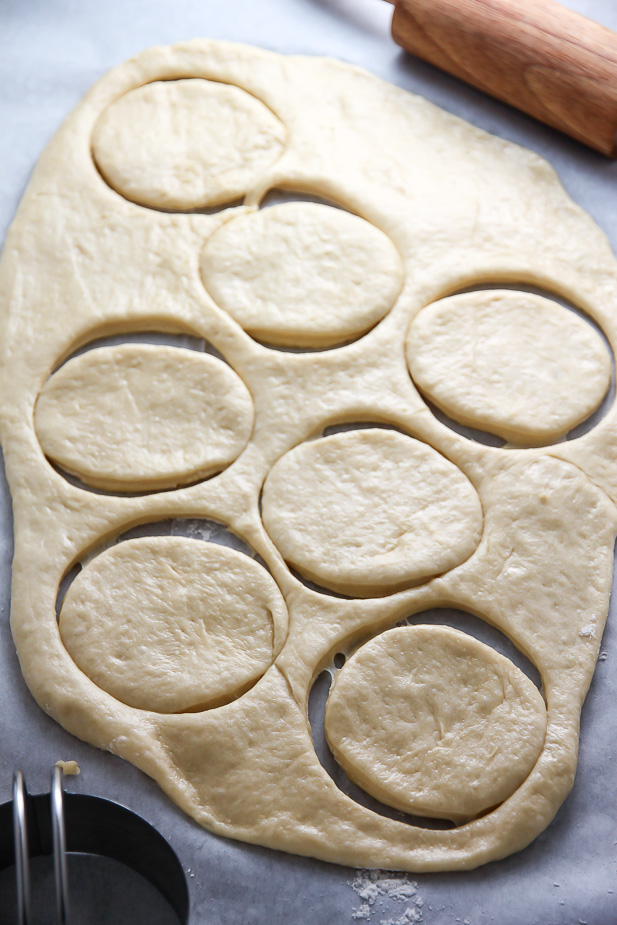
- Divide the dough in half, creating two equally sized balls of dough. Using a rolling pin, roll each portion of dough out into a large rectangle, approximately 1/4 inch thick. Using a lightly floured 2 and 1/2 inch round dough cutter, cut an equal amount of circles from each rectangle. Place 1 and 1/2 teaspoons of jelly in the center of HALF of the circles. Brush the edges lightly with the egg wash, then top with remaining circles of dough. Press the edges together tightly to seal.
- Transfer doughnuts to a large, lightly greased baking sheet, spacing them an inch a part (they will rise). Cover pan rightly with saran wrap and set aside for 45 minutes.
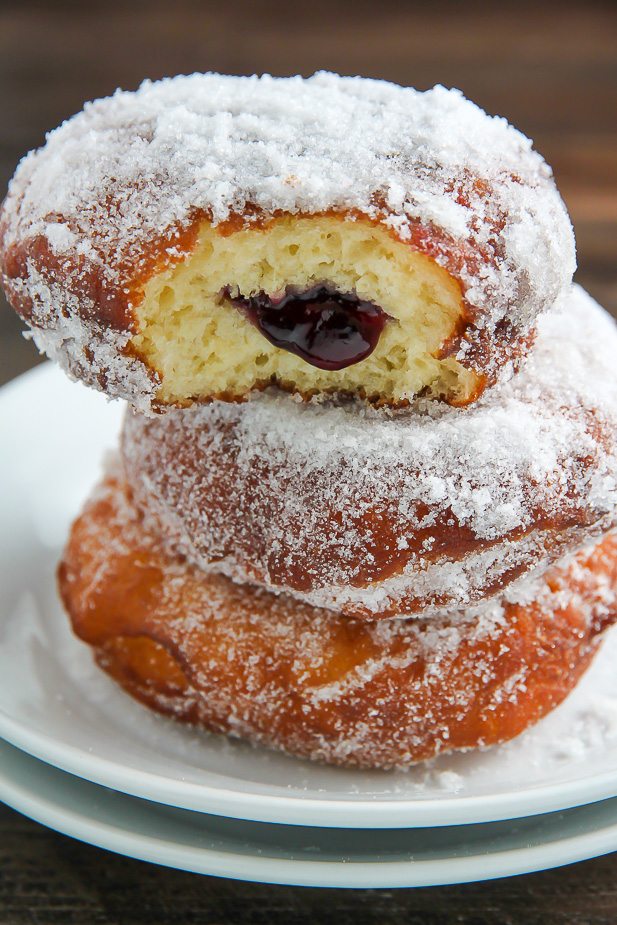
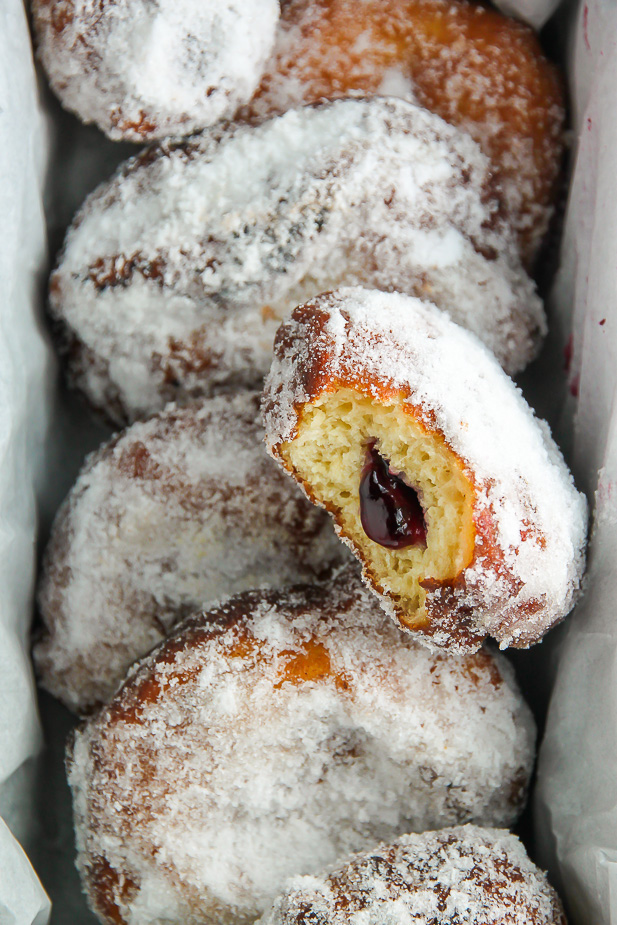
- When ready to fry, heat oil in a large, heavy bottomed pan to 360° (F). Fry doughnuts, a few at a time, for 1-2 minutes on each side or until golden brown. Quickly roll the warm doughnuts in the sugar and serve at once. These doughnuts are best the day they're made, but will "keep" for 3 days when stored in an airtight container.
For the Sugar Topping:
- Place the sugar in a wide, shallow bowl. Set aside until needed.


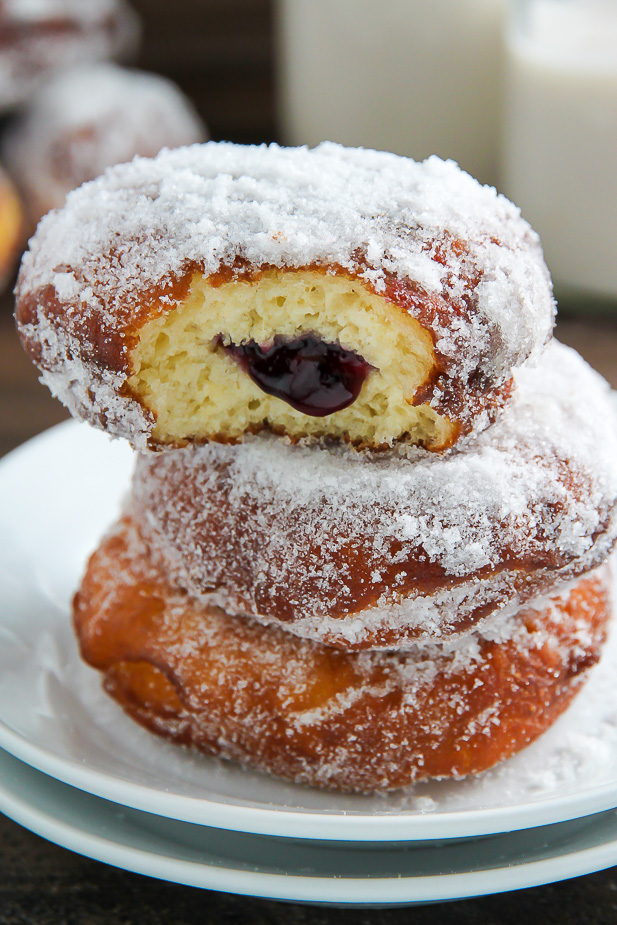

These golden doughnuts look to die for!
Oh my! I think I just gained 5 pounds by reading this post. These look and sound amazing!
Jelly doughnuts are the absolute best! I love that they’ve been made the old fashioned way! I somehow like it when these doughnuts are fried because if I am consuming calories, I might as well do them well! The jelly filling oozing out is making me salivate!