


 Search
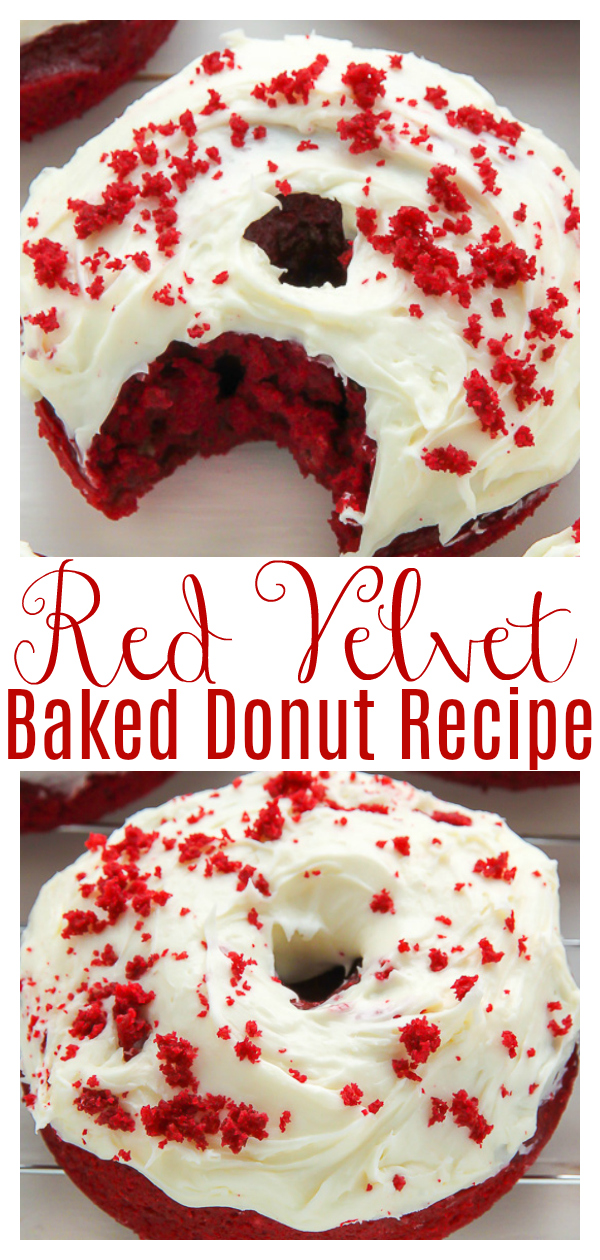
Red velvet donuts topped with cream cheese frosting! Baked, not fried, they’re super moist and fluffy! Perfect for Christmas morning and ready in just 20 minutes!
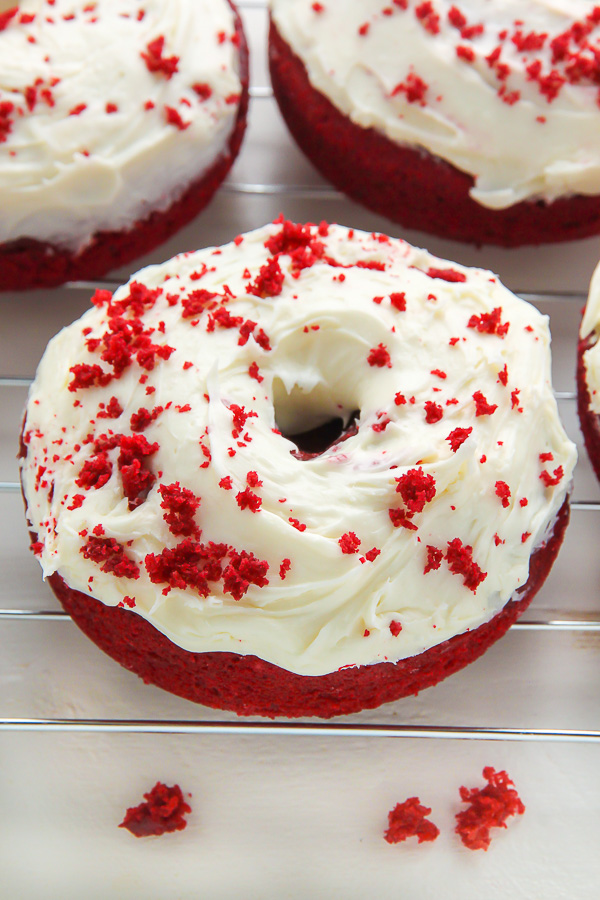
Baked Red Velvet Donuts
Happy Friday! I hope you have some fun on the books for this weekend? I’m currently on my way to PA for a much needed girl’s weekend. So basically a weekend of talking, wine drinking, and eating await me. #lifeisgood
Right before I packed my bags this morning I whipped up a batch of these red velvet donuts for the road. I actually made these donuts a few times last week, working hard on getting the taste and texture just right. Once I had those details down, it was time to make them again, photograph them, and share them with you! ← That last part is my favorite part.
Red Velvet Donut Recipe
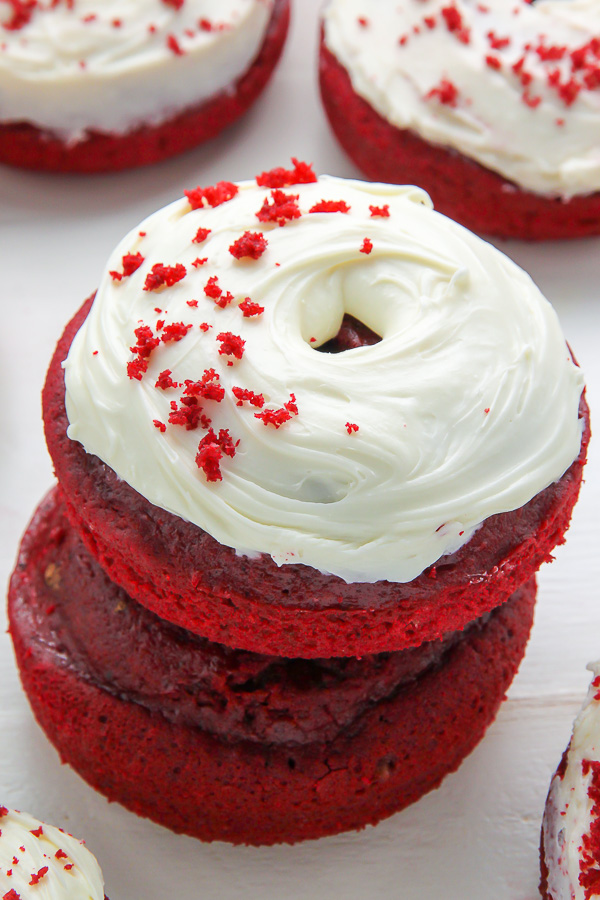
There are two simple steps to these delicious donuts. The moist and flavorful donut and the sweet and fluffy cream cheese frosting. Let’s start with the donut part.
These donuts are baked, making them easy and pretty foolproof. Important to know: you will need a donut pan to make this recipe. You can click HERE![]() to see the donut pan I’ve been happily using for the past 3 years.
to see the donut pan I’ve been happily using for the past 3 years.
You’re also going to need all-purpose flour, cocoa powder, baking powder, buttermilk, brown sugar, an egg, vanilla, butter, red food coloring, and a pinch of salt.
You’re going to melt the butter before whisking in the sugar and vanilla, and then the egg. From there you’ll add in the dry ingredients, whisk them into the wet mixture, then fold in the buttermilk and finally, the food coloring. The amount of food coloring you use is totally up to you. I used 2 teaspoons to achieve this vibrant red hue ↓↓↓
For the cream cheese frosting you will need cream cheese (duh), butter, vanilla extract, a touch of salt, and confectioners’ sugar. You’ll want to make sure your cream cheese and butter are both very soft before beginning this process.
To bake the donuts you’re going to preheat your oven to 350 degrees (F). Pro tip: Make sure you generously grease your donut pan before filling the molds. If you don’t, they will stick.
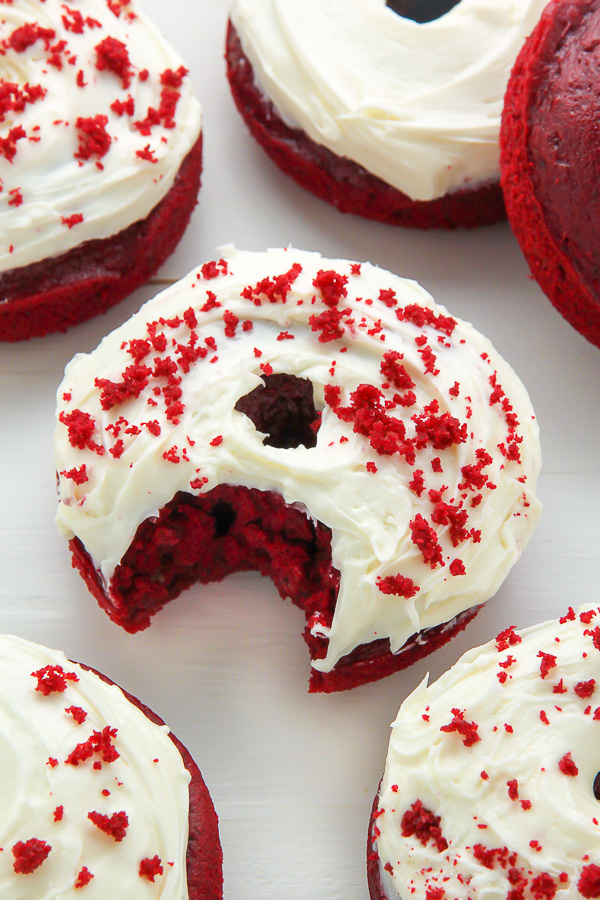
Bake the donuts for 9-10 minutes, or until they’re just firm enough to spring back slightly when touched. Make sure you cool them completely before frosting them!
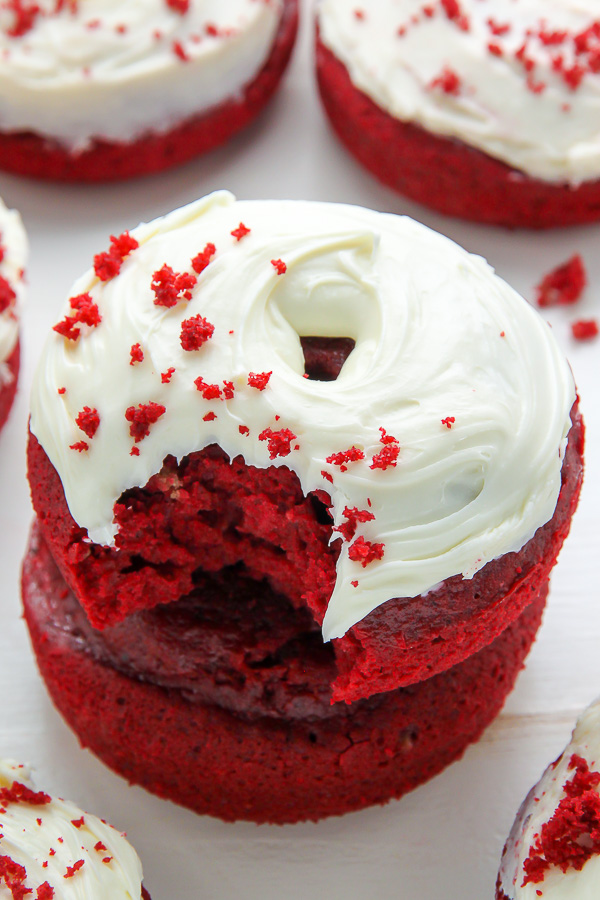
Don’t be surprised if you find yourself dreaming up any excuse to bake these.
If you try this recipe, let me know! Leave a comment below and don’t forget to snap a pic and tag it #bakerbynature on Instagram! Seeing your kitchen creations makes my day. ♥
 More Red Velvet Recipes:
 More Red Velvet Recipes:
- White Chocolate Red Velvet Truffle Cake
- One Bowl Red Velvet Cupcakes
- Red Velvet Cake with Cream Cheese Frosting

Red Velvet Donuts
Ingredients
For the red velvet donuts:
- 1 cup all-purpose baking flour
- 2 tablespoons cocoa powder
- 1/2 cup dark brown sugar
- 1/2 teaspoon salt
- 1 teaspoon baking powder
- 1/2 cup buttermilk
- 2 1/2 tablespoons butter, melted
- 1 teaspoon pure vanilla extract
- 1 large egg, at room temperature
- 2 teaspoons red food coloring
For the cream cheese frosting:
- 3 ounces cream cheese, VERY soft
- 3 tablespoons unsalted butter, VERY soft
- 1 teaspoon pure vanilla extract
- 2 cups confectioners' sugar, sifted
- 1-2 tablespoons milk
Instructions
For the red velvet donuts:
- Preheat oven to 350 degrees (F). Generously grease a doughnut pan and set aside.
- In a large bowl whisk together the dry ingredients. In a separate bowl whisk together the buttermilk, melted butter, vanilla, and egg. Gently fold the wet mixture into the dry mixture - don't over mix! Fold in red food coloring and stir until combined.
- Spoon mixture into prepared doughnut pan, and bake for 10 minutes, or until the doughnuts spring back when lightly pressed. Allow doughnuts to cool a few minutes in the pan before transferring to a wire wrack to cool for a few more minutes.
For the cream cheese frosting:
- In the bowl of a stand-mixer fitted with the paddle attachment, or in a large bowl using an electric handheld mixer, beat the cream cheese, butter, and vanilla extract on medium-high speed until completely smooth; about 2 minutes. Reduce the speed to low and gradually add the sifted confectioners' sugar. Add in the milk. Once the milk is combined beat frosting on high-speed for 1-2 minutes.
- Spread frosting on cooled donuts.
In step 2 you say to fold the wet into the dry, how do you do that, I’ve been a pastry chef for over a decade and I’ve never seen that. Can you help me out, and explain. I’ve never folded wet into dry.
Made these yesterday with my 1:1 Gluten free flour. I did use sour cream instead of buttermilk and black cocoa as well as adding in chocolate chips to the batter. They cooked fine and came out with a nice texture. I’m sure all red velvet recipes are the same but that’s an awful lot of red food dye. For the icing, I felt like 3oz each of cream cheese and butter was going to taste too much like butter so I did 4oz cream cheese and 2 oz. butter. My husband really liked it but I felt the icing was still too buttery for me. Overall, my husband liked the doughnuts but I didn’t find them chocolately or sweet enough for me. It was a nice, easy recipe to follow though.
Great tasting and this was my first time using my donut pan. I overfilled them so most came out looking like cupcakes. Very tasty and the grease was not missed at all. Will make again and other donut recipe for family and friends. I made 8 good sized ones!
Just made them for my hubby for Valentine’s Day and they are so delicious! Thank you.