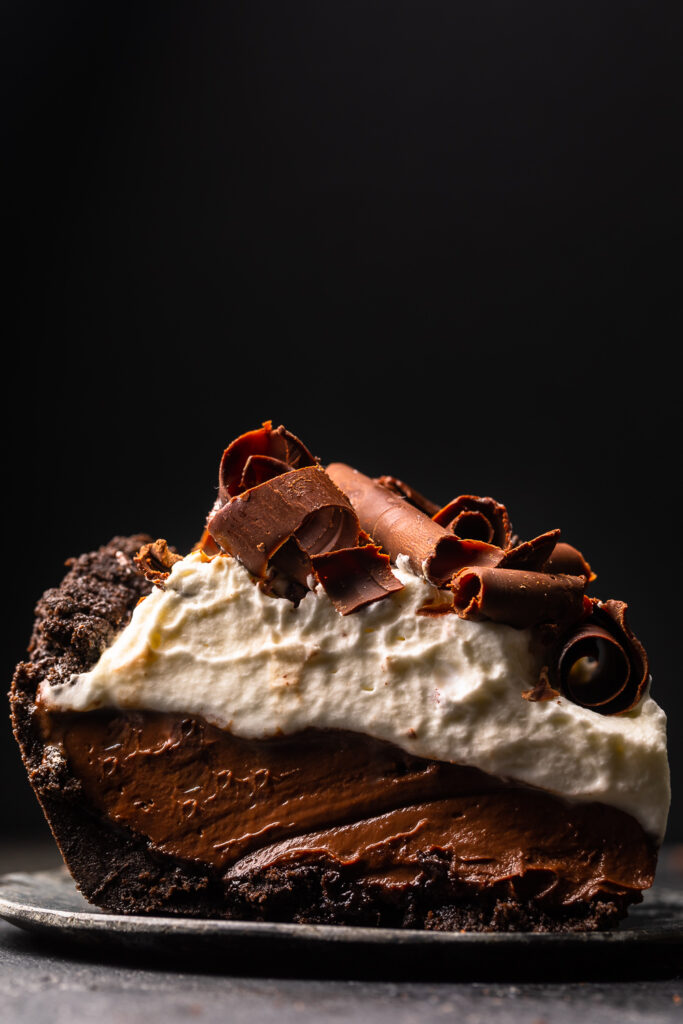
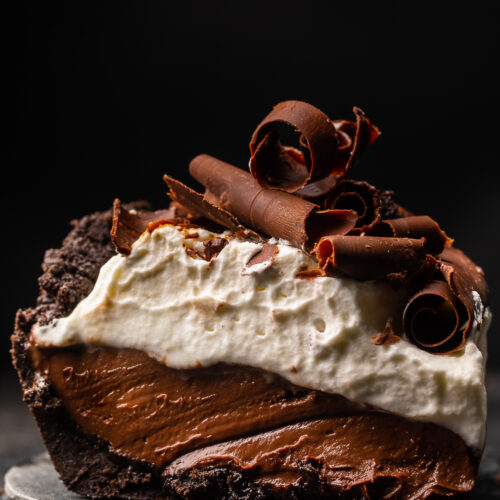
Calling all chocolate pudding lovers, this easy chocolate pudding pie recipe is for you! Unlike many recipes that use store bought crust, cool whip, and instant chocolate pudding mix, this recipe is 100% homemade. Crunchy cookie crust + creamy chocolate pie filling + whipped cream + chocolate shavings = the ultimate chocolate pie dessert recipe!
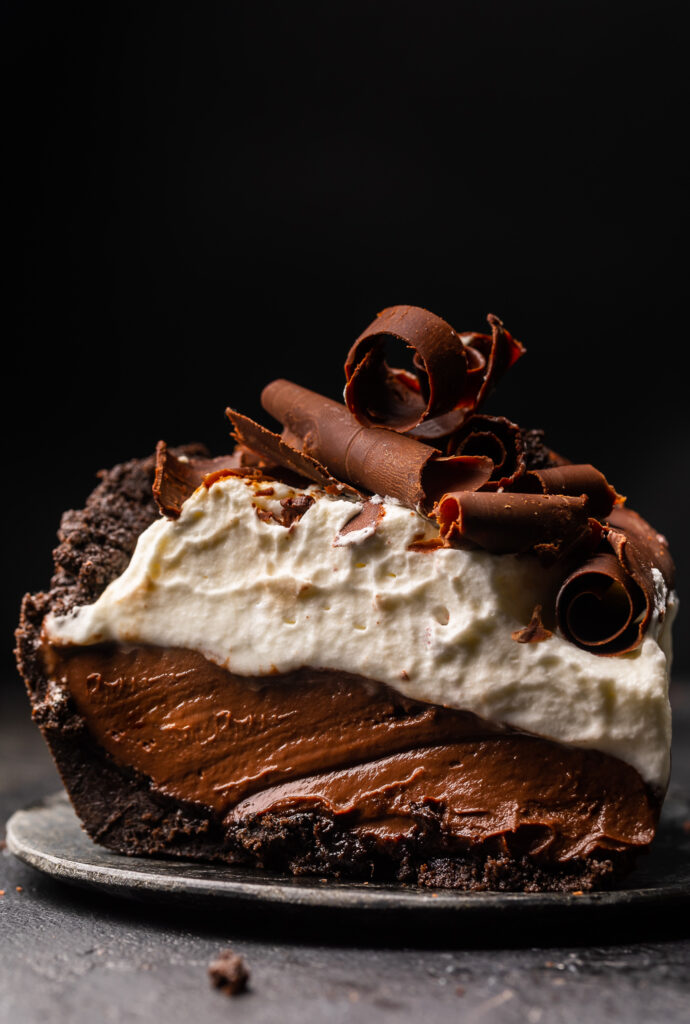
I like baking pies as much as the next baker… but no-bake pies? I LOVE absolutely them! Especially during the hot summer months when just the though of tuning on the oven makes me break into a sweat. And this lusciously cold and creamy chocolate pudding pie is a summertime staple!
If you like chocolate cream pie, but want a chocolate pie that’s creamier and less like eating a chocolate bar, this is for you!
So much to Love about Chocolate Pudding Pie…
- Easier than traditional pie! No temperamental pie dough to deal with and no baking.
- Oreo cookie crust comes together in less than 5 minutes – and in just 1-bowl!
- Chocolate pudding filling is ready in less than 15 minutes.
- Make it up to 24 hours in advance and store in the fridge until needed.
- Completely homemade – no instant chocolate pudding mix or frozen whipped topping thawed and pretending to be whipped cream.
- Adaptable! Use a buttery graham cracker crust instead of the Oreo crust. Skip the espresso powder or the whipped cream topping. Use mini chocolate chips instead of chocolate curls!
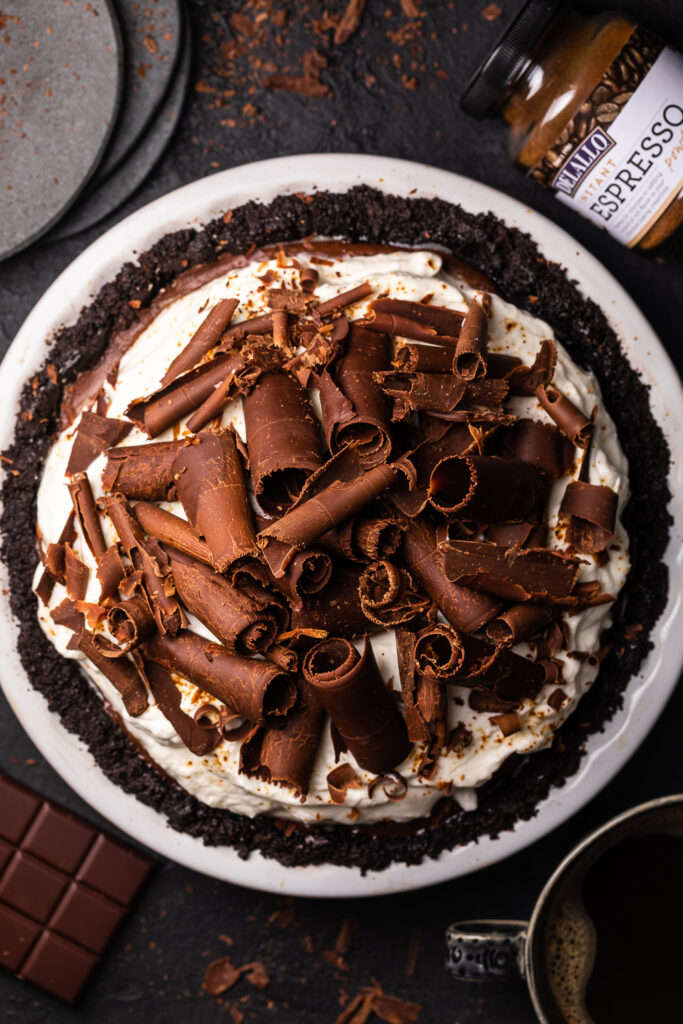
Ingredients for Easy Chocolate Pudding Pie
- Oreo Cookies: Do not remove the cream filling! Crush the whole cookies into fine crumbs before use. I don’t suggest using double stuff or any other variety of Oreo’s. Or make a graham cracker pie crust and bake it for 10 minutes at 350 before use.
- Butter: Unsalted butter works best, but in a pinch salted butter works fine.
- Espresso Powder: DeLallo instant espresso powder is the secret ingredient in this easy chocolate pudding pie recipe! It enhances the chocolate flavor and makes it extra rich and delicious. In a pinch, you may omit this ingredient.
- Cornstarch: An essential ingredient for thickening the chocolate pudding filling. I don’t suggest subbing flour for cornstarch.
- Dutch-Process Cocoa Powder: Thickens the chocolate pudding and adds extra chocolate flavor to the pie filling.
- Salt: Balances the sweetness while enhancing all the flavors in this pie.
- Heavy Whipping Cream: Do not sub this with milk, coconut milk, or half and half.
- Milk: For best results, whole milk works best. Lower fat milks will work, but will yield a less rich and creamy pie filling.
- Granulated Sugar: Sweetens the pie filling and adds structure to chocolate pudding filling.
- Chocolate: For the pie filling I highly suggest using a quality chocolate bar, like Lindt or Ghiradelli. Save the chocolate chips for cookies or topping the pie!
- Vanilla Extract: Adds rich flavor while enhancing all the flavors in the pie filling. Use quality real vanilla and skip the artificial vanilla.
- Confectioners’ Sugar: Helps thicken and sweeten the whipped cream topping.
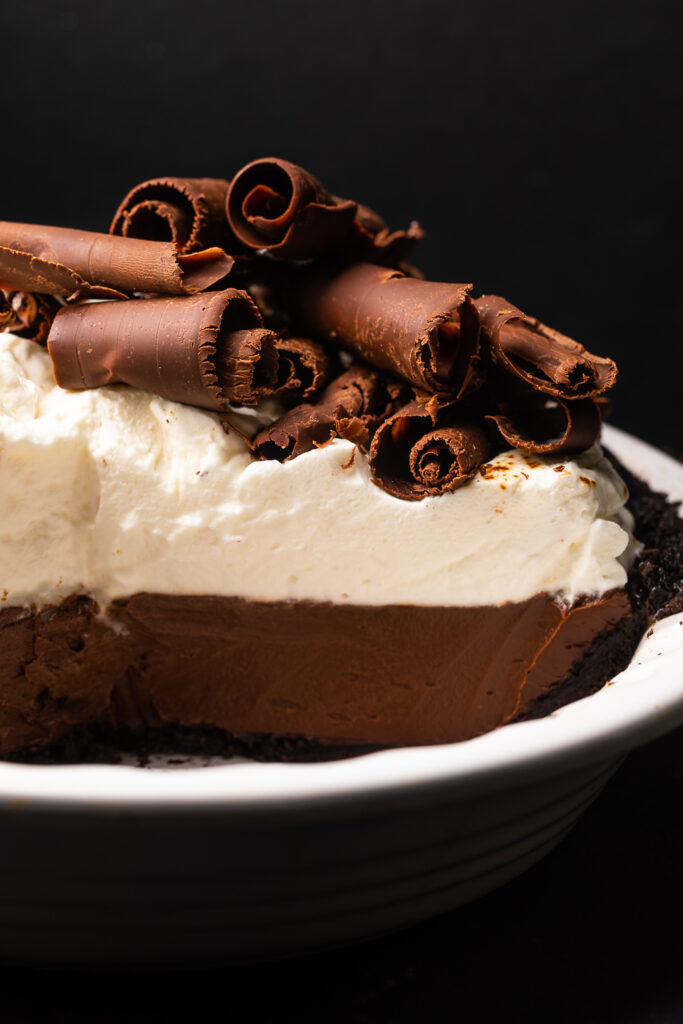
Special Equipment Needed to Make Chocolate Pudding Pie
- Make sure you have a deep 9-inch pie plate. If your pie plate is too shallow or small, you won’t have even room for your filling. It should be able 1.5 qt capacity. A 10″pie dish will also work, but your crust will be thinner and so will your filling.
- You’ll need a food processor or high-powered blender to make the pie crust. You’ll need to pulverize the chocolate sandwich cookies into fine crumbs. I have not tested this recipe using chocolate graham crackers or wafers, and cannot advise how to substitute.
- To make the whipped cream topping, you’ll need an electric hand mixer or a stand mixer with a whisk attachment.
This post may contain affiliate links!
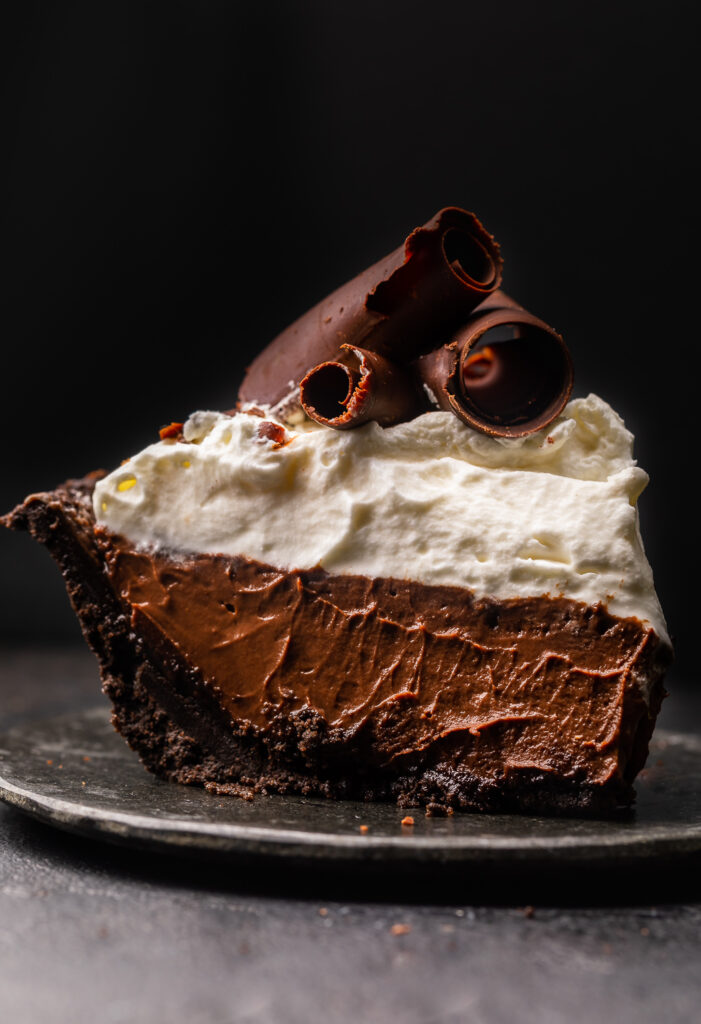
How to Make Chocolate Pudding Pie: 4 Part Process
- Make the Oreo Cookie Crust: Press the crust into your prepared pie plate and freeze it for 30 minutes. This helps it firm up.
- Make the Chocolate Pudding Filling: You’ll make the chocolate pudding filling on the stovetop. The hardest part about making the pie filling? Stirring CONSTANTLY while it’s cooking over medium heat! It’s ready when it’s thick enough to coat the back of a spoon.
- Cool the Pie Filling: Scrape the filling into a large bowl and let it cool. Once cool to the touch, scrape into your pie shell. Then press plastic wrap on top and chill.
- Chill the Pie: This pie MUST chill for at least 6 hours. If you slice into before that, it’ll be too loose to hold its shape. The good news? It can be made up to 48 hours before serving! Just keep chilled in the fridge.
How to Decorate Chocolate Pudding Pie
- Homemade Whipped Cream: You’ll want to make the whipped cream right before serving! Make sure you start with a cold bowl, and whip the heavy cream until medium-firm peaks form.
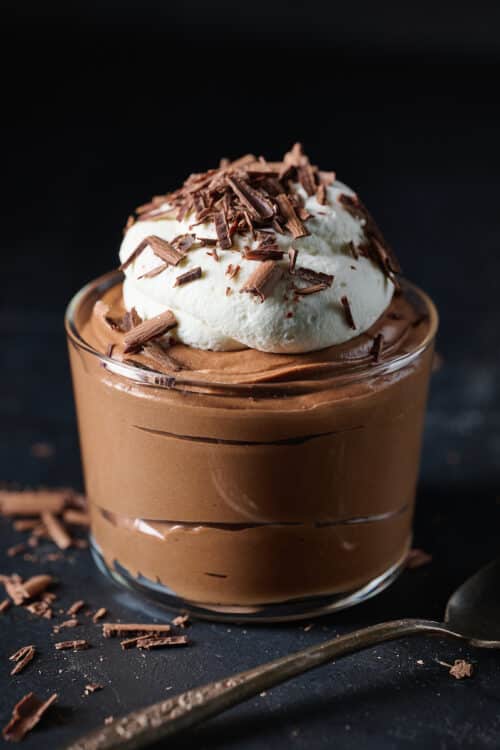
- Chocolate Shavings: These look stunning and are easier to make than you might think! They make a lovely presentation, but are optional. You could also use mini chocolate chips or chopped up chocolate covered espresso beans!
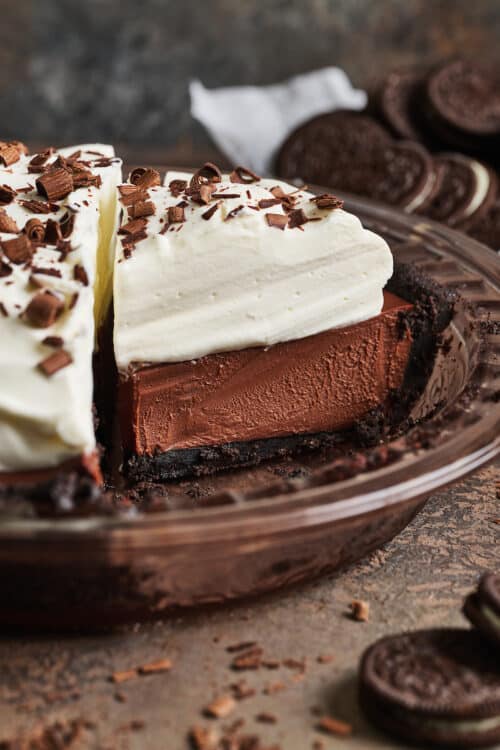
- Slice the Pie: Use a cold and sharp chef’s knife to slice the pie. Firmly and confidently is the best way to slice chocolate pudding pie. And a good pie server helps get the slices out nice and neat… but don’t stress about this too much.
More Chocolate Pie Recipes:
- No-Bake German Chocolate Pie
- Chocolate Pecan Pie
- Mini Mint Chocolate Cream Pies
- Creamy Milk Chocolate Peanut Butter Pie
- No-Bake Chocolate Cream Pie
Chocolate Pudding Pie
Ingredients
For the Chocolate Cookie Crust:
- 38 regular full-size oreo cookies crushed into fine crumbs (do not remove the filling)
- 8 Tablespoons (113 grams) unsalted butter melted
- 1 teaspoon DeLallo instant espresso powder
For the Espresso Chocolate Pudding Filling:
- 1/3 cup (39 grams) cornstarch
- 2 Tablespoons (8 grams) Dutch-process cocoa powder
- 1/4 teaspoon salt
- 1 and 1/2 teaspoons DeLallo instant espresso powder
- 1/2 cup (113 grams) heavy cream
- 2 and 1/2 cups (567 grams) milk
- 1 cup (198 grams) granulated sugar
- 10 ounces semi-sweet chocolate roughly chopped
- 2 Tablespoons unsalted butter cold, cut into tiny pieces
- 1 teaspoon vanilla extract
For the Freshly Whipped Cream:
- 2 cups (340 grams) heavy cream cold
- 1/3 cup (40 grams) confectioners' sugar sifted
For Chocolate Curls:
- 4 ounces semi-sweet chocolate
- 2 Tablespoons unsalted butter
Instructions
For the Chocolate Cookie Crust:
- Lightly spray a 9-inch deep dish pie plate with nonstick spray. Set aside until needed.
- In a large bowl, combine the crushed chocolate cookie crumbs, melted butter, and espresso powder. Mix well to combine.
- Press the crust into the prepared pie plate, pressing it firmly and evenly into the middle and up the sides.
- Place the crust in the freezer for 30 minutes.
For the Espresso Chocolate Pudding Filling:
- In a medium bowl whisk together the cornstarch, cocoa powder, salt, and espresso powder. Whisk in the heavy cream until evenly combined. Set aside.
- In a medium saucepan, combine the milk, sugar, and chocolate. Place over medium heat and cook, stirring constantly, until the chocolate is completely melted.
- Remove pan from heat. Add 1 cup of the hot chocolate mixture into the cocoa powder mixture, and whisk smooth. Then return this mixture back to the pan.
- Return the pan to heat and continue cooking over medium-high heat, whisking constantly, until the mixture begins to bubble. Continue cooking for 4 to 5 minutes, or until very thick and can coat a spoon.
- Remove pan from heat and whisk in the butter and vanilla. Cool pudding, at room temperature, until cool to the touch. Then scrape the pudding into the prepared pie shell.
- Cover with plastic wrap, pressing it down on top of the pudding so a skin doesn’t form. Refrigerate for at least 6 hours, and up to 24 hours.
For the Freshly Whipped Cream:
- In a large bowl using a handheld electric mixer, or in the bowl of a stand mixer fitted with the whisk attachment, beat the cream on medium-low, slowly adding in the confectioners' sugar.
- Increase to medium-high speed and whip until medium-stiff peaks form.
- Right before serving, dollop the whipped cream on top of the pie. Top with chocolate curls, and serve at once!
For the Chocolate Curls:
- Place the chocolate and butter in a microwave safe bowl. Heat, on low power, in the microwave, in 30 second increments, stirring between each increment, until both ingredients are completely melted.
- Pour the melted mixture onto a flat 9×13 baking sheet, and, using an offset spatula, spread it as thin as possible.
- Place the pan in the freezer for 5 minutes.
- Remove the pan and, using a cheese shaver or scraper, scrape the chocolate off the pan, creating curls. If the chocolate sticks to the scraper, it's still too soft and should be returned to the freezer for a few more minutes. All chocolate shavings will be unique, so don't fret if you only get a few large curls. Practice makes perfect!
- Keep chocolate curls chilled, in the fridge, until needed.

This pudding is amazing, I have made it several times! I make this as more of a deconstructed pie with pudding and a few toppings. The flavor is rich and decadent! I do think the recipe needs to be adjusted because it calls for 1/2 cup heavy cream with the Cocoa and espresso powder, but in the instructions it says add one cup of the hot chocolate mixture to the milk and chocolate mixture. Otherwise amazing!
I also use monk fruit Swerve and reduce sweetener by 1/3-1/2.
So this recipe looked delicious and I’m happy to say it was AMAZING !
When you have an addiction… you have to own it and I’m a chocoholic so this did not disappoint! I did make my own chocolate crust with chocolate wafers and butter not a fan of Oreos!
It was absolutely one of the most delicious things I’ve ever made! So decadent.
Gorgeous pie! I’ve made it countless times and it’s always great.