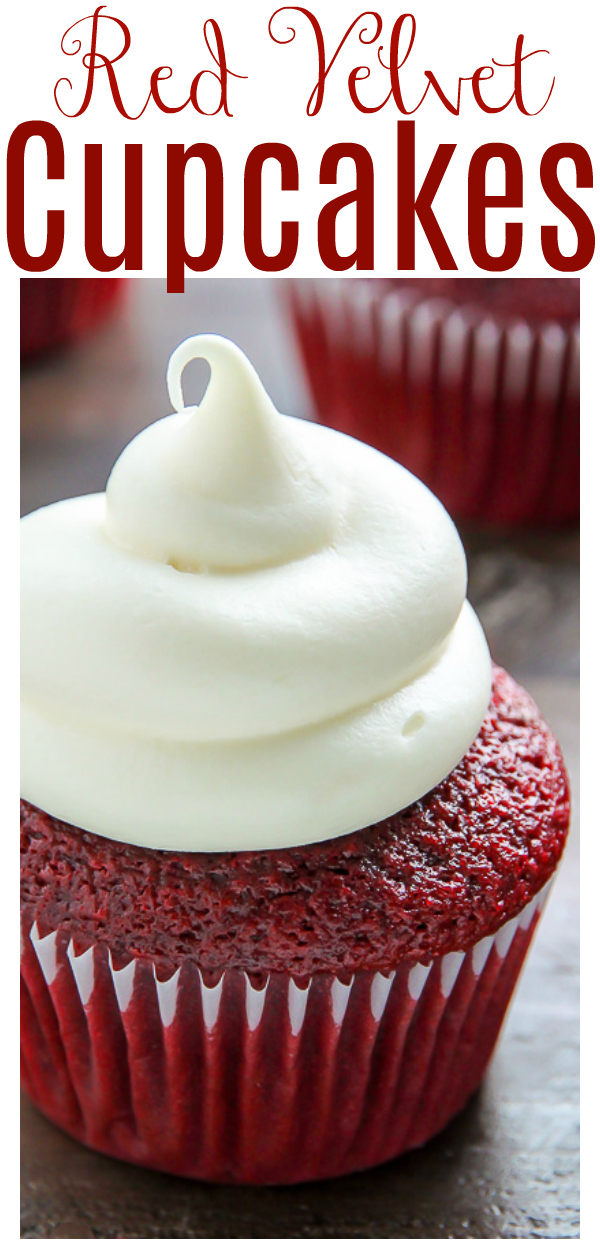
If you like red velvet, you’re going to LOVE these light and fluffy red velvet cupcakes! Topped with luscious cream cheese frosting, they’re so delicious!
Red Velvet Cupcakes
Today’s post is dedicated to my red velvet loving little brother (Hi Dennis!), and to all you other red velvet lovers out there!!! These stunning, bakery-style red velvet cupcakes are:
- so easy
- outrageously delicious
- decadent and sweet
- slightly chocolatey
- VERY red velvety
- and perfect for Valentine’s day, Christmas, and birthday celebrations!
Red velvet is one of the most requested cupcake flavors in the world! So today I’m excited to share my foolproof recipe with you! Because I want your cupcakes to come out perfect, I’ve included a ton of helpful baking information below. I know it probably looks like an overwhelming amount of reading (I do tend to dork out about baking) but I promise it’ll only take a few minutes. And the lessons you learn will make all of the difference in your baking adventure.
If you’re new to baking, I definitely suggest reading everything over before you begin. And if you have additional question, drop me a line in the comments and I’ll get back to you asap!
What does a red velvet cupcake taste like?!
This is a question I get all the time, but I get it. Because up until a few years ago, it’s a question I had, too. And it’s hard to imagine what something so red will taste like!
Here are the most frequent questions I get: Are they chocolate cupcakes with red food coloring? Vanilla cupcakes with a little cocoa powder and red food coloring? Do they just taste like food coloring? No, no, and – thankfully – no!
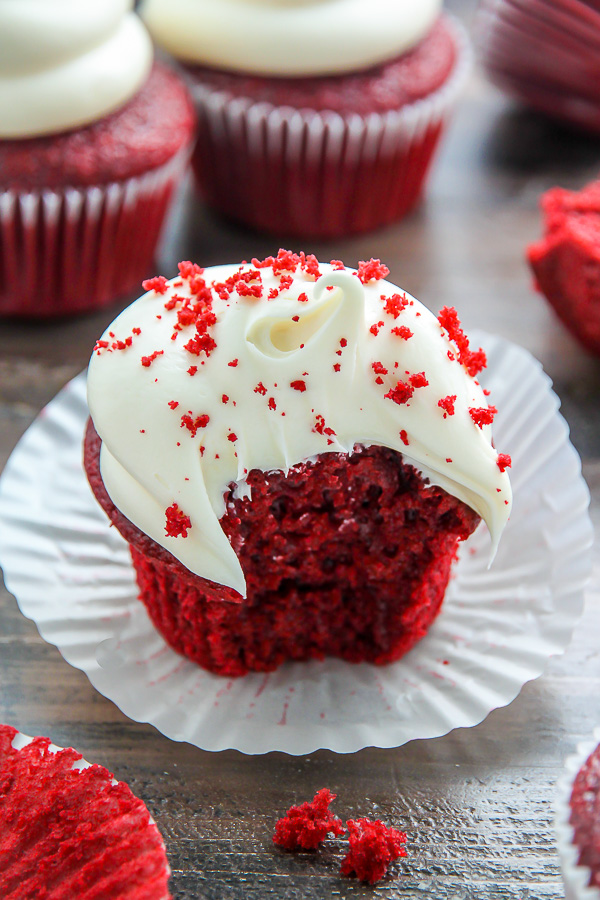
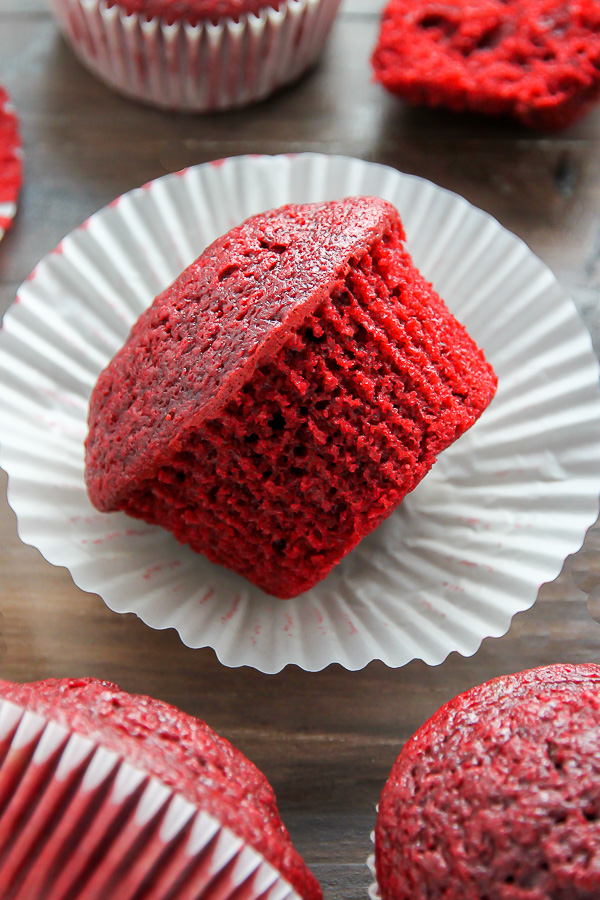
When made correctly, a red velvet cupcake should be extremely moist with a tender and fluffy crumb. In terms of flavor, the cupcakes are super rich, buttery, and sweet, with a slight tanginess from the buttermilk. The chocolate flavor is very subtle, and compliments the sugar and buttermilk used in the recipe. If I had to choose a classic cupcake to compare red velvet to, it would be yellow cupcakes, because they share a rich, buttery flavor. But really, red velvet is in a class of its own. After one bite, you’ll know – er, taste – what I mean.
Tips and Tricks for Recipe Success:
Ingredients
For the dry ingredients you’ll need flour, cocoa powder, cornstarch, baking powder, baking soda, and salt. We use the combination of flour and cornstarch instead of cake flour. This combination ensures a moist and delicate crumb.
For the wet ingredients you’ll need butter, oil, apple cider vinegar, eggs, sour cream, and buttermilk!
Buttermilk is absolutely essential when it comes to baking red velvet cupcakes. It adds a trademark tangy flavor to the cupcakes. It also makes them moist and fluffy. So you really don’t want to skip it! In addition to the previously mentioned buttermilk benefits, this powerhouse ingredient also helps to activate the baking soda. As does the splash of apple cider vinegar called for in the recipe! Which might sound like a bizarre addition, but is actually a signature ingredient in red velvet recipes.
You’ll also need red food coloring! This ingredient gives our delicious cupcakes their trademark red color. You can increase the amount of food coloring for a more dramatic red color or reduce the amount for a more subtle hue. If you do not use food coloring, you may omit it from the recipe without making any additional changes, but the cupcakes will have a rather odd color and definitely won’t be visually identifiable as red velvet. There are some natural food colorings that have come on the market recently, so those could be an option to explore, too. There are also gel food colorings on the market, which can be used. But you may need to adjust the amount of color added.
Assembly
Assembling the batter for these red velvet cupcakes is easy! But there are a few steps! First, you’ll need to melt a 1/2 cup of butter in a large bowl. Then you’ll add in the oil and vanilla. Next in is the sugar, and the the eggs. After all of the wet ingredients have been incorporated you’ll add in the all-purpose flour and other dry ingredients.
Baking
Before you bake these cupcakes, you’ll need to preheat your oven to 350 degrees. You’ll also need to line a cupcake pan with liners. I suggest spraying the pan lightly with non-stick baking spray to ensure there’s no sticking, but this is up to you!
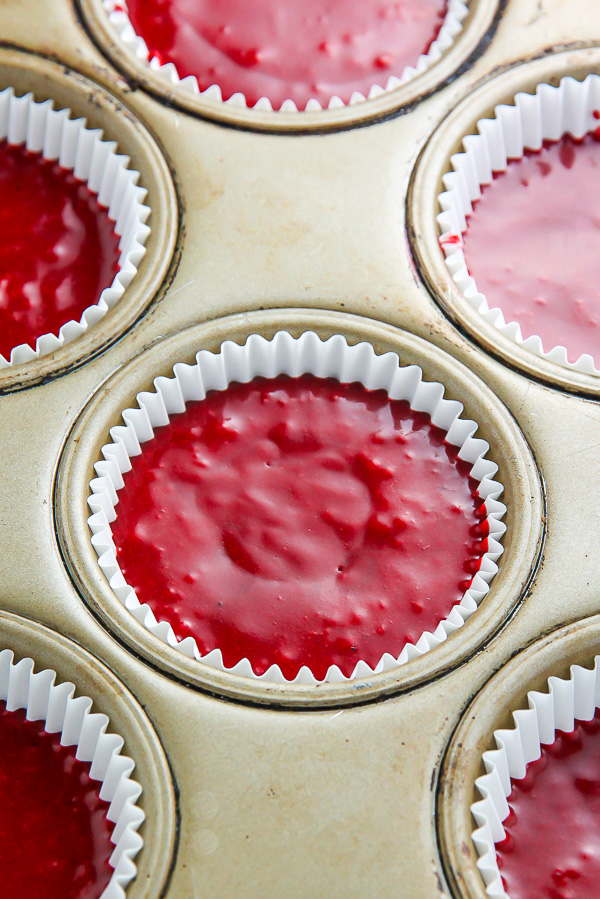
You’ll divide the batter among the prepared molds, filling each line 3/4 of the way full. You’ll have enough batter for about 18 cupcakes.
The cupcakes need to bake for about 16 minutes, or until a toothpick inserted in the center comes out clean. Don’t open your oven before the bake time is up, or the cupcakes may sink in the middle.
If you’d like to make mini cupcakes using this recipe, you’ll need to adjust the baking time. I find minis bake in about 10 minutes, but this will vary depending on the pan you use. You should get about 2 dozen mini cupcakes, and have plenty of frosting for all of them.
If you’d like to make a red velvet layer cake, I suggest using one of these recipes: White Chocolate Red Velvet Truffle Cake or Classic Red Velvet Cake with Cream Cheese Frosting. And if you really want to try a fun red velvet recipe, give these Red Velvet Donuts a try!
Cooling
These cupcakes need to cool completely before frosting. Attempting to frost hot – or even slightly warm – cupcakes will not work. Trust me!
Here’s the best way to cool them: when you remove the cupcake pan from the oven, place it on top of a cooling rack. Allow the the cupcakes to cool, in the pan on the rack, for about 20 minutes. After 20 minutes, remove the cupcakes from the pan and place them on the cooling rack to cool completely. I find it takes about 40 minutes for them to be fully cooled and ready for frosting.
How to make Cream Cheese Frosting
A red velvet cupcake is nothing without a generous swirl of fluffy cream cheese frosting! So I want to teach you exactly how to make the BEST cream cheese frosting. Lucky for us, it’s so easy! And requires just a few basic ingredients: cream cheese, powdered sugar, butter, and vanilla. You’ll place all of them in a large bowl and whip them up until you have a smooth and creamy frosting. The key to making luscious bakery style frosting at home? Soft cream cheese and butter. You’ll want to leave both of these ingredients out on the counter for at least 45 minutes before making your cream cheese frosting. You want the texture to be a little softer than room temperature. If the ingredients are cold, they won’t blend or bond properly. The cream cheese frosting can be made in advance, and stored in the fridge, for up to 3 days. Bring it to room temperature and give it a good stir before use. I do not suggest freezing the frosting.
To truly make this a one bowl cupcake recipe, wash out the bowl you used for the cupcake batter and reuse it for the frosting.
Please note: you will need an electric mixer to make the frosting, so be sure to have one handy. I love using this Kitchen-Aid hand mixed. But a stand mixer fitted with the paddle attachment will also work.
Decorating your Red Velvet Cupcakes
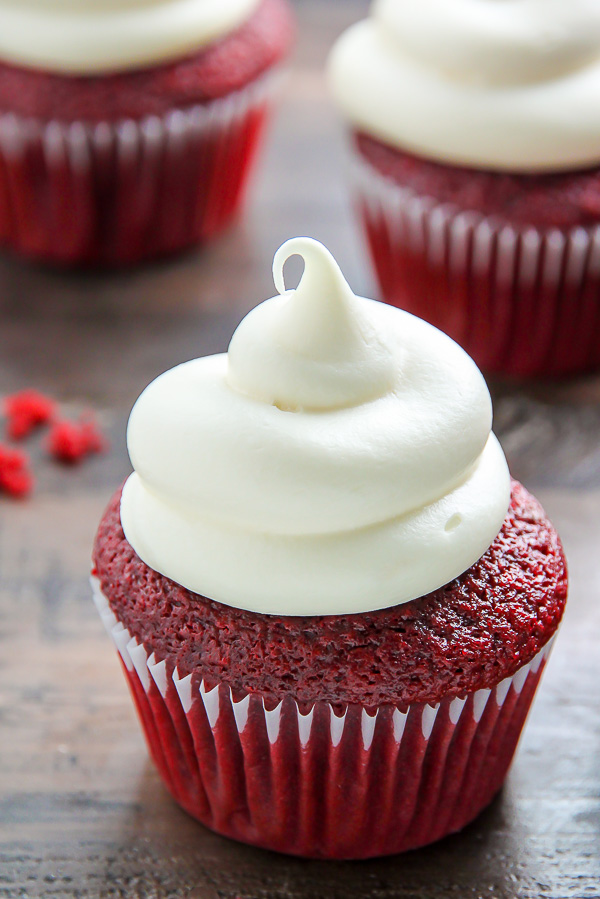
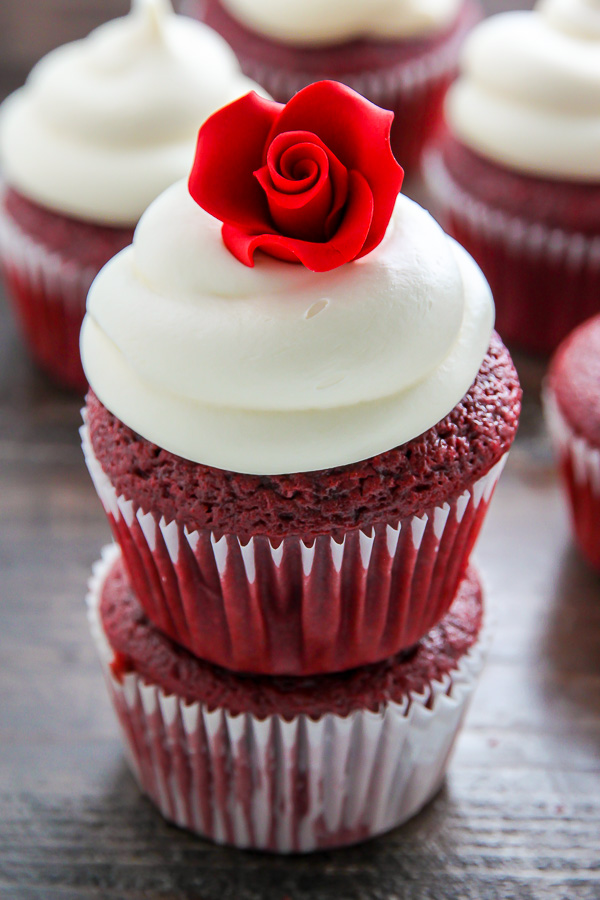
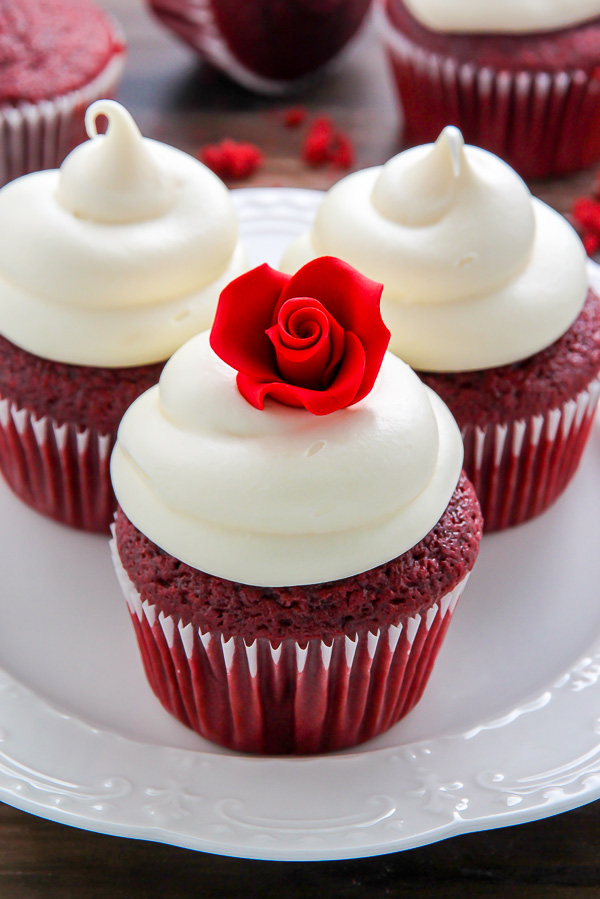
I used these Wilton roses to decorate some of the red velvet cupcakes. Aren’t they so pretty?
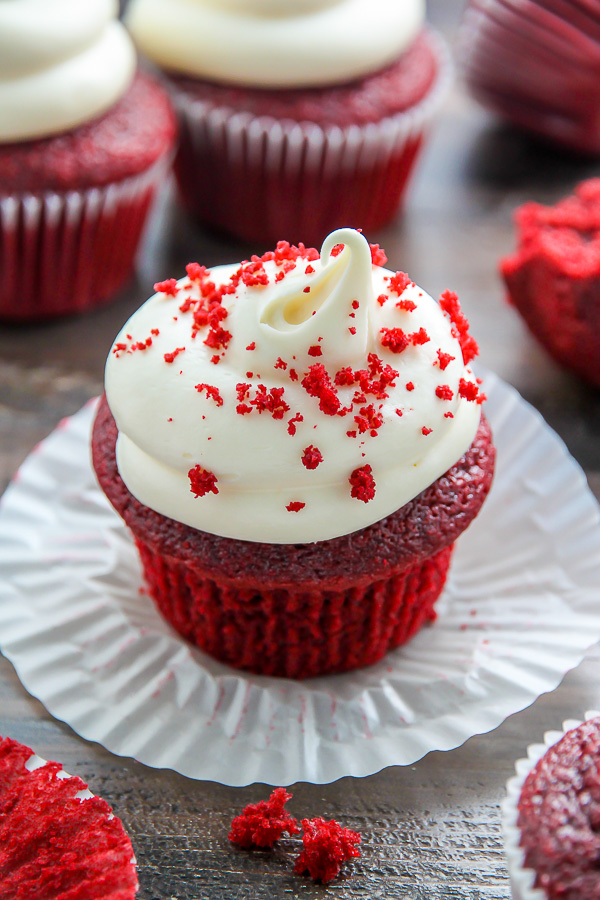
Another decorating technique I love is to sprinkle extra cake crumbs on top of the cream cheese frosting. A lot of fancy bakeries do this and I can see why – it’s easy and so delicious! If you’d like to use cake crumbs as decoration, simply crumble up one cupcake and sprinkle the crumbs on top of freshly iced cupcakes. It’s important to sprinkle them on while the frosting is freshly piped (or spread), otherwise they won’t stick.
I recommend doing this step in a room with hardwood floors. I’m still finding red crumbs in my carpet.
I used this round piping tip to pipe the cream cheese frosting onto these cupcakes. But you can use any piping tip you’d like! Or, simple spread the frosting on with a butter knife. They’re going to look amazing – and taste delicious – no matter how you decorate them!
I am SO in love with these fluffy red velvet cupcakes! They’re loaded with real red velvet flavor, and don’t just taste like a chocolate cupcake with red food coloring added in. I know you’ll love them, too!
If you try this recipe for One Bowl Red Velvet Cupcakes with Cream Cheese Frosting, let me know what you think! Please leave a comment below and don’t forget to snap a pic and tag it #bakerbynature on instagram! Seeing your kitchen creations makes my day.
More Red Velvet Recipes:
- Red Velvet Cake with Cream Cheese Frosting
- Red Velvet Donuts
- White Chocolate Red Velvet Truffle Cake
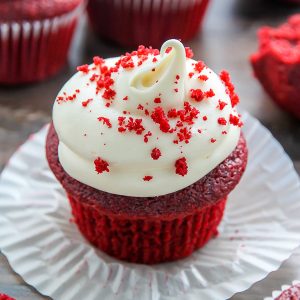
One Bowl Red Velvet Cupcakes
Ingredients
For the cupcakes:
- 1 stick unsalted butter, melted and slightly cooled
- 3 tablespoons canola oil
- 2 teaspoons pure vanilla extract
- 1 cup granulated sugar
- 2 large eggs + 1 large egg yolk, at room temperature
- 1 cup all-purpose flour, not packed
- 1/4 cup cornstarch
- 2 and 1/2 tablespoons cocoa powder
- 1/2 teaspoon baking soda
- 1 teaspoon baking powder
- 1/2 teaspoon salt
- 1 teaspoon apple cider vinegar
- 1/2 cup buttermilk
- 1/2 cup full fat sour cream
- 1 tablespoon red food coloring (use more or less to suit your color needs)
For the Cream Cheese Frosting:
- 8 ounces cream cheese, VERY soft
- 2 ounces unsalted butter, VERY soft
- 2 teaspoons pure vanilla extract
- 3 cups confectioners' sugar, sifted (more if needed to reach preferred consistency)
Instructions
For the cupcakes:
- Preheat the oven to 350 degrees (F). Line a 12-cup cupcake/muffin tin with cupcake liners and lightly spray the liners with non-stick spray, set aside.
- Place the butter in a large, microwave-safe bowl. Place the bowl in the microwave and melt the butter, heating it in 30 second increments, stirring in between each increment. Add in the oil and vanilla and whisk smooth. Add in the sugar and whisk until well combined. Add in the eggs and egg yolk, one at a time, beating well after each addition. Add the flour, cornstarch, cocoa powder, baking soda, baking powder, and salt to the wet ingredients and lightly combine them with a whisk before beating them into the mixture, stirring until it's just combined - be sure not to over mix here! Whisk in the apple cider vinegar and buttermilk and whisk smooth. Fold in the sour cream. Finally, stir in the food color, whisking the mixture just until combined.
- Divide the batter among the lined cupcake molds, filling each 3/4 of the way full (you will have enough batter for about 18 cupcakes). Bake for 15-17 minutes, or until a toothpick inserted in the center comes out clean. Cool completely before frosting.
For the cream cheese frosting:
- In a large bowl using an electric handheld mixer, beat the cream cheese, butter, and vanilla on medium-high speed until completely smooth; about 2 minutes. Reduce the speed to low and gradually add the sifted confectioners' sugar and salt. Once all of the sugar has been added beat on high-speed for 1-2 minutes. Once the cupcakes have completely cooled, spread the frosting over the cupcakes or use a piping bag to pipe it into decorative swirls. Store these cupcakes in the fridge, covered, for up to 3 days.

I made these cupcakes before, they were absolutely perfect! However, this recipe is not good for a while cake. I tried it. I used an 8inch pan, the cake was cracked over the top, didn’t rise much and was dense. So I wouldn’t recommend using this cupcake recipe for a whole cake
Hi there! How should I scale down the recipe if I want to make only 12 cupcakes?
I’m not sure! I’ve never made that alteration to this recipe.
If I make these ahead of time, what’s the best way to store them? Bake the night before for a morning event… first before and store? Thank you
Best red velvet cupcakes ever! I made these for my family for Valentine’s Day and they were gone within minutes. The cupcakes are so moist, fluffy, and perfectly sweet. This was my first time ever making cupcakes so I followed the instructions exactly, and they came out perfect!
Love this recipe with espresso powder!! Baked these on Christmas with my daughters. Will convert to mini bundts or layer cake. Thanks for sharing.
First time i made a red velvet cupcake,followed ur recipe bit by bit and it turned out Very very good!!!!! Will make another batch and take it to work:)) thank u for sharing ur recipes.
I’ve been baking for 30 years. This past winter I spent in Colorado. It was the 1st time I lived some place that was high altitude. Nothing I baked came out correct. I would raise flour/lower water, continually making adjustments. Nothing worked. The middle would always be runny and edges always rock hard. Better results with cupcakes than cakes but still not anything I’d want someone else to eat. Any suggestions? What changes would you make to this recipe for high altitude?
Thanks
I love these cupcakes they taste great but everytime i make them, they bake either completely flat or sink a tiny bit. My oven is fine, baking soda and powder fine, I’ve made sure not to overmix, I don’t know what I’m doing wrong but they never get the dome like your pictures :/ also, they take 23 minutes to bake in my oven (filling them up to make 18 cupcakes), could it be that you’re using a convection oven?
How much is a stick of butter? Can you please let me know the weight of it? And what is the replacement for sour cream ?
The first time I made these cupcakes they came out amazing, but they didn’t rise like the ones in the pictures. They baked like perfectly flat. But now I’m having a hard time making them. My cupcakes don’t have a strong red velvet taste since the first time I tried this recipe and they also don’t dome up at all. I bake them at 350 and they finish baking at around 23 minutes. Are you using a convection oven? Also, how do I make the batter smooth because it looks chunky and tempts me to overmix even what I followed the steps