


 Search
An easy and delicious recipe for Pumpkin Pie Cheesecake Bars! Made with a whole can of pumpkin, they’re loaded with real pumpkin flavor! The best part is these perfect pumpkin cheesecake bars are freezer friendly.
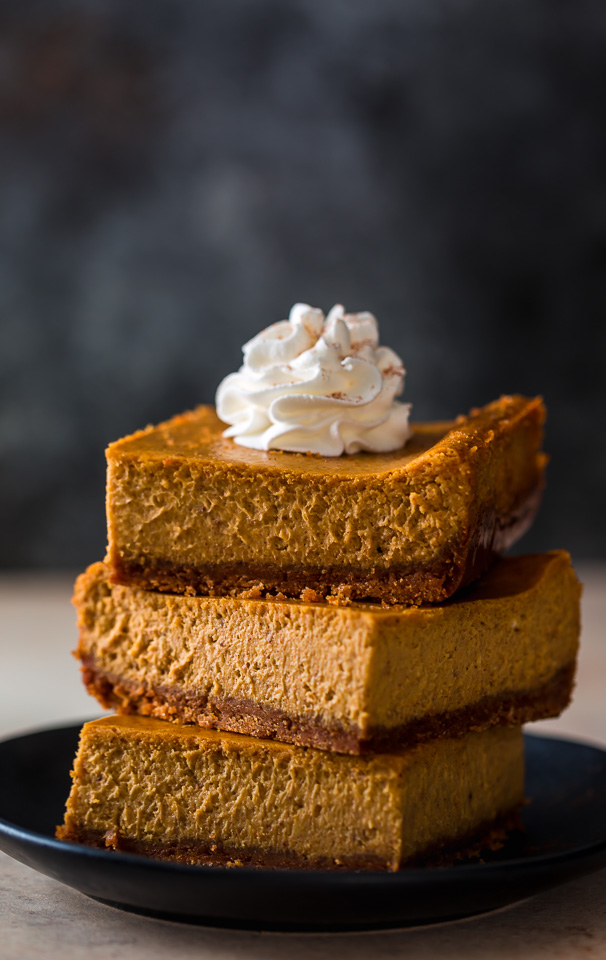
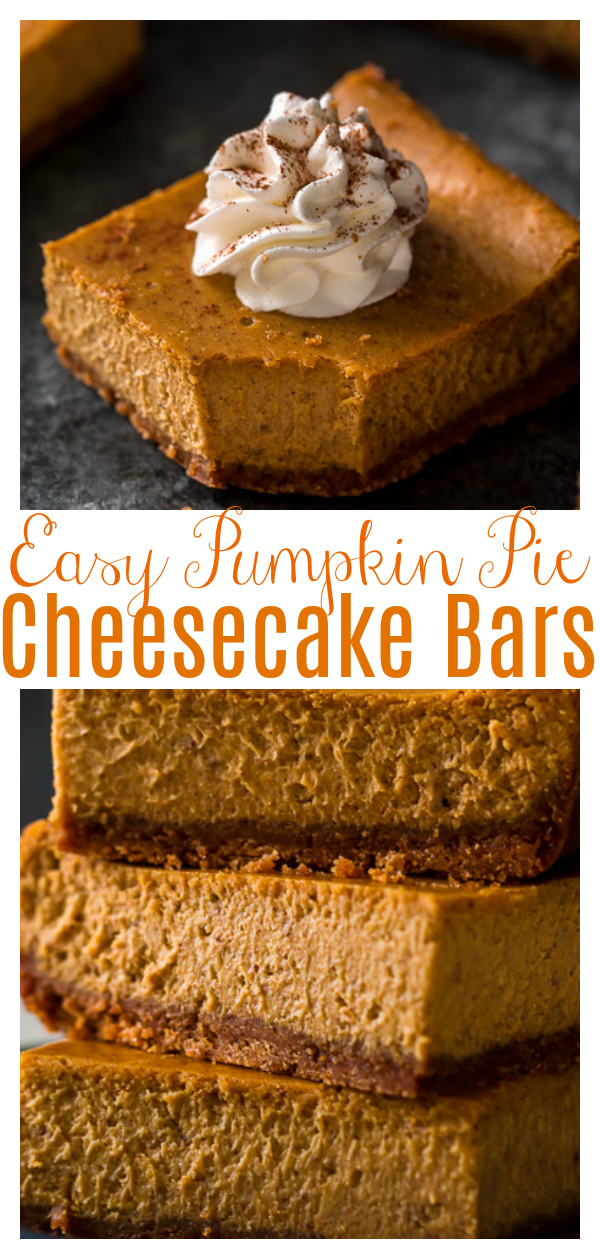
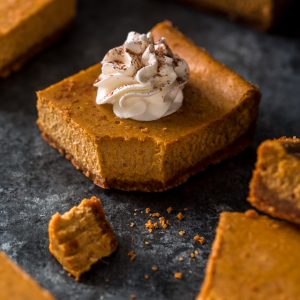
Pumpkin Cheesecake Bars
It’s October, and you know what that means right? It’s time for us to bake pumpkin EVERYTHING!
Starting with these easy but oh-so-delicious pumpkin spice cheesecake bars.
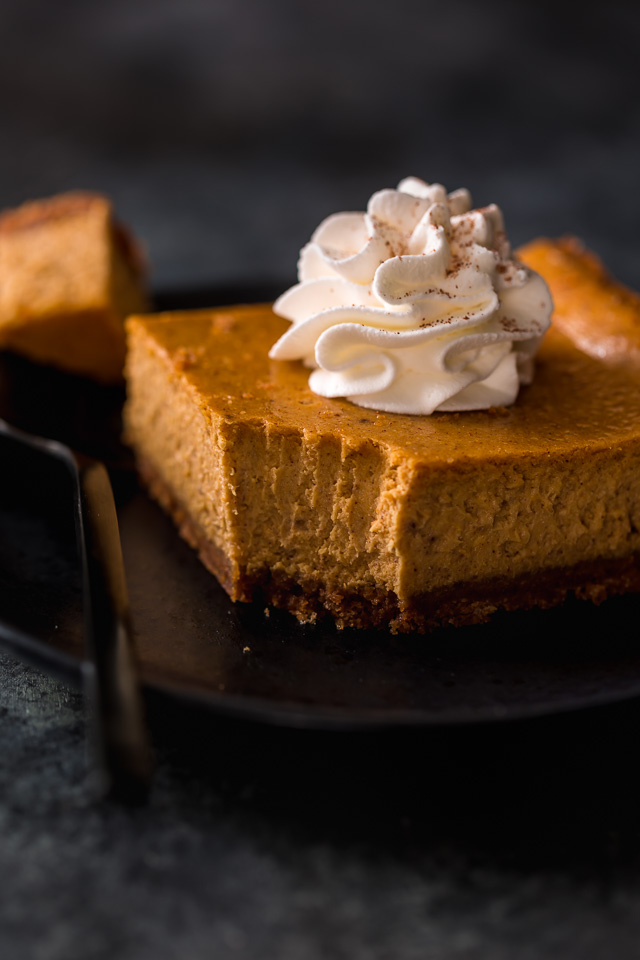
Serious pumpkin fans will be thrilled to know these bars are packed with real pumpkin flavor because they’re made with an entire can of pumpkin puree. Because let’s be real, the only ingredient that can produce real pumpkin flavor is… PUMPKIN! Pumpkin spice is fine and all, but it’s no replacement for the real thing. I also love using the whole can when possible because it reduces waste. I always have the best intentions of using leftover puree for soup or a smoothie, only to find it in my fridge months later in a very sad state. So yeah… trying to create more “whole can” pumpkin recipes this season.
 A few more things I just love about these Best Ever Pumpkin Cheesecake Bars:
- No springform pan required! I know many of you don’t own one and don’t feel like buying new things for just one recipe, so with that in mind I created this recipe using a 9×13-inch baking pan.
- I also know a lot of you LOATHE the water bath process, so this recipe doesn’t require one! You just pop the pan in the oven and bake. Easy as that 😉
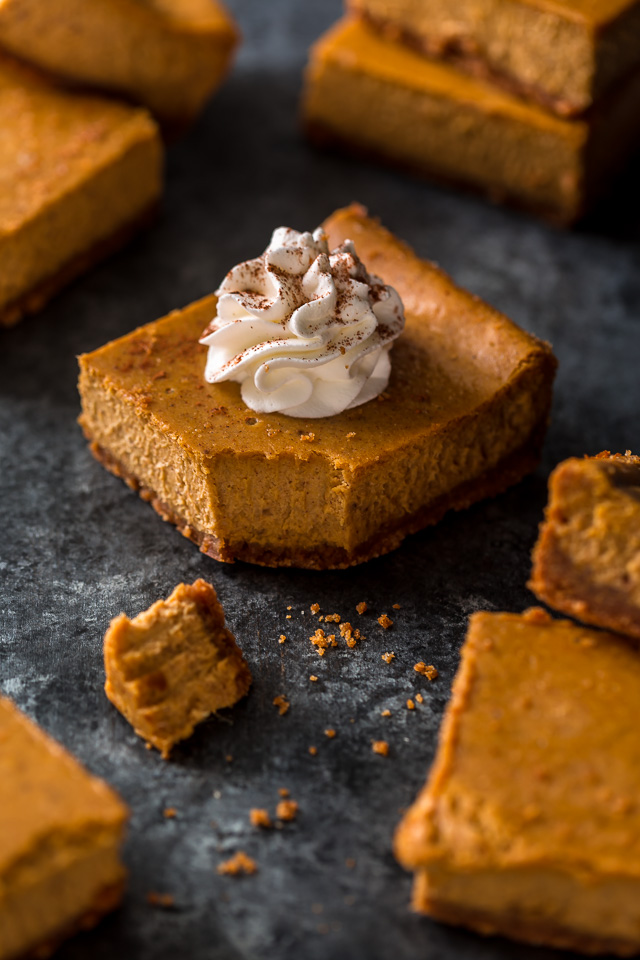
- And finally, you can freeze these pumpkin pie cheesecake bars for up to 2 months! Freeze the whole tray or slice them and freeze just a few squares.
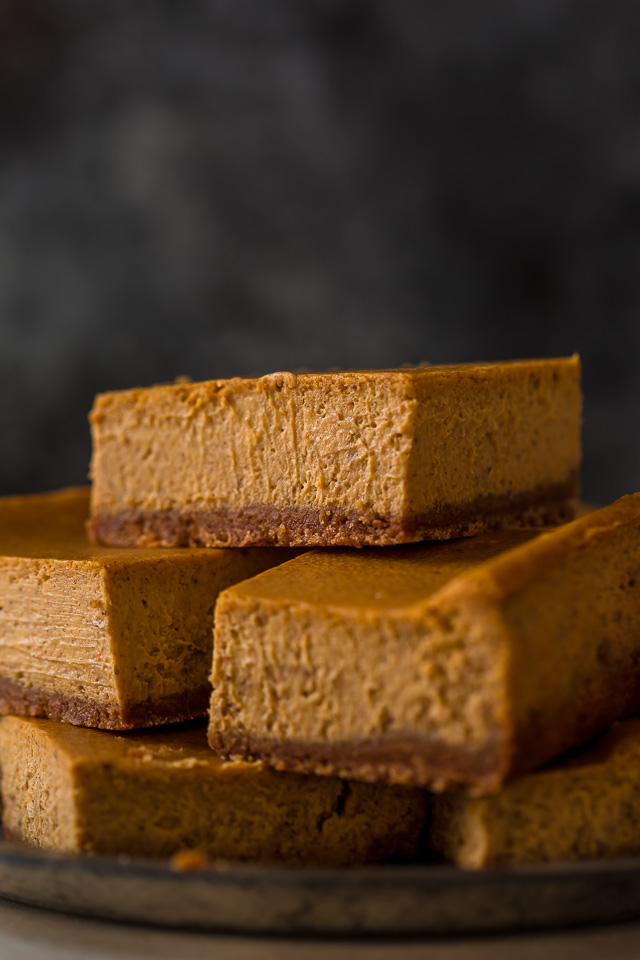
Pumpkin Pie Cheesecake Bars
Tips and Tricks:
- This recipe calls for pure pumpkin puree – NOT pumpkin pie mix, which contains ingredients other than pumpkin. If you can only find pumpkin pie filling, it should still work, but I suggest omitting the spices called for in the recipe, or at least reducing them.
- Room temperature ingredients are crucial when it comes to making any cheesecake – including these bars! So be sure you bring your cream cheese, eggs, yolks, and heavy cream to room temperature before you begin assembling the batter.
- To prevent the crust from sticking, you will need to line your baking dish with heavy-duty aluminum foil. And be sure there’s an overhang of at least 2 inches on each side; this will help you remove the cheesecake bars from the pan later. And finally, you’ll need to spray the pan lightly with nonstick baking spray.
- To make the crust you will need melted butter, crushed graham cracker crumbs, and sugar. Yep – just three ingredients! You can buy graham cracker crumbs from the grocery store, or make your own by pulsing sheets of graham crackers in your blender or food processor.
- When pressing the crust down into the bottom of the pan, you’re going to want to press it down very firmly. A firmly packed crust will bake up nice and thick, and most importantly, won’t crumble much when sliced. I recommend starting to press the crumbs down in the center of the pan and then working the crust out and just a little bit up the edges.
- And last but certainly not least, do not over bake the bars. They should still be a little jiggly in the middle when you remove the pan from the oven. The will continue to cook as they cool. And since they need at least 6 hours to chill in the fridge, you’ll want to plan ahead time wise.
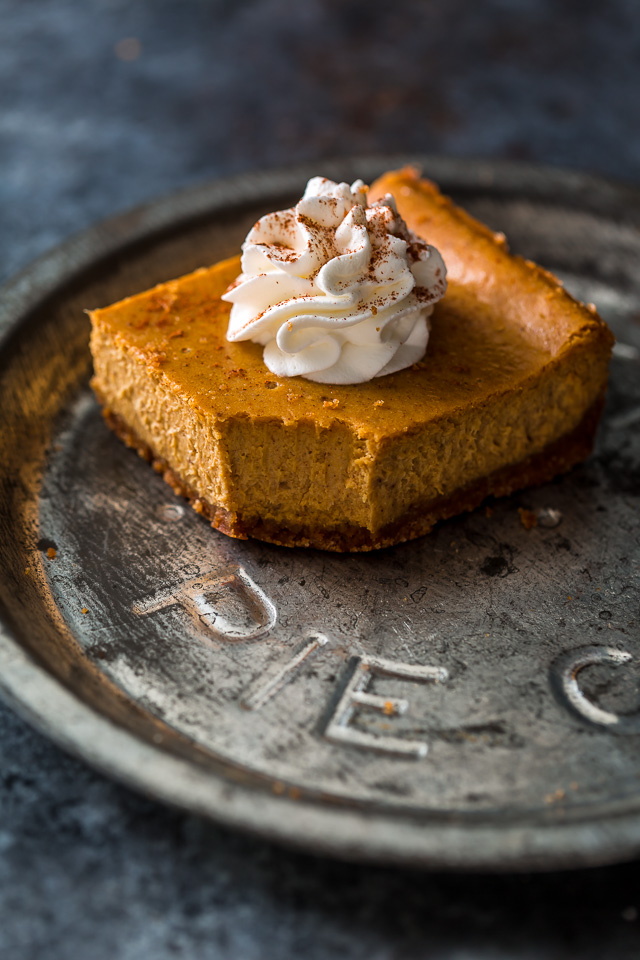
So, are you ready to sink your teeth into one of these creamy pumpkin pie cheesecake squares?!
Pumpkin Cheesecake Recipes
- Classic Pumpkin Pie Cheesecake
- Pumpkin Ricotta Cheesecake with Brown Butter Crust and Grand Marnier Whipped Cream
- Creamy Greek Yogurt Pumpkin Pie Cheesecake
If you try this recipe for The Best Pumpkin Cheesecake Bars, please let me know what you think! Leave a comment below, and don’t forget to snap a pic and tag it #bakerbynature on instagram! Seeing your creations seriously makes my day ♥
Pumpkin Pie Cheesecake Bars
Ingredients
For the Graham Cracker Crust:
- 2 cups graham cracker crumbs
- 1/3 cup granulated sugar
- 4 ounces unsalted butter, melted
For the Pumpkin Pie Cheesecake Bars:
- 4 (8 ounce) packages full-fat cream cheese, softened
- (1) 15 ounce can pumpkin puree
- 1 cup granulated sugar
- 2/3 cup dark brown sugar, packed
- 2 teaspoons pure vanilla extract
- 2 Tablespoons bourbon (optional)
- 3 large eggs plus 3 egg yolks, at room temperature
- 2 teaspoons all-purpose flour
- 1 teaspoon pumpkin spice
- 1/4 teaspoon ground cloves
- 1/2 teaspoon ground ginger
- 1/2 teaspoon ground cinnamon
- 1/2 cup heavy cream
Instructions
For the Graham Cracker Crust:
- Preheat oven to 350 degrees (F). Line a 9x13-inch baking pan with heavy-duty aluminum foil, allowing two of the sides to overlap (you want an overhang of at least 2-inches on two sides) and spray lightly with nonstick baking spray. Set aside.
- In a large bowl combine the graham cracker crumbs, sugar, and butter and, using a rubber spatula, mix well to combine. Press the mixture into the bottom - and slightly up the sides - of the prepared pan.
- Bake the crust in preheated oven for 10 minutes. Remove the crust from the oven and set aside on a cooling rack until needed.
- Reduce the oven temperature to 325 degrees (F).
For the Pumpkin Pie Cheesecake Bars:
- In the body of a high power blender, food processor, stand mixer fitted with the whisk attachment, or in a large bowl using a hand held electric mixer, beat the cream cheese and pumpkin puree until completely smooth.
- Add both sugars, vanilla, and bourbon (if using) and beat until smooth, scraping down the sides and bottom of bowl as needed. Add in the eggs and yolks and beat until combined.
- Stir in the flour and spices, mixing just until combined.
- Using a rubber spatula, fold in the cream, mixing just until it's incorporated in the batter.
- Pour filling on top of prepared crust, and spread evenly.
- Check to ensure your oven has cooled to 325 degrees (F), then place the pan in the oven and bake for 38 to 40 minutes, or until the edges have set and the middle is still a little jiggly. The cheesecake will firm up a lot as it cools.
- Remove the bars from the oven, and cool at room temperature for one hour. Then refrigerate for at least 6 hours, or overnight.
- When you're ready to serve: use the foil overhang to lift the cheesecake bars from the pan and transfer them to a cutting board. Using a large, sharp knife, slice the slab into squares, wiping the knife clean with a damp cloth between slices. Serve at once.
1
This is a phenomenal pumpkin cheesecake recipe. After sitting in the refrigerator overnight, the flavor was the best ever. Thank you, Earl Williams
p.s. This bake took nearly twice as long as the stated time. Oven is calibrated and a thermometer used through this process. FYI
These squares are so rich, creamy, and delicious. I’ve make them every year around Halloween and they’re always a hit. The steps are easy to follow and they pair so nicely with whipped cream and vanilla ice cream.