


 Search
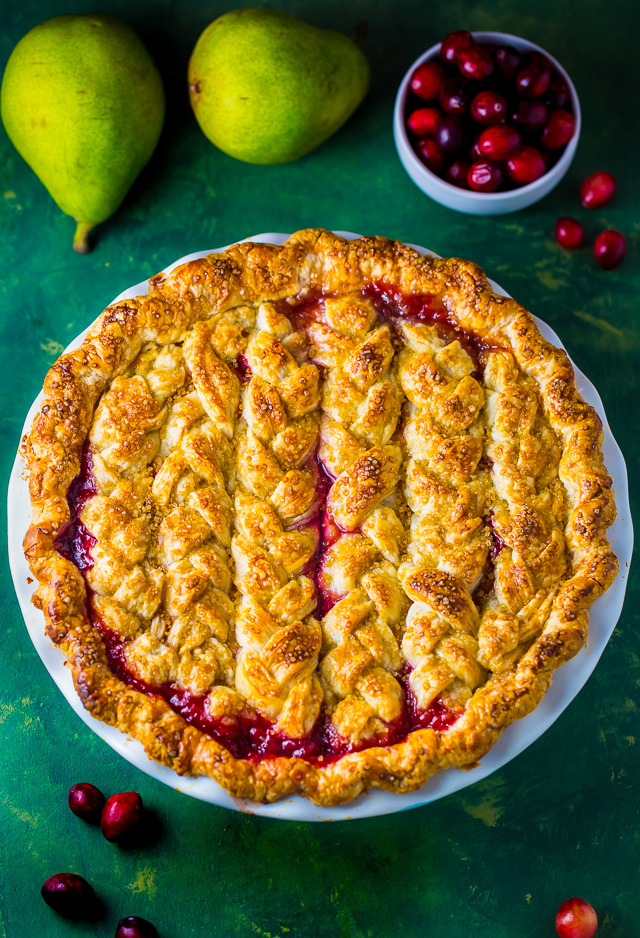
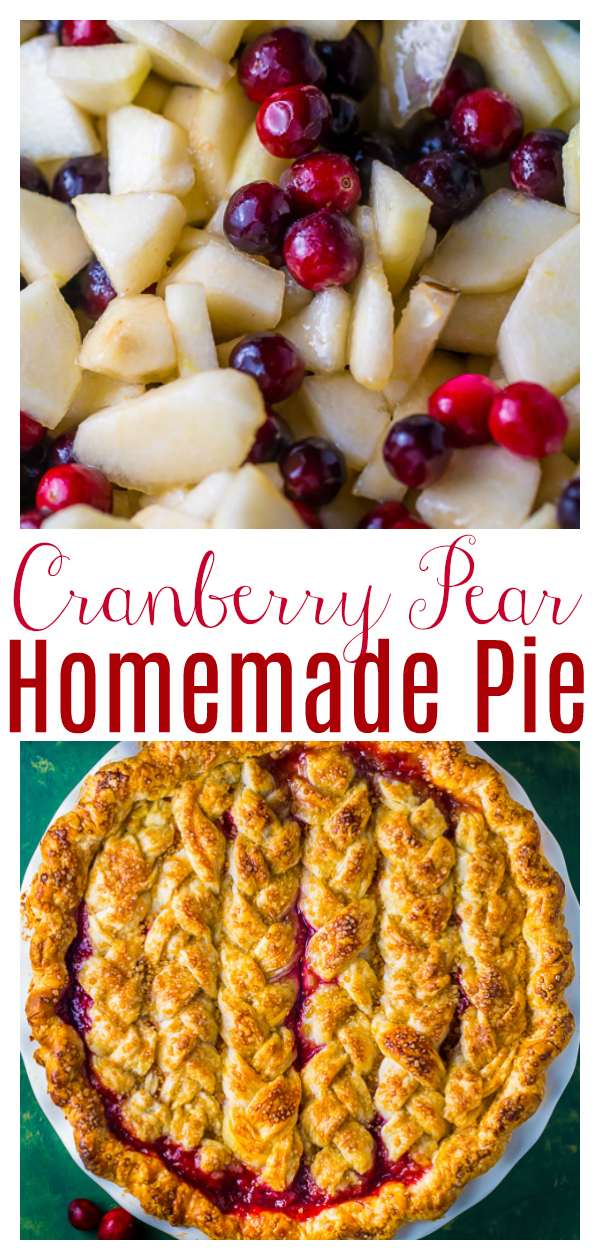
You’ll impress everyone with this downright delicious Cranberry Pear Pie! It’s loaded with juicy pears, tart cranberries, sugar, and spices! Serve with vanilla ice cream this holiday season!

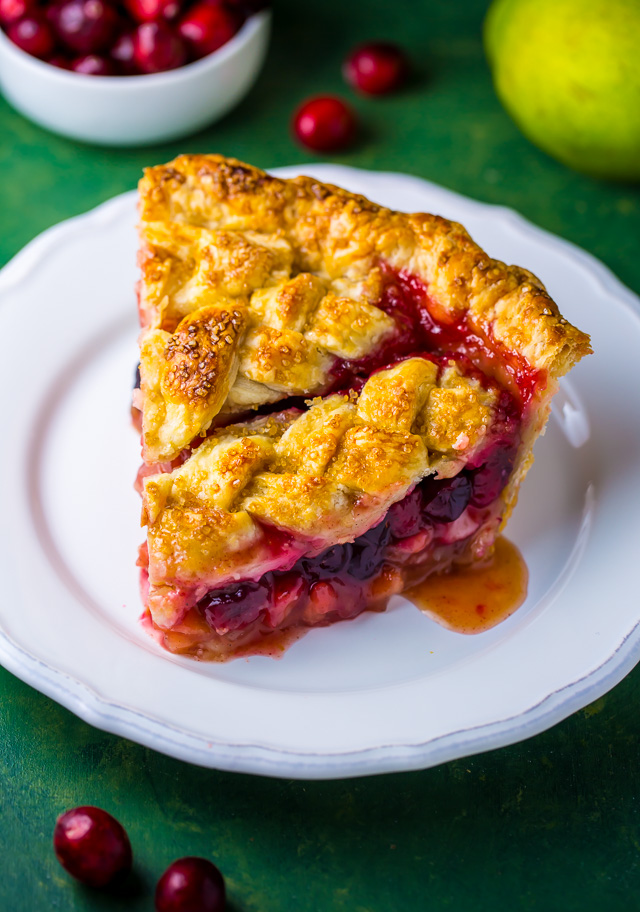
Cranberry and Pear Pie
I have PIE for you today! Am I a girl who keeps her promises or what?!
I was originally planning to share this post with you later in November, but I just couldn’t wait. I mean, how could I?! This cranberry pear pie is just SO good. And beautiful. And DELICIOUS. It would have been unfair to keep it from you for another moment. Big words… but this may be the best pie I’ve made all Fall. The tart cranberries balance out the sweet pears and the color combination is simply stunning!
If you bake one pie this season, make it this one. Especially if you’re a cranberry lover like me.
How to Make Cranberry Pear Pie
- I used my foolproof all butter pie crust for this recipe and highly recommend you do the same! That said, feel free to use your favorite pie crust recipe. You’ll need 2 crusts to cover the top and bottom. I’ve included instructions for a braided top, but feel free to do a lattice pattern or something even simpler! Due to the amount of pie filling in this recipe, I don’t recommend using frozen store bought pie shells. I did a test run using them and they got so soggy I couldn’t even slice the pie 🙁
- This cranberry pear pie is very juicy and may bubble over while it’s baking, so be sure you place it on a large baking sheet before popping it in the oven. To make clean up even easier, line the baking sheet with parchment paper.
- Don’t skip the pear juice reduction. This ingredient enhances the pear flavor and makes the filling nice and juicy. For the best flavor, I suggest using a brand that’s 100% juice, like THIS ONE. No matter what brand you use, just be sure you reduce it to exactly 1/4 cup.
- For a gorgeously golden crust, brush the top of the pie with egg wash then sprinkle with turbinado sugar.
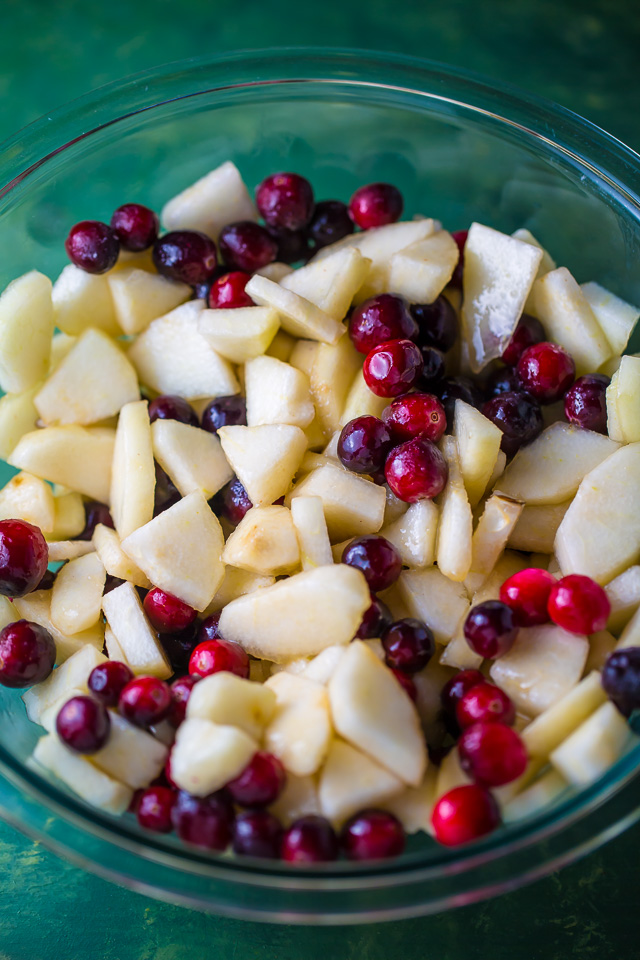
- I recommend chopping your pears into bite-sized chunks instead of slices.
- If you’re concerned about over-browning, you can place a pie crust shield over the pie after 30 minutes of baking. If you don’t own one, you can make one using tin foil.
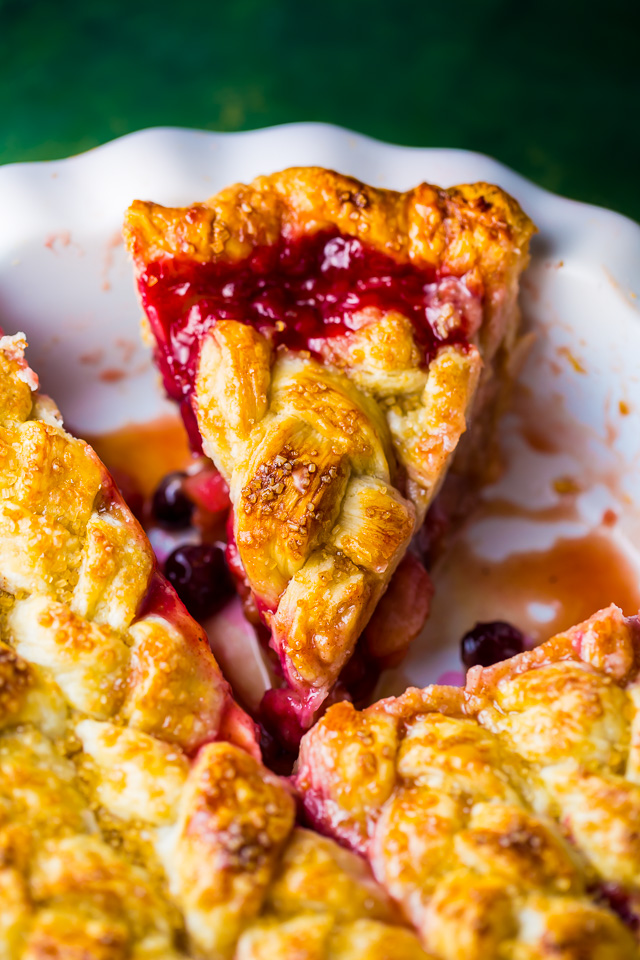
- Make this pie first thing in the morning if you plan on serving it for dessert – it needs at least 6 hours to set! The filling is juicy but not soupy.

If you’re already thinking about the holidays (I know I’m not the only one…?) and want a dessert recipe that will really WOW, this cranberry pear pie is for you!
P.S. I haven’t tried it, but I have a feeling you could make this into a cranberry apple pie by swapping the pears for apples and the pear reduction for apple cider reduction.
If you try this recipe, let me know! Leave a comment below and don’t forget to snap a pic and tag it #bakerbynature on instagram! Seeing your kitchen creations makes my day. ♥
More Cranberry Recipes:
- Cranberry Ricotta Scones
- Easy Apple Cranberry Crisp
- Cranberry Orange Pancakes
- White Chocolate Cranberry Bundt Cake
- Cranberry Orange Cake
- Cranberry Hand Pies
Cranberry Pear Pie
Ingredients
- 2 all-butter crusts
- 1 cup pear juice, reduced
- 1 cup light brown sugar, packed
- 1 cup granulated sugar
- 1/3 cup plus 1 Tablespoon cornstarch
- 3/4 teaspoon ground cinnamon
- 1/4 teaspoon ground nutmeg
- 1/8 teaspoon ground allspice
- 5 pears, peeled and sliced into thin chunks (about 1" inch)
- 2 cups cranberries, fresh or frozen (if using frozen, do not thaw first)
- 1 teaspoon lemon juice (fresh squeezed)
- 1 tablespoon unsalted butter, very cold and cut into tiny pieces
- 1 large egg
- 1 teaspoon milk
- Turbinado sugar, optional
Instructions
- Lightly spray a 9" pie pan with non-stick spray; set aside. Line a baking sheet with parchment paper; set aside. Roll one piece of pie crust into a 12" round, then carefully place it in the prepared pie pan.
- Using your hands, gently fit the dough into the bottom of the pan and up the sides. Sprinkle the bottom of the pie crust with one teaspoon of flour and one teaspoon of granulated sugar, mixing them together so they evenly coat the bottom of the crust. Trim the crust with kitchen sheers, leaving one inch of pie crust overhang. Place pan in the refrigerator until needed.
- Roll the second piece of pie crust into a 12" round. Using a ruler and a paring knife, cut 18 strips, each about a 1/2 inch wide. Don't worry if they end up being a little uneven - it happens! In groups of three, gently braid the strips. Carefully transfer the braids onto the prepared baking sheet and place in the refrigerator until needed.
- Place the pear juice in a small saucepan and bring to a boil over medium-high heat. Continue cooking, stirring frequently, until you have 1/4 cup of pear juice reduction; about 10 minutes. Remove from heat and set aside until needed.
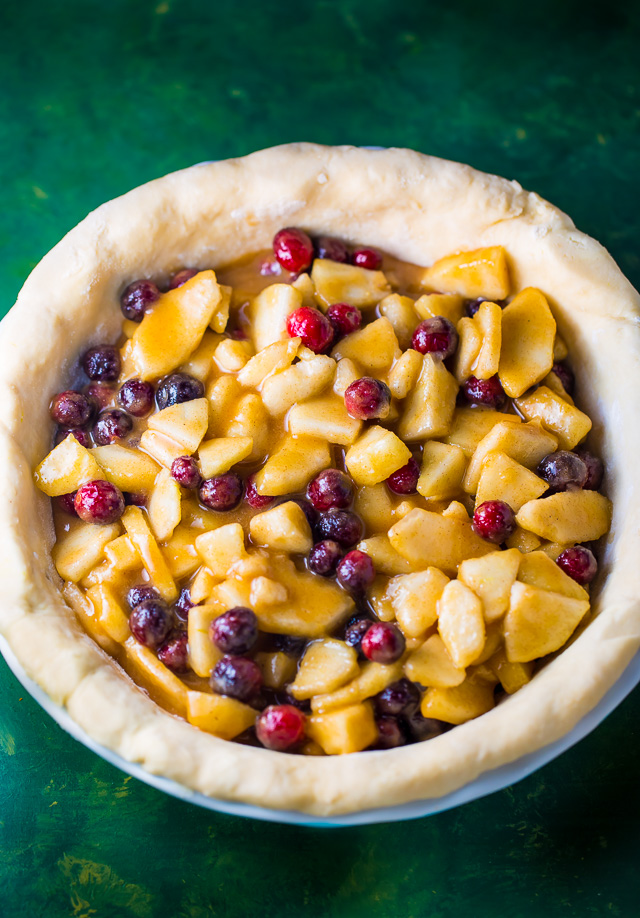
- In medium bowl combine both sugars, cornstarch, and spices; set aside. In a large bowl combine pears, cranberries, pear juice reduction, and lemon juice. Add the dry mixture and toss well to coat.
- Using a slotted spoon, fill the chilled pie crust with the cranberry pear filling, leaving excess juices that drip through the spoon behind.
- Sprinkle the butter pieces on top of the fruit filling. Remove the pie crust braids from the refrigerator and place them on top of the filling. Tuck the excess dough around the edges under itself and crimp the crust using your thumb and index finger. Place the pie in the refrigerator for 20 minutes.
- In the meantime, preheat the oven to 425 degrees (F). Make an egg wash by whisking together the egg and milk until well combined. Brush the egg wash over the braids and crust of the unbaked pie, then sprinkle with the turbinado sugar, if using.
- Place the pie on a large baking sheet. Bake for 15 minutes, then reduce the heat to 350 degrees (F), and continue baking for an additional 55 minutes, or until the crust is golden brown and the filling is bubbling.
- To avoid over browning, you may want to place a piecrust shield on the pie after 30 minutes of baking. Carefully remove the pie from the oven and place it on a wire rack. Cool completely before cutting, about 6 hours.
- This pie will keep, loosely covered, at room temperature for one day. You may also tightly wrap it and store it in the fridge for up to one week.

We made this pie for Thanksgiving! The crust was INCREDIBLE. I had never used corn starch in crust before and that made all the difference. Truly an incredible & festive pie! We baked it the day before and it kept well. We also used the leftover pear syrup to add into the homemade whipped cream.
I did change the recipe a little to save time. Instead of pear juice, I used a small package (about an ounce) of freeze dried Asian pears, crushed to powder. I also had to make the filling at night and then bake the pie the next day. That actually worked really well. However because I did that, I added in a little extra cornstarch to help the pie hold together. I did not drain the juices before adding the filling to the crust – hence the extra tablespoon of cornstarch. Since the fruit and sugars macerate overnight and create a lot of juice, I didn’t want to lose pear flavor and sweetness by draining the juices when I added them to the pie shell right before baking. Had I had time to bake the same day, I would have followed your directions on spooning the filling in with a slotted spoon.
I’m not a pie person, but this was really good. My mom RAVED about it and requested that I make it again very soon. She was enamored with the pear flavor coming through, the height of fruit in the pie, and the way it cut perfectly. It’s really a beautiful combination of flavor. It’s also a gorgeous presentation!
Kudos for a recipe that unexpectedly became and instant family favorite!
could i substitute orange juice for the pear juice?
No need to be concerned over the cranberries. They balance the sweetness of the pears perfectly. I used mostly firm pears with a couple of soft. The combination made the consistency just right.
Delicious!!!! I added roasted walnuts, doubled up on the pear concentrate and added cardamom but the rest was as instructed. Spooning the filling into the shell with a slotted spoon was exactly what gave us a non-runny consistency. I’m making it all holiday season!
I’m a little anxious about the cranberries being too tart without precooking. But no one in the commnents mentioned this as an issue. Should I worry about something else? And I’m guessing that the pears should be really firm. If they’re too ripe then I could end up with too much moisture?
looks amazing! My church is doing a pie night but I really want to make this a few days ahead, need it for a Wednesday I was thinking of making it on Monday, do you think it will hold up for that many days?
Hi Rebecca. How nice of you! Sadly, I do think the crust would get pretty soggy after 2 days of sitting.
This is amazing! I made it for my mom’s Christmas birthday, she loved it!
I haven’t cut into this yet but I made it tonight and it looks absolutely beautiful! I made a few adjustments due to altitude (I am at 8500 ft) but overall looks like it worked almost exactly as written. Thanks!