


 Search
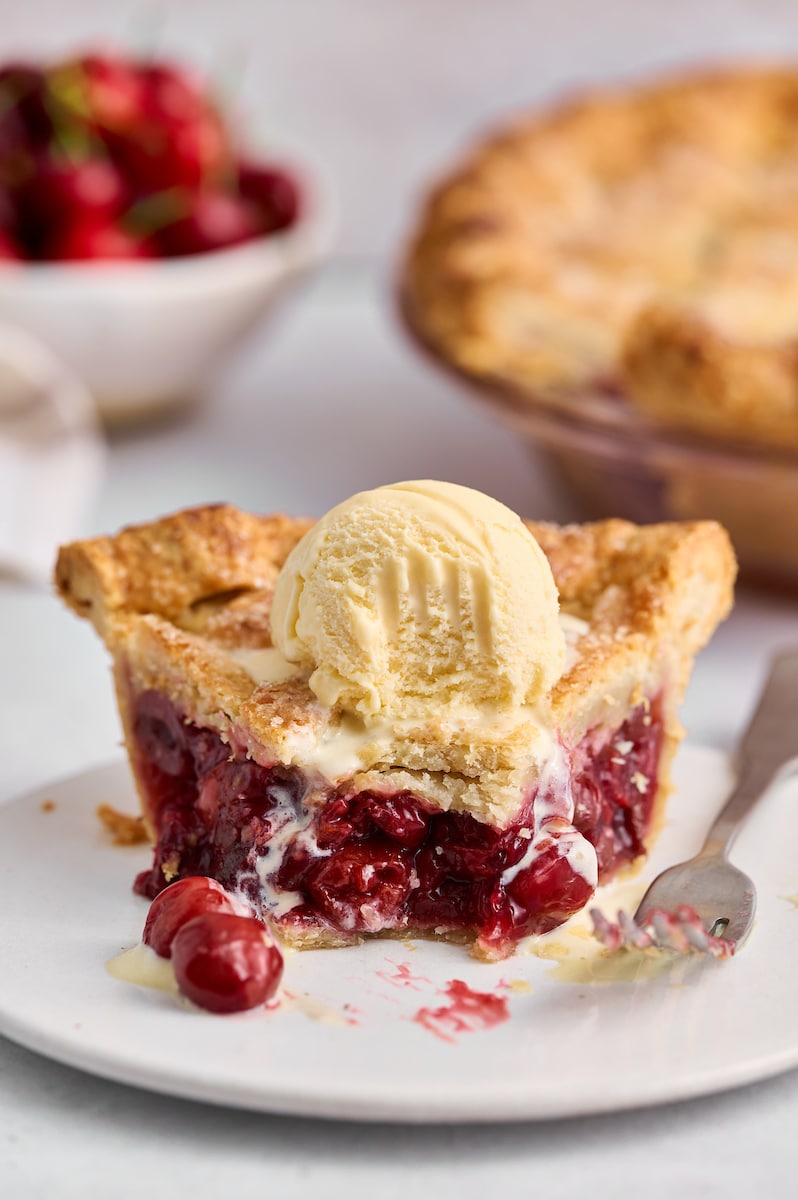
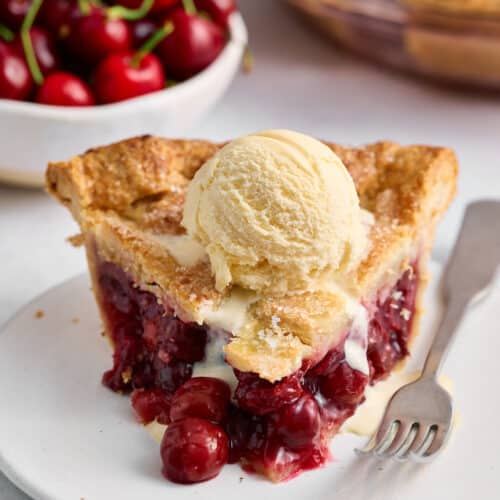
Homemade Cherry Pie is the QUEEN of summer desserts… and a million times better than store bought pie! Use my homemade pie dough for a golden brown all-butter pie crust. And use fresh cherries or frozen cherries for the cherry pie filling. My favorite pie to serve straight from the pie dish with vanilla ice cream!

Mom’s Cherry Pie Recipe
Originally published in 2018, my mom’s favorite cherry pie has become a favorite recipe of thousands of readers, too! So many of you have made special memories with this recipe. From 4th of July parties to sunny picnics to Christmas dessert… you guys seriously love this pie!
This is especially touching for me, because heartbreakingly, my mom passed away a few years ago. But her beloved pie lives on! And knowing it brings so many of you great joy… well, that’s priceless!

Why You’ll Love this Homemade Cherry Pie
- Use fresh or frozen cherries! And any variety of sweet or tart cherries will work.
- The cherry pie filling is juicy and full of sweet/tart cherry flavor.
- I use a cooking method for the cherry pie filling that leaves just the right amount of cherry juices… it’s juicy but not soupy!
- Assemble the pie dough easily, then wrap it in plastic wrap and refrigerate for up to 2 days before using.
- The best dessert for any summer event… especially when served with ice cream!
- Make the pie, cool completely at room temperature, and wrap in plastic wrap and it’ll stay fresh for up to 2 days! Or 2 months in the freezer.
How to Make Cherry Pie
- Make the Pie Dough: You can make the pie crust recipe up to 2 days in advance. Simply make as directed, then store in the fridge until needed. Or freeze the pie dough for up to 2 months.
- Cook over medium heat then cool. Feel free to store this in the fridge for up to 2 days! Just give it a good stir before use.
- Roll out the Pie Dough: You’ll roll the bottom crust into a large circle and fit it into the pie plate. For the top crust, you’ll slice it into strips and create a lattice top crust.
- Make an Egg Wash: This is the key to a golden brown crust! You’ll gently brush the egg wash all over the top crust using a pastry brush.
- Preheat the Oven: For this recipe, you’ll start with the oven at 425 degrees, then reduce then temperature after 15 minutes. Be sure to preheat the oven at least 20 minutes before you plan on baking.
- Assemble the Pie: Place the bottom crust in the pie plate, spoon the cherry pie filling, then add the top crust. Brush with egg wash and place on a baking sheet.
- Bake the Pie: Place the pie plate in the preheated oven until the crust is golden brown and the cherry juices are bubbling.
- Cool Completely: To get clean slices that don’t ooze everywhere, be sure to cool this pie at room temperature. To cool completely, it’ll take about 3 to 4 hours.
Pie Dough 101: The Best Pie Crust Recipe
- Cold Butter is Key: No matter what pie crust recipe you use, make sure your butter is ice cold before beginning. I suggest placing your sticks of butter in the freezer for 10 to 20 minutes before use.
- Use a Pastry Cutter: But if you don’t have one, you can cut the butter into the pie dough using two forks. Avoid using your fingers if you can, because they can cause the butter to melt.
- Add Just Enough Water: You want the pie dough to be a bit shaggy. It’ll come together once kneaded. Adding too much water will cause a tough and gluey pie crust.
- Chill the Pie Dough: The disks of pie dough need to chill for at least 2 hours, but will keep in the fridge for up to 48 hours.
- Prepare the Lattice Strips: For the top crust, you’ll cut the pie dough into lattice strips. Practice makes perfect here, so be patient with yourself! And don’t worry if it’s not picture perfect.
Cherry Pie Filling: Fresh Cherries vs Frozen Cherries
- Fresh or frozen cherries will work in this cherry pie recipe, so feel free to use either!
- I typically use fresh cherries in the summer and frozen cherries in the winter/fall.
- One major pro for using frozen cherries? You don’t need to wash or pit them. This definitely will save you time… especially if you don’t have a cherry pitter.
- Any variety of cherries will work with this cherry pie filling! But I love using sweet red cherries the best. Rainier cherries will also work great. You can use sour cherries, but you’ll need to add an extra 1/4 cup of sugar.
- My favorite brand of frozen cherries is Wyman’s dark sweet and red tart cherries are *chef’s kiss delicious! And yes, they are available in 2 pound bags, so they are all ready to use in this recipe. I always stock up on them when they go on sale!
- Not all almond extracts are equal in quality, so be sure to choose a pure almond extract for this recipe. If you’re allergic to almonds, you may omit the almond extract completely.
- If omitting the almond extract, I suggest adding an extra teaspoon or two of vanilla extract in its place.
- For best results, use fresh lemon juice! Avoid bottled lemon juice, which tastes artificial. Do not skip the lemon juice; it will not make your pie taste lemony!
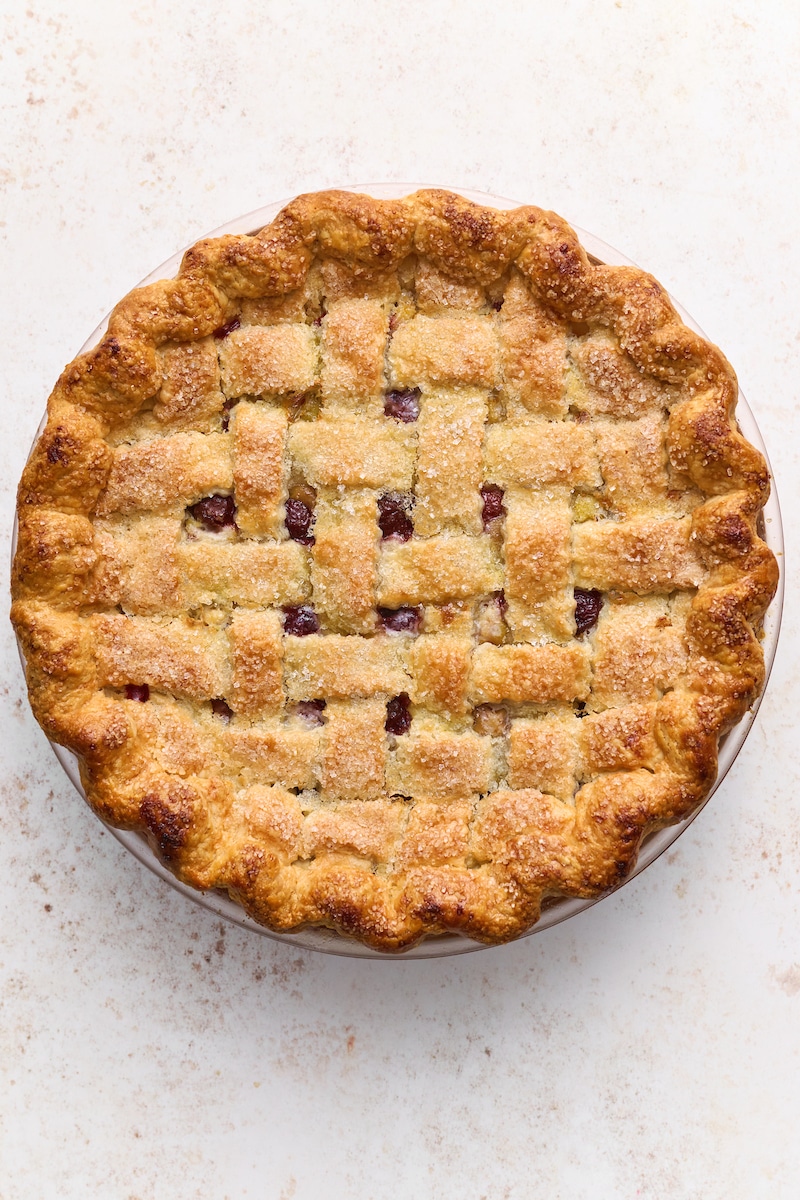
Bake on a Baking Sheet: Until the Crust is Golden Brown
- The cherry juices bubble up as the pie bakes in the oven… and sometimes, they land on the bottom of the oven. My solution? Bake the pie on a baking sheet.
- Baking the pie on a large baking sheet also makes removing the hot pie from the oven easier – and safer!
- You’ll want to bake this pie until the crust is golden brown and the cherry juices bubble up and smell incredible! This typically takes about an hour and 5 minutes.
- If your top crust is getting too brown, you can cover it with a pie shield or lightly tent the top of the pie with aluminum foil. But you shouldn’t need either option.

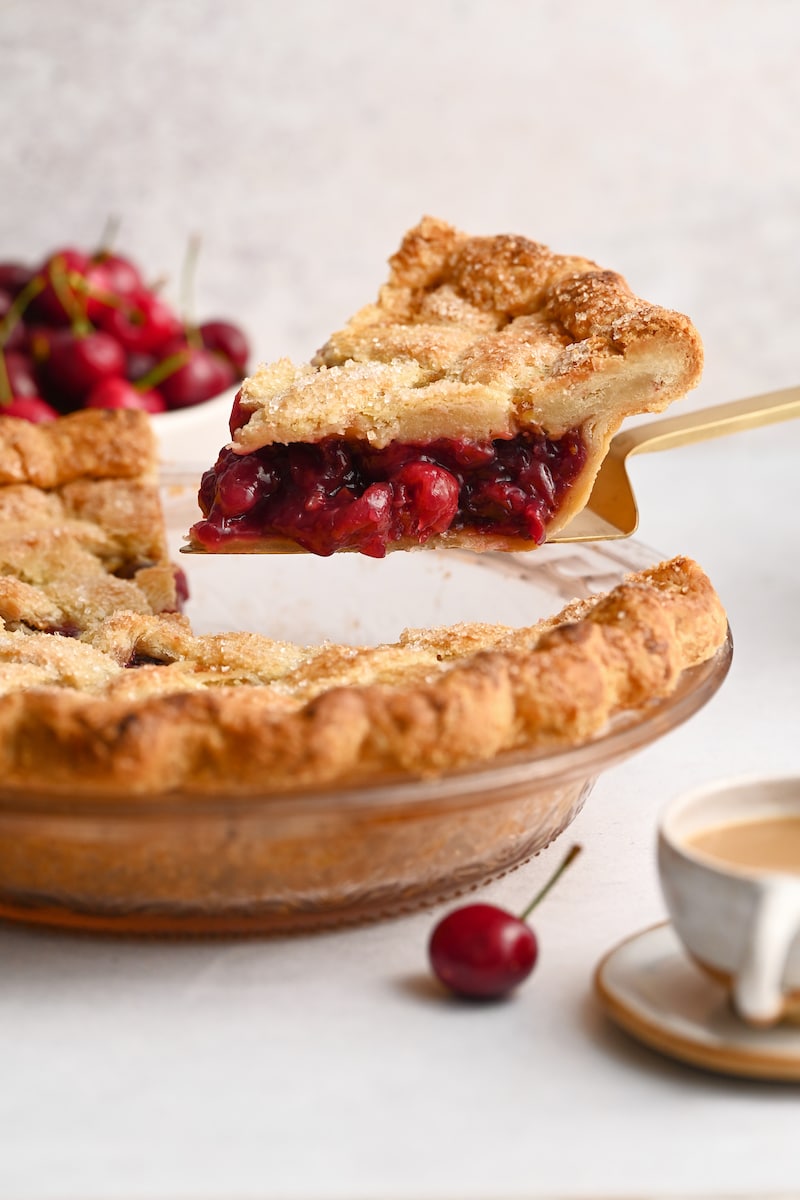
Cool Completely Before Slicing
If you’ve ever cut into a hot pie before… you already know why it’s essential to cool completely before slicing, right? Because hot pies are still mainly liquid! And the filling will flow and ooze and run everywhere.
So be sure to allow this homemade cherry pie to cool completely at room temperature before slicing! This usually takes about 4 hours. But you should be able to get semi-neat slices after 2 hours… if you just can’t wait to dig in.
For picture perfect slices, I suggest making this pie the night before you need it. That way it can chill and firm up overnight. And if you prefer to serve it slightly warm, you can always reheat a slice in the microwave or oven. I ALWAYS do this when I plan on enjoying a piece with a scoop of vanilla ice cream!
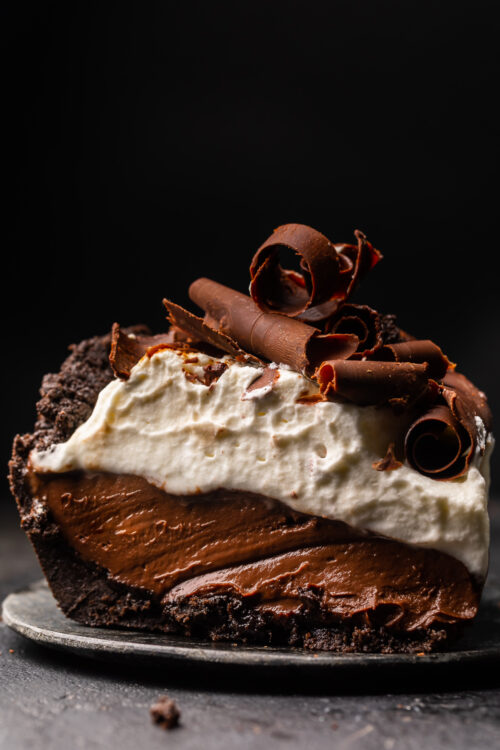
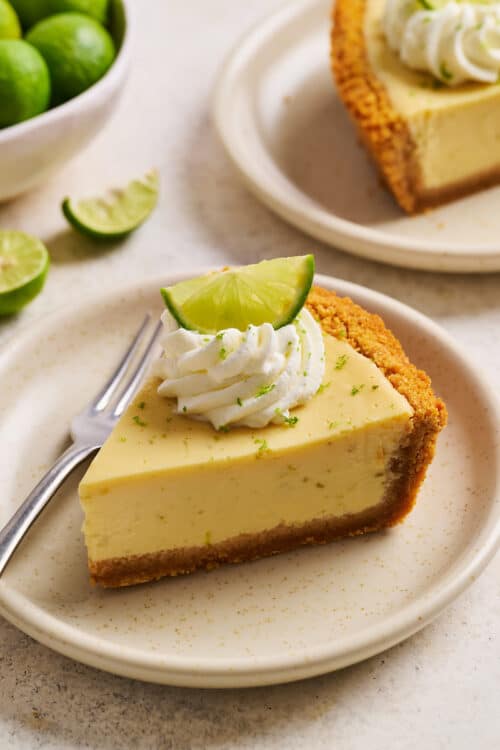
More Cherry Pie Recipes:
This post may contain affiliate links! See privacy policy for full details.
Foolproof Cherry Pie
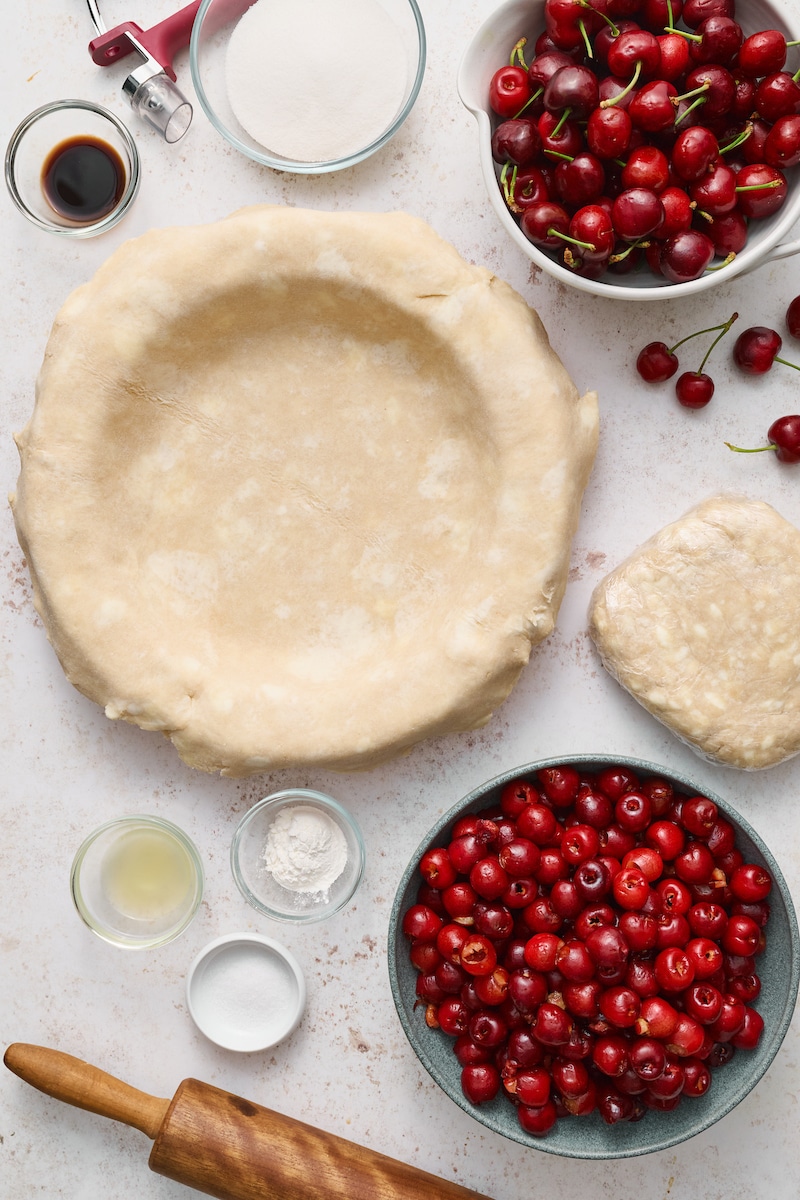
Ingredients
- (2) foolproof all-butter pie crust
- 2 pounds cherries pitted (fresh or frozen)
- 3 Tablespoons cornstarch
- 1/2 cup (99g) granulated sugar
- 1/2 teaspoon salt
- 3 teaspoons vanilla extract
- 1/4 teaspoon almond extract
- 1 Tablespoon freshly squeezed lemon juice
- 2 tablespoons unsalted butter cut into small cubes
- 1 large egg
- 2 teaspoons water
- 2 Tablespoons sparkling sugar optional
Instructions
Prepare the Crust:
- Have ready and refrigerated one batch of foolproof all-butter pie crust.
- Remove the dough from the fridge 10 minutes before you begin rolling, as dough that is too cold will crack. Lightly flour a rolling pin and your work surface. Set the dough in the middle of the work surface and – beginning from the center of the disc – roll the dough away from you in one firm and even stoke. After each stroke, rotate the disc a quarter turn clockwise and roll again. Lightly sprinkle more flour on the work surface, on the dough, and on the rolling pin as needed. You want to use just enough to prevent the dough from sticking. As your disc of dough becomes larger, be sure not to overstretch the center of the dough. Continue rolling until the dough is 3 inches longer than the pan you are using, and around 1/8″ to a 1/4″ in thickness.
- Carefully fold the dough in half and lay it across one side of a buttered pie pan, placing the seam of the dough in the center of the pan. Gently unfold the crust, then use your hands to fit the dough down into the pan, making sure there are no gaps between the dough and the pan. Burst any air bubbles with a fork. Do not pull or stretch the dough here!
- Using kitchen scissors, trim the dough overhang to 1 and 1/2 inches, measuring from the inner rim of the pan.
- Cover the crust with plastic wrap and refrigerate for at least 1 hour, or up to 48 hours. You may also freeze for up to 2 months
Prepare the lattice strips:
- Have ready and refrigerated one batch of foolproof all-butter pie crust.
- Line a small baking sheet with parchment paper; set aside until needed.
- On a lightly floured work surface, roll out the pie dough into a 12-inch circle.
- Using a pastry cutter, slice the dough into 10 strips (the width of the strips is totally up to you. I prefer medium strips so I usually slice them between an inch and an inch and a half wide). Lay the strips on the prepared baking sheet and refrigerate until needed.
For the Cherry Pie Filling:
- Combine the cherries, cornstarch, sugar, salt, vanilla, almond extract, and lemon juice in a large saucepan over medium-high heat. Simmer, stirring almost constantly, until the mixture starts to thicken – about 8 minutes.
- Reduce heat to low and cook for another 2 minutes before removing from the heat. Transfer to a heatproof bowl and cool to room temperature.
For the Egg Wash:
- In a small bowl, beat together the egg and water until well combined. Set aside until needed.
Assembly and Baking:
- Preheat oven to 425 degrees (F).
- Remove the crust and lattice strips from the refrigerator.
- Using a rubber spatula, scrape the cherry pie filling into the pie crust shell. Top with cubes of butter.
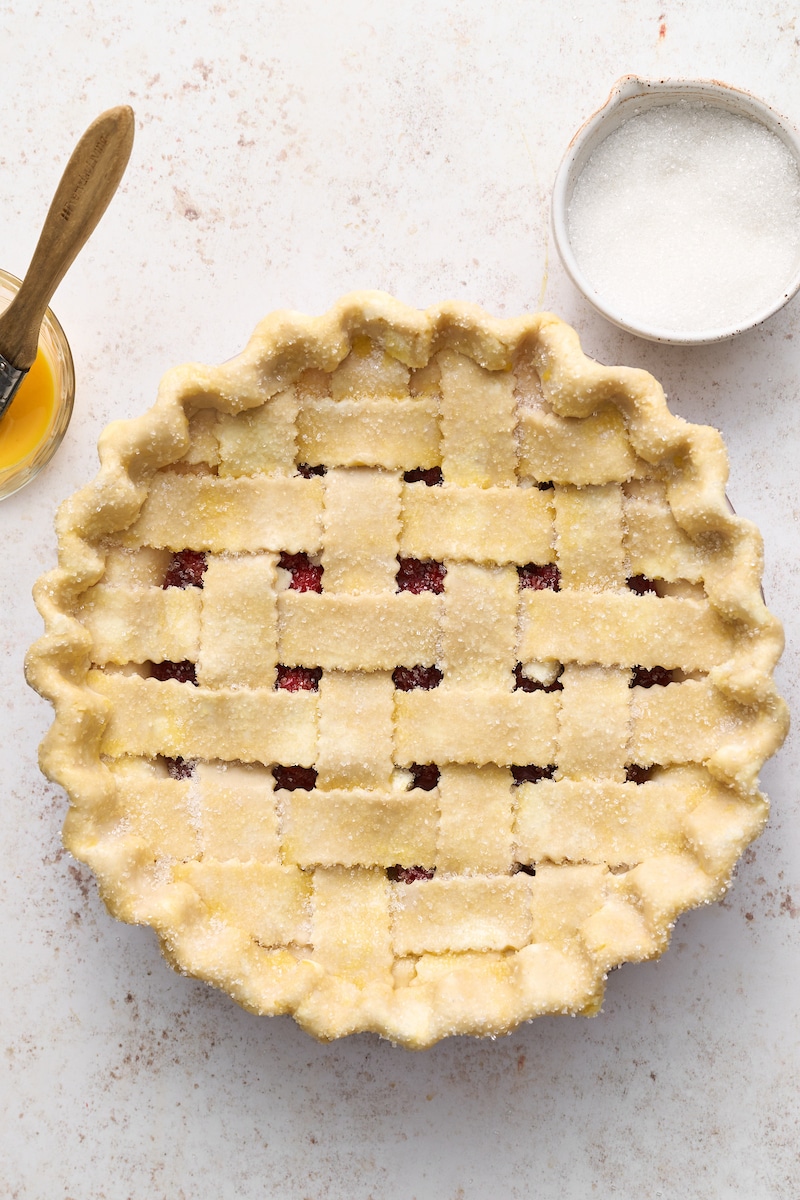
- Lay 6 of the strips parallel on top of the filling, leaving about 1/2-inch between each strip. Fold back every other strip, then place another strip of dough perpendicular to the strips. Unfold the folded strips so they lay over the perpendicular strip. Continue this layering process, weaving the strips over and under each other.
- Trim the edges of the strips, leaving about 1/2 inch overhang. Roll the excess dough up so it’s tightly sitting on the edge of the pie plate, then crimp the edges to secure the strips with the bottom pie crust.
- Brush the edges of the crust with the egg wash and sprinkle with sugar, if using.
- Place the pie on a baking sheet and bake for 15 minutes. Reduce the oven temperature to 350 degrees (F) and continue baking for 50 minutes, or until the crust is golden and the filling is bubbling.
- Place pie plate on a wire rack and cool for at least 2 hours before slicing.

Why is it that my cherry pie filling wouldn’t gel? I followed the recipe exactly and I got cherry soup. What am I doing wrong?
I have used this pie recipe so many times now, and I always get a “WOW” reaction from people, it’s such an amazing people pleasing recipe. I only ever tweak minor things to experiment, like adding cranberries or another spice, but I never deviate too much because it’s simply a perfect recipe.
I don’t find it to be too sweet! Also, the amount of almond/bourbon vanilla extract is delicious, just dreamy and perfect. Thank you so much for blessing us with this recipe!
I used my own pie dough recipe. This is a wonderful recipe and should be added to your culinary repertoire. I thought it was a bit too sweet so next time I will only use 1/3 cup of sugar to the cherries.
So you don’t precook the pie crust before adding the filling? Won’t the bottom of the pie be soggy?
I don’t find it necessary to pre-bake, as this pie crust still bakes up flaky without that extra step 🙂
This is my go-to pie crust for pies, savory or sweet! I always put the empty crust in the freezer while I’m preheating the oven and it is always flaky and delicate. I wait for the Raineer cherries to come out in the markets to make cherry pie. The pinkish-yellow flesh make a beautiful pie! I also use the left-over crust to make little pot pies. Perfect!!
I’m honored this is your go-to for pies! Thank you!
This Foolproof Cherry Pie recipe and the Foolproof Butter pie crust is absolutely THE BEST Cherry pie recipe ever. I used 2 lb. bag of frozen sweet cherries and followed directions and WOW this pie is the BEST. Made it for my 52 yr. old sons birthday because cherry pie is his favorite. He could not stop talking about how delicious it was. I sent the pie home with him.
Thank you so much for this recipe. I will make it again very soon.
I am excited to try this recipe! Question: can you pre-cook the filling a few days ahead of time and then assemble the pie? I was thinking just bring the filling to room temp first.
Yes you can, I do it all the time and it works great. It’s fine to use the filling straight out of the fridge as well.
I decided to double the recipe since I’m making eight (5 inch) pies. It took a bit longer to thicken and it smells divine! Looking forward to eating one.
How cute! Hope they’re a huge hit!
Wonderful!
I’ve made this twice now, with two different brands of organic frozen cherries, and two different crusts. The Cascade brand sweet cherries were more tart and so they had the best flavor to my mind, I can not seem to find frozen sour cherries in San Francisco; I’d like to combine the two. Either way though, the filling gels nicely, and cuts with pie intact, not flowing away. Well, sort of. The first try used a combo butter/lard with vodka crust that was great; the second used this author’s Fool Proof All Butter Crust (with corn starch) which produced the toughest crust I’ve ever made, as well as too much dough. I’d recommend cutting the crust recipe by 1/4 (to 9T of butter) such that a two crust batch will produce the two crusts without so much left over dough. Hopefully your dough won’t be as tough as mine was, but I won’t use the crust recipe again.
Otherwise, I’m sold on making pies with a pre-made filling (as long as I make the filling from scratch); pies come out so much more dependably for me than when I have to toss the fruit together with the sweetener and thickener and hope it all comes together.
Trader Joe’s has Cherries in a jar and they are like Hungarian Sour Cherries of yore and whenever I use them, I think of my Bubbie, “The Baker from Hungary” <3 Enjoy! This pie would be delicious with these cherries I think!