


 Search
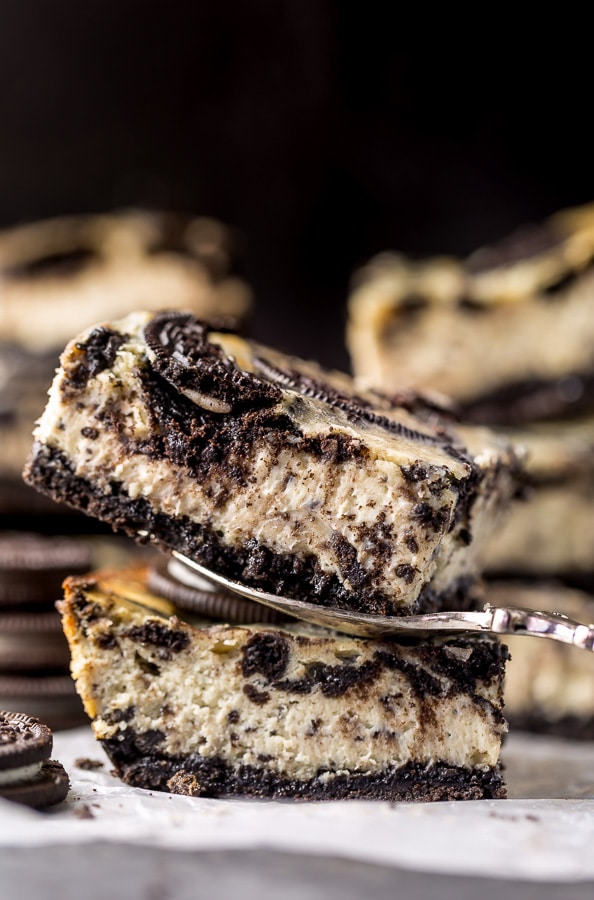
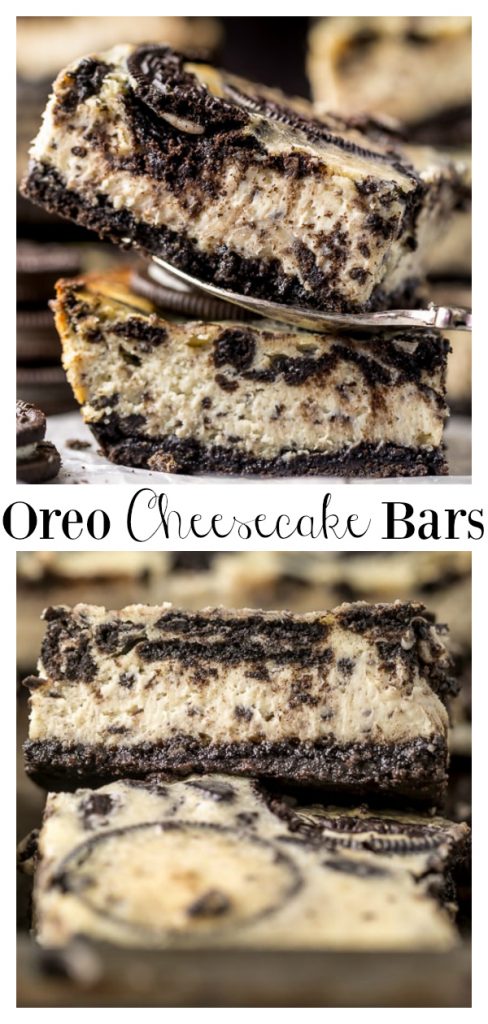
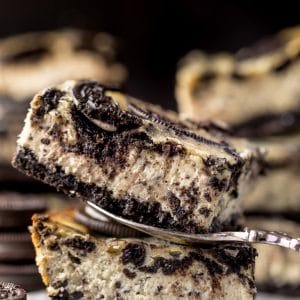
This is the best and easiest recipe for Oreo Cheesecake Bars! Crunchy, creamy, and loaded with Oreo cookies in every bite.
Oreo Cheesecake Bars Recipe
Everyone in our family loves Oreo cookies. And while I love dunking one in a glass of milk as much as my future hubby, my real passion is baking with them! No surprise there… right?
In the past I’ve made you yummy treats like Oreo Cookies and Cream Donuts, No-Bake Chocolate Oreo Pie, Oreo Cheesecake Cookies, and New York-Style Oreo Cheesecake. I love all of those tasty treats, but today’s new recipe might be my all-time favorite!
Because these Oreo Cheesecake Bars are rich, creamy, and LOADED with crunchy cookies in every bite! But the best part? These cookies and cream cheesecake bars are freezer friendly! And let’s be real… in this busy world, who doesn’t love a make-ahead dessert recipe?! This easy cheesecake recipe also does not require a water bath or a springform pan!

Tips and Tricks for Recipe Success:
- Before you begin, be sure to lightly spray the entire baking pan with non-stick spray. If you don’t have – or don’t use – canned sprays, you may grease the pan with butter or even shortening. Greasing the entire pan will ensure your crust and cheesecake don’t stick to the pan. No sticking = perfect slices.
- Because this recipe begins with the crust, that is also where we will begin. To make the crust you will need melted butter and crushed Oreo cookies. Yep – just two ingredients! You do not need to remove the cream from the center of the cookies. Simply place them in a blender or food processor and pulverize them into small crumbs. Once they’re crushed, you will combine them with the melted butter and then press this mixture into your prepared pan. And that’s that. You just made a homemade cheesecake crust!
- When pressing the Oreo crust down into the bottom of the pan, you’re going to want to press it down very firmly. A firmly packed crust will bake up nice and thick, and most importantly, won’t crumble too much when sliced. I recommend starting to press the crumbs down in the center of the pan, then working the crust out and just a little bit up the edges. You can use the back of a spoon to do this, or wrap your hand in a piece of plastic wrap (also known as saran wrap) and do it manually.
- Room temperature ingredients are crucial when it comes to making a cheesecake! So be sure you bring your cream cheese, eggs, sour cream, and heavy cream to room temperature before you begin making the batter.
- The batter can be made in a food processor, high powered blender, or add all of the ingredients to a bowl and combine with a hand mixer. I use my blender!
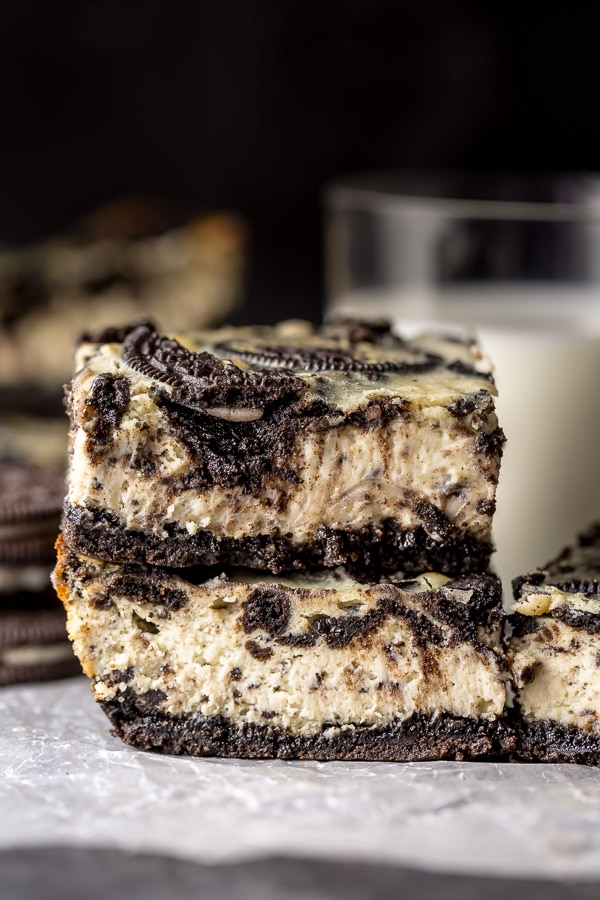
These easy and impressive Oreo Cheesecake Bars can be baked, fully cooled, and frozen for up to two months!
Making them a perfect holiday dessert option. Simply thaw the night before you plan on serving! Then slice and serve! You can serve them as is, or top with whipped cream and crushed Oreo cookies.
And don’t be surprised when your friends think you bought these oreo cheesecake bars from some fancy bakery. They’re that impressive. I won’t tell if you don’t 😉
AND IF YOU TRY THIS RECIPE FOR NEW YORK-STYLE OREO CHEESECAKE, LET ME KNOW! LEAVE A COMMENT BELOW AND DON’T FORGET TO SNAP A PIC AND TAG IT #BAKERBYNATURE ON INSTAGRAM! SEEING YOUR KITCHEN CREATIONS MAKES MY DAY.
Oreo Cheesecake Bars
Ingredients
For the Oreo Cookie Crust:
- (1) regular full-size package Oreo cookies, crushed into fine crumbs (36 sandwich cookies in total)
- 8 tablespoons (4 ounces) unsalted butter, melted
For the Oreo Cheesecake Filling:
- 3 (8 ounce) packages full-fat cream cheese, softened
- 1 cup full-fat sour cream, at room temperature
- 1 and 1/4 cups granulated sugar
- 1 teaspoons pure vanilla extract
- 3 large eggs + 2 egg yolks, at room temperature
- 2 teaspoons all-purpose flour
- 1/2 cup heavy cream
- 16 Oreo cookies, roughly chopped, divided
Instructions
For the Oreo Cookie Crust:
- Preheat oven to 350 degrees (F). Line a 9x13-inch baking pan with heavy-duty aluminum foil, allowing two of the sides to overlap (you want an overhang of at least 2-inches on two sides) and spray lightly with nonstick baking spray. Set aside.
- In a large bowl combine the crushed cookie crumbs and melted butter, mix well to combine.
- Press the mixture into the bottom - and slightly up the sides - of the prepared pan.
- Bake the crust in preheated oven for 10 minutes. Remove the crust from the oven and set aside on a cooling rack until needed.
- Reduce the oven temperature to 325 degrees (F).
For the Oreo Cheesecake Filling:
- In the body of a high power blender, food processor, stand mixer fitted with the whisk attachment, or in a large bowl using a hand held electric mixer, beat the cream cheese and sour cream until completely smooth.
- Add sugar and vanilla and beat until smooth, scraping down the sides and bottom of bowl as needed. Add in the eggs and yolks and beat until combined.
- Stir in the flour, mixing just until combined.
- Using a rubber spatula, fold in the cream, mixing just until it's incorporated in the batter. Finally, fold 3/4 of the chopped Oreo cookies into the batter.
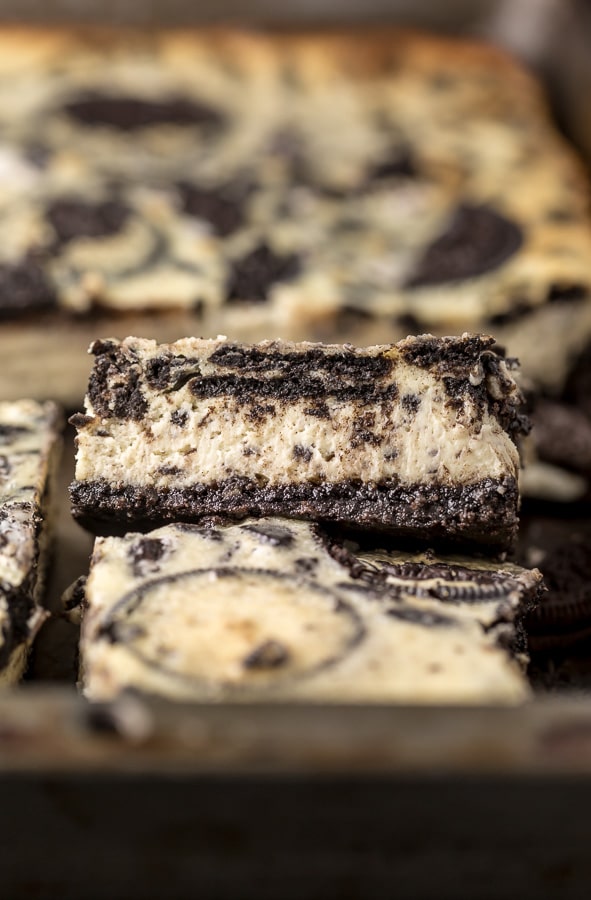
- Pour filling on top of prepared crust, and spread evenly. Sprinkle the top with remaining Oreo cookies.
- Check to ensure your oven has cooled to 325°F, then place the pan in the oven and bake for 35 to 40 minutes, or until the edges have set and the middle is still a little jiggly. The cheesecake will firm up a lot as they cool.
- Remove the bars from the oven, and cool at room temperature for one hour. Then refrigerate for at least 6 hours, or overnight.
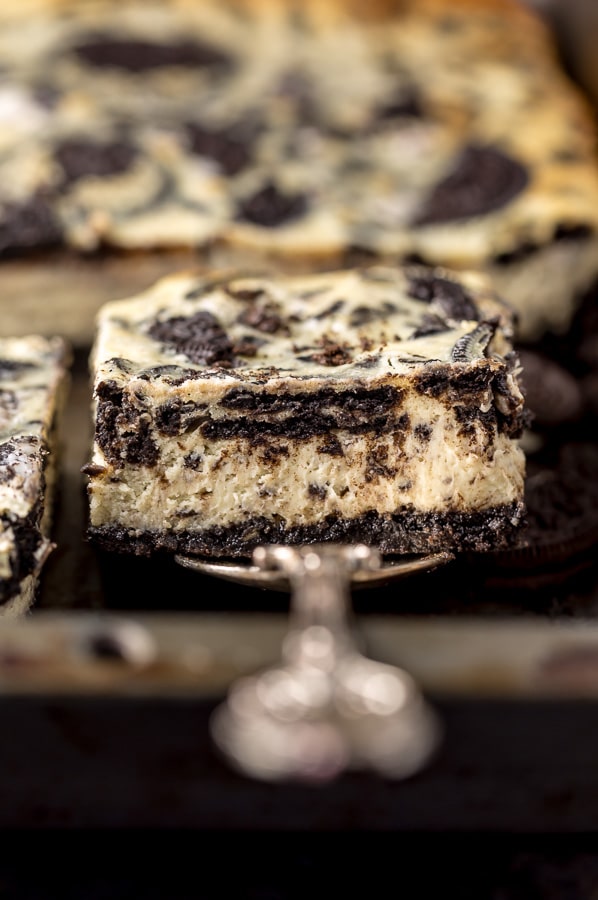
- When you're ready to serve: use the foil overhang to lift the cheesecake bars from the pan and transfer them to a cutting board. Using a large, sharp knife, slice the slab into squares, wiping the knife clean with a damp cloth between slices. Serve at once.
Can’t wait to make these but planning on making ahead of time. How long will these bars keep fresh?