


 Search
Santa’s Favorite Peanut Butter M&M Cookies are thick, soft, and chewy! These GIANT bakery-style holiday cookies are loaded with peanut butter, M&Ms, and gooey milk chocolate chips! A crowd-pleasing cookie recipe that’s loved equally by kiddos and adults!
Christmas Peanut Butter M&M Cookies
It’s FINALLY December! And after a whirlwind of a year, I know we’re all ready to celebrate the holiday season! And I can’t think of a better way to kick things off than by sharing a brand new cookie recipe with you!
More specifically, these soft and chewy peanut butter cookies! AKA Santa’s Favorite PB Cookie 😉
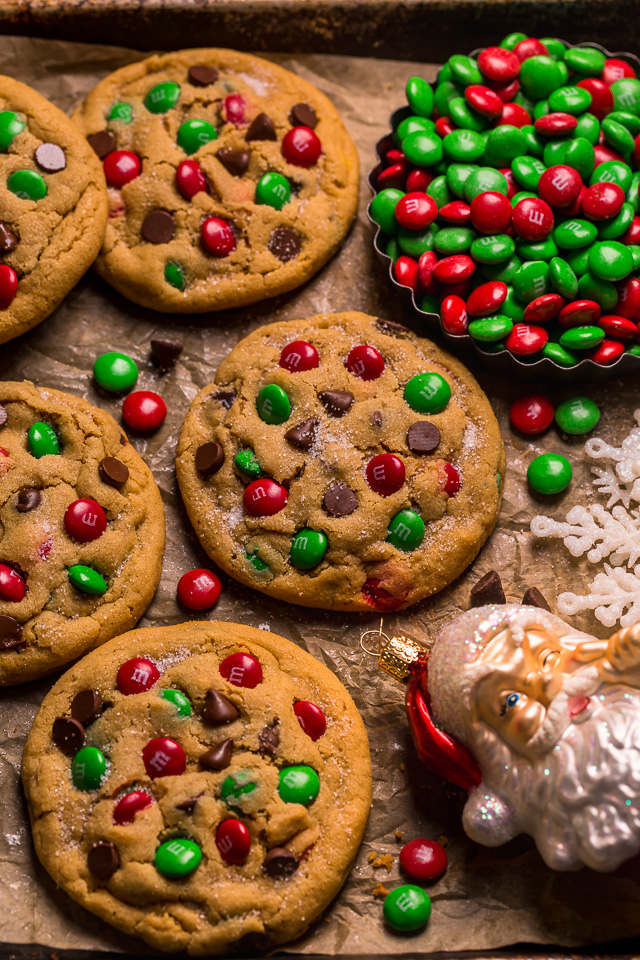
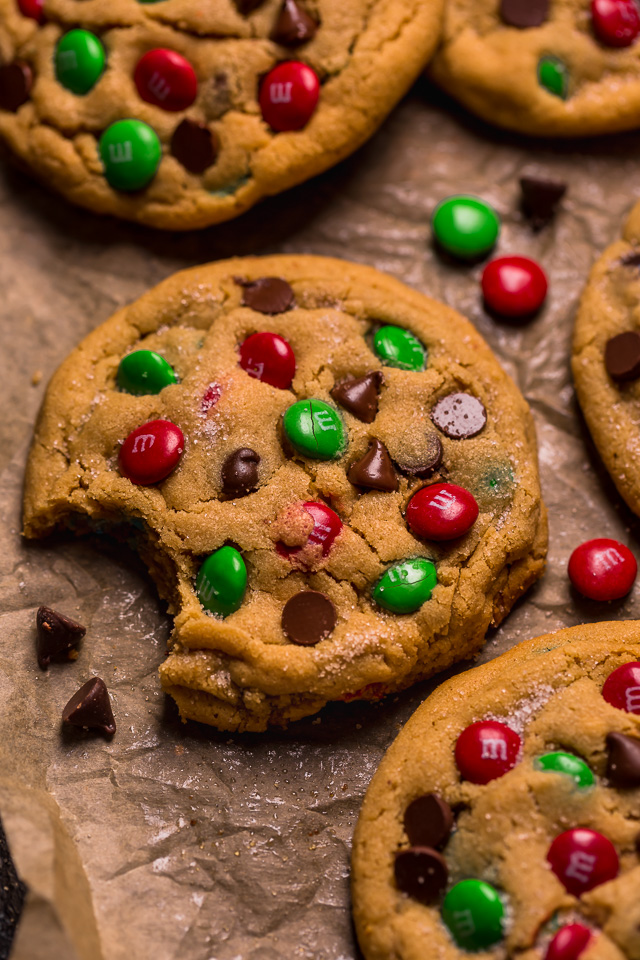
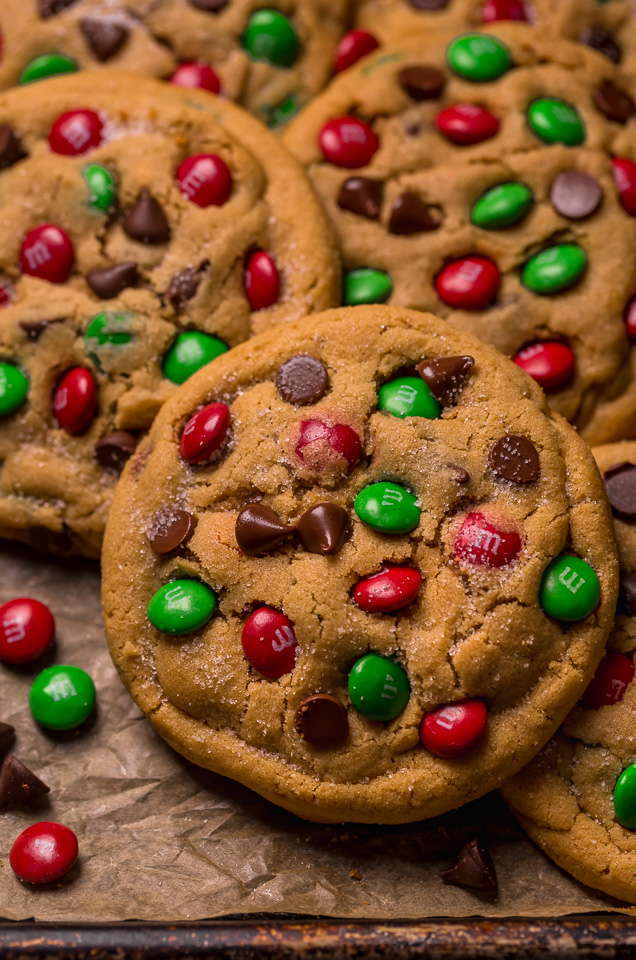
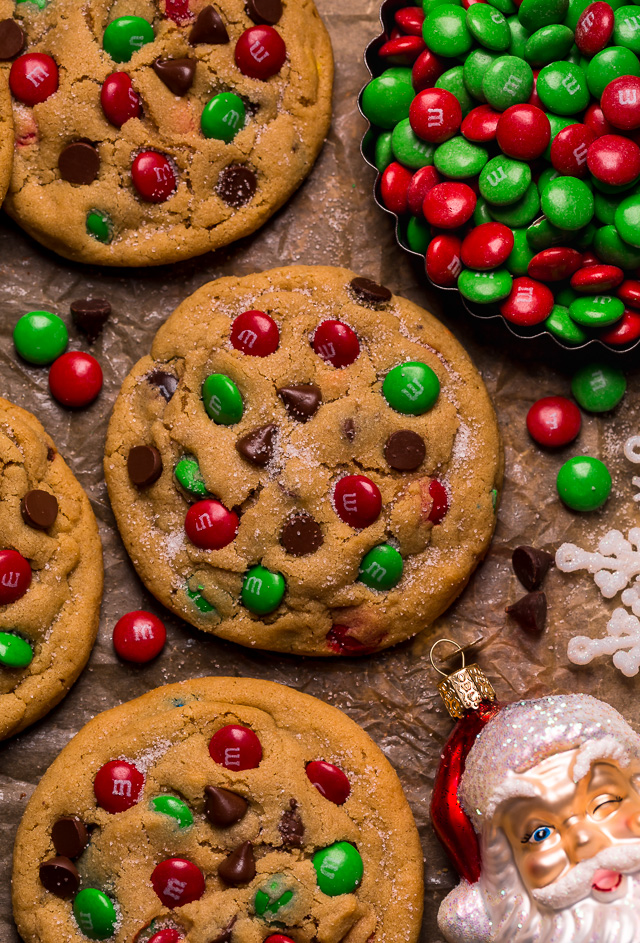
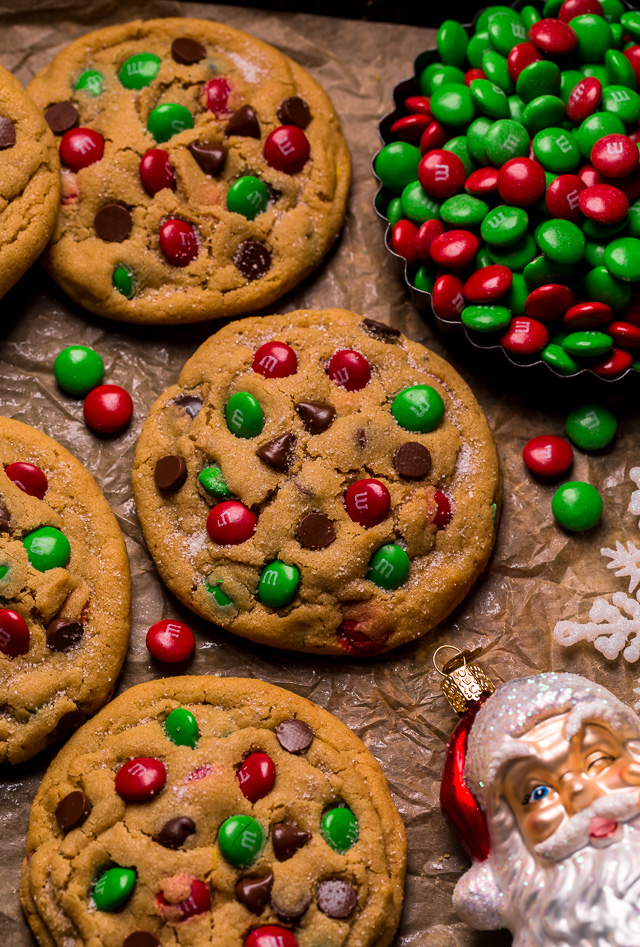
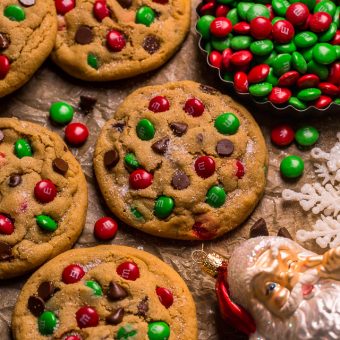
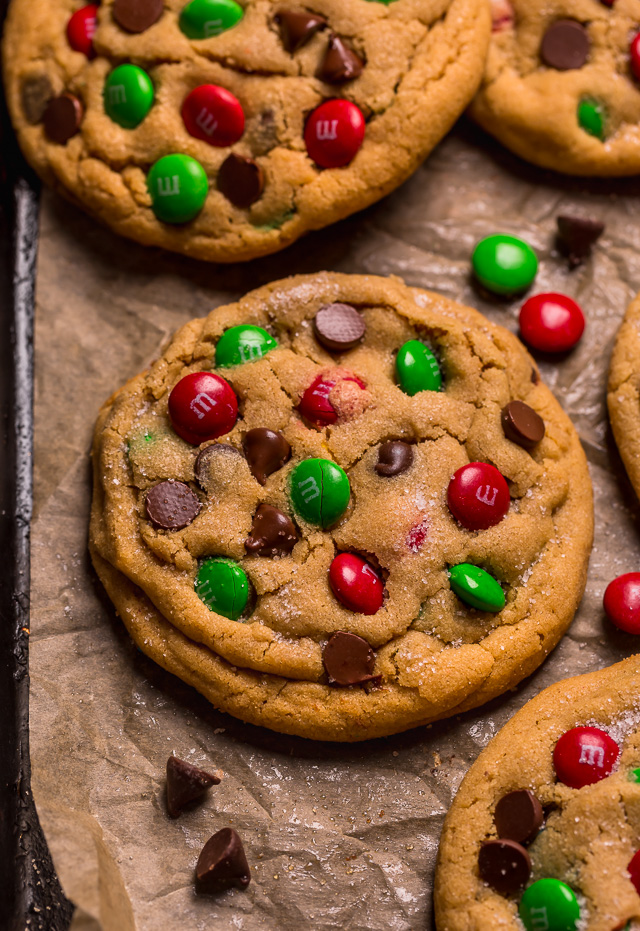 They’re loaded with TONS of rich peanut butter flavor, plus gooey chocolate chips and colorful M&M candies! But to make them extra festive, use the holiday M&Ms. The bright pops of red and green make them so cheerful and merry!
I also love adding a sprinkle of granulated sugar on top of the baked cookies, which makes them look extra sparkly and adds a lovely crunch! But that part is totally optional! You could also add flaky sea salt, which will look gorgeous and cut the sweetness!
How to Bake Peanut M&M Cookies in 3 steps:
- Make the Cookie Dough: First things first! This recipe does require a stand mixer with a paddle attachment or a very large bowl and an electric hand mixer! You’ll need it to whip the softened butter and then the peanut butter smooth! Then toss in both sugars. Next, beat in the eggs and vanilla. Finally, add in the dry ingredients, chocolate chips, and M&Ms.
- Chill the Dough: For best results, you should chill this cookie dough for at least 30 minutes before baking. This extra step does require a little bit of planning time wise, but it helps the cookies bake up nice and thick! But the good news is that you can chill it for up to 2 days! Just let it soften slightly before baking. You can even freeze the cookie dough balls for up to 2 months! But you’ll want to add an extra few minutes if baking from frozen.
- Bake the Cookies: But first, line a baking sheet (or 2) with parchment paper. Then, using a large cookie scoop, roll the cookie dough into balls. then place them on the prepared baking sheet. Leave at least 2-inches between each cookie because they WILL spread! Then bake! I’ve suggested a bake time in the recipe box at the end of this post, but you may need to add a few minutes if your oven runs low, or remove them from the oven a minute early if your oven runs hot.
How to Decorate Like a Pro…
I always reserve an extra 1/2 cup of holiday M&Ms and chocolate chips for decorating! As soon as the cookies come out of the oven, I gently press a few extra on top of the cookies, and it makes them extra enticing! And as I mentioned earlier, I also love a generous sprinkle of sugar or flaky sea salt on top!
More M&M Recipes:
- Soft and Chewy M&M Cookie Bars
- Super Easy Holiday M&M Blondies
- Soft Batch Chocolate M&M Cookies
- M&M Cookie Bites
- Brown Butter M&M Cookies
- Chewy Brown Butter M&M Blondies
Santa's Favorite Peanut Butter M&M Cookies
Ingredients
- 1 cup (227 grams) unsalted butter, at room temperature
- 1 cup creamy peanut butter, at room temperature
- 2 teaspoons pure vanilla extract
- 1 and 1/2 cups dark brown sugar, packed
- 1/2 cup granulated sugar
- 2 large eggs, at room temperature
- 1 large egg yolk, at room temperature
- 2 and 1/2 cups (300 grams) all-purpose flour
- 1 teaspoon baking soda
- 1 and 1/2 teaspoons baking powder
- 1/2 teaspoon salt
- 1 and 1/2 cups holiday M&Ms, plus extras for decorating
- 1 cup semi-sweet or milk chocolate chips, plus extras for decorating
- 1 teaspoon granulated sugar, for sprinkling
Instructions
- In the bowl of a stand mixer fitted with the paddle attachment, or in a large bowl using a handheld electric mixer, beat the butter until smooth and creamy. Add in the peanut butter and beat until well combined.
- Next add in both sugars and beat until light and fluffy, scraping down the sides and bottom of the bowl as needed, about 2 minutes.
- Add in the eggs and egg yolk, one at a time, beating well after each addition. Add in the vanilla. Turn mixer off.
- Add in the flour, baking soda, baking powder, and salt. Whisk the ingredients together lightly before turning the mixer back on low and mixing in the dry ingredients until just combined. Be sure not to over mix here.
- Fold in the holiday M&Ms and chocolate chips and mix until just combined.
- Preheat oven to 350 degrees (F). Line two large baking sheets with parchment paper.
- Using a large cookie scoop, divide the dough into 3-tablespoon sized balls, and place onto prepared baking sheets, leaving about 3-inches between each ball of dough for spreading. Lightly press down on each ball of cookie dough, this will help them spread evenly.
- Bake for 12 to 13 minutes, or until the edges are golden and the centers have set. Press extra chocolate chips and M&Ms on top of warm cookies, and sprinkle with sugar.
- Cool cookies on the baking sheet for 15 minutes, before transferring them to a cooling rack.
I have found my new favorite cookie!! The only thing I did different was instead of topping it with granulated sugar I put a pinch of finely ground sea salt. It gives it a nice balance of sweet/salty. I mindlessly ate 5 cookies while cleaning up the kitchen. I was worried that I would have over mixed when it called for using a whisk when adding the flour. The only whisk I have is small, but my hand mixer has a whisk attachment so I put my mixer as low as it could go and whisked the flour/baking soda/baking powder in. I don’t think it made a difference, if it did I certainly cant notice… MY ADVICE – Definitely give this recipe a try. These truly are the BEST PB and Chocolate cookies I have ever had!! Even out beating the local bakery that does cookies.
Can you freeze these cookies once they are cooked?
I’ve made these cookies twice now, and I know I’ll come back to it again soon! I’m not a fan of typical peanut butter cookies because they’re usually dry and grainy, but these are the perfect slightly crispy on the edges, chewy in the middle cookie!
Thank you!
Same as another comment, these did not flatten out the way yours did in your photos. These stayed thicker and lighter in color than anticipated, so I increased baking time to account for oven differences, which over baked them instead. Ashley, can you please review your recipe to make sure all ingredient amounts and instructions are correct? I’m hopeful to try these again if they’ll look like the ones in your photos! Thanks again 🙂
Mine spread like the photos. I did not chill the dough. Make sure you flatten them slightly as the recipe says. I use the bottom of a measuring cup sprayed lightly with cooking spray. I’ve made them 2 years in a row with great results! Hope this helps and you’ll try again. They are great when they turn out!
A winner! Perfect taste and perfect texture, overall perfect peanut butter cookie!
I made these cookies and they taste tummy but they did not spread like yours. I only left them in the fridge for 30 minutes. What could I have done wrong?