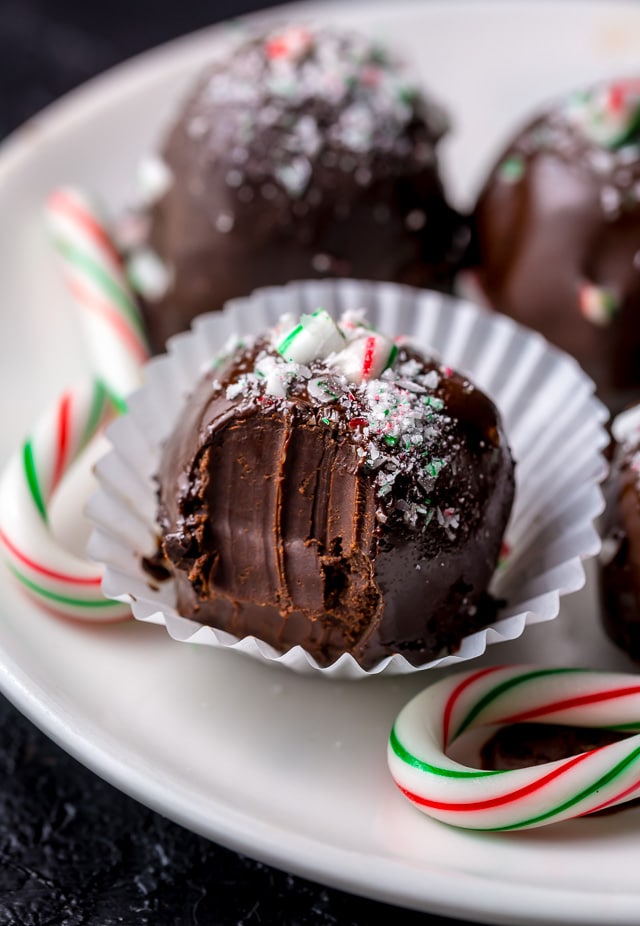
Rich and Creamy Peppermint Chocolate Truffles are made with just 5 simple ingredients! These homemade truffles are so easy and perfect for homemade holiday gifts! Use dark chocolate or white chocolate!
Peppermint Truffles
Another day, another homemade holiday gift idea for you! And today’s recipe is so impressive – and downright EASY – I predict you’ll be making it all the time. I know I will be! So without further ado, I give you chocolate peppermint truffles!
Made with just 5 simple ingredients!!! Seriously, if you have heavy whipping cream, chocolate, butter, peppermint extract, and a couple of crushed candy canes (or crushed peppermint candies), you can make these right now. So I really hope you have those ingredients on hand?! Because after seeing this… I know you’re going to want a bite (or 3) ↓
 Peppermint Chocolate Truffles
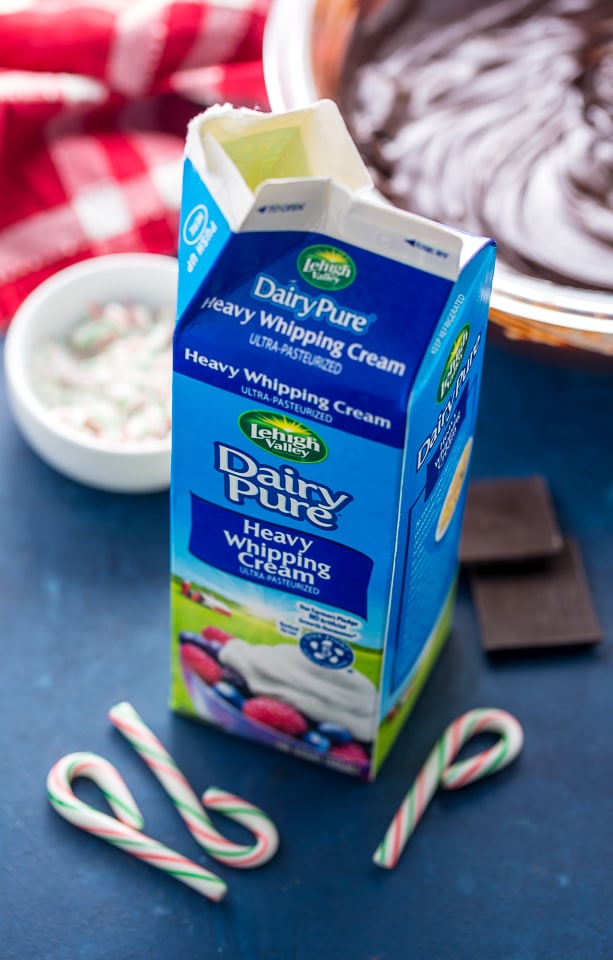
For this recipe, I’ve teamed up with my friends over at DairyPure®. Their fresh, pure, and delicious heavy whipping cream creates extra luscious truffles that basically melt in your mouth! I was thrilled to team up with this brand because they offer a wide line of high-quality dairy products I use in my recipes all the time.
In addition to using high quality cream, I suggest using a quality chocolate brand you know and trust, as it will make all the difference in how your truffles taste.
How to make Mint Chocolate Truffles
Tips and Tricks for Recipe Success:
- This recipe calls for heavy whipping cream, which has a fat content between 36 and 40%. It’s high fat content makes these 5-Ingredient Peppermint Chocolate Truffles extra rich and creamy. If you cannot find heavy whipping cream, regular heavy cream can be used in its place. Milk will not work as a substitute!
- Because this recipe only calls for 5 ingredients, I suggest using the best quality ones you can. For a less sweet treat, dark chocolate may be used in place of the semi-sweet chocolate. And for a sweeter truffle, you could try coating them in white chocolate. Chocolate chips should never be used in place of the chopped chocolate.
- You’ll want to make sure you’re using PEPPERMINT extract, and not mint extract. Because while the bottles may look similar, the flavors are quite different.
- Be sure you don’t overheat the cream! You really just want to warm it. Once it comes to a boil, you should remove it from heat! The you’ll add in the chocolate. Essentially, you’re making a peppermint chocolate ganache.
- Once the chocolate filling has been assembled, it needs to cool to room temperature and then be chilled for several hours. So while this is an easy recipe, it does take some planning ahead.
- When your ready to roll and dip the truffles, you’ll want to line a large baking sheet with parchment paper. You’ll also want to keep a wet dish towel or some paper towels near by, since it can get messy.
- If you want to make this already easy recipe EVEN easier, skip the chocolate coating and simply roll the truffles in cocoa powder. Not as pretty as the melted chocolate coating, but still delicious!!!
- I suggest storing the peppermint truffles in an airtight container. I typically place sheets of parchment paper or wax paper between each layer of truffles. Store the container in a dry, cool place. They should keep for a few weeks!
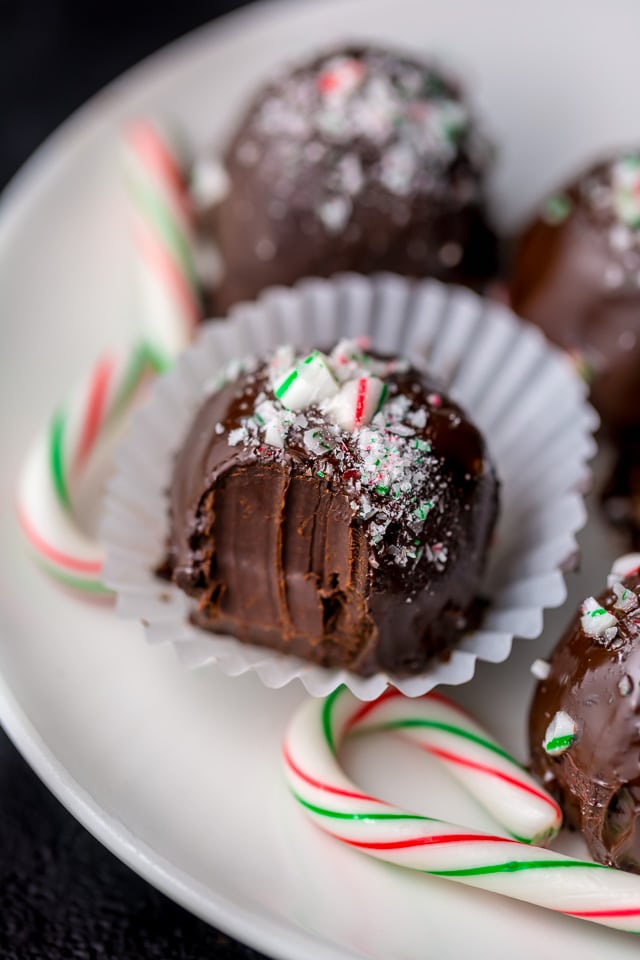
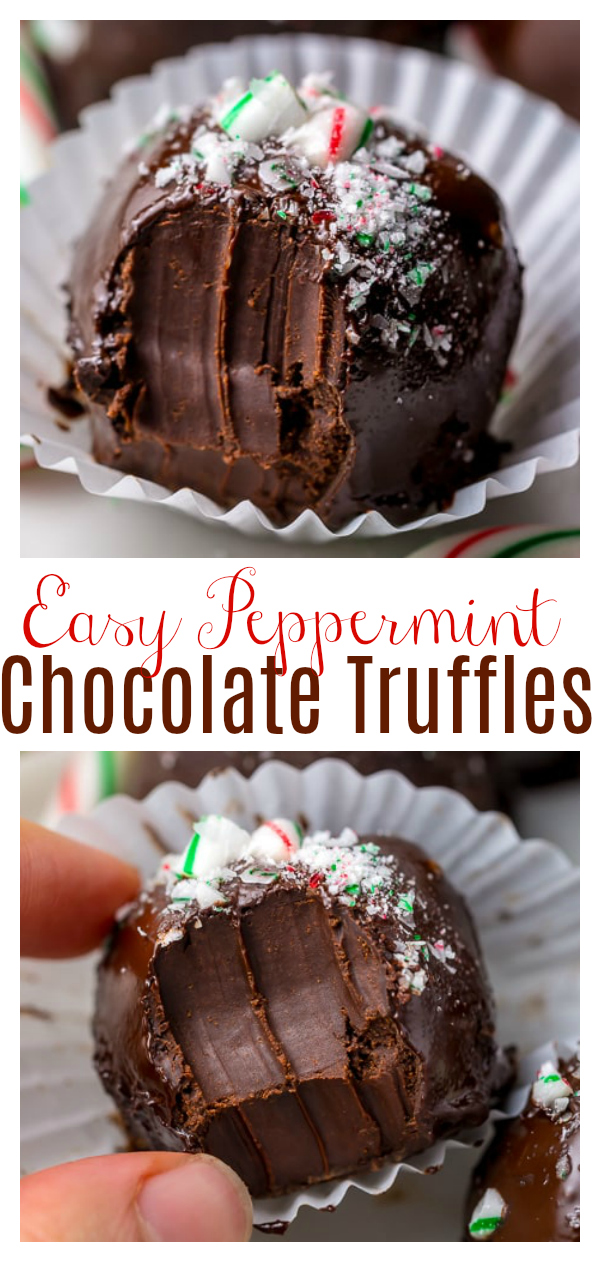
These peppermint truffles candies taste – and look – like they came from a fancy chocolate shop! Making them the perfect gift for the chocolate peppermint lovers in your life!
Wanna make peppermint chocolate truffles into peppermint mocha truffles?
No problem! Simply add a teaspoon of espresso powder into the warm cream before adding in the chocolate. This will add a subtle espresso flavor. If you’re a peppermint mocha latte lover (ME!), I highly suggest giving this a try! Just don’t give the espresso spiked truffles to any kids lol.
Making homemade truffles might sound intimidating at first, but trust me, this 5-ingredient recipe couldn’t be easier! Especially since 75% of the time needed for this recipe is “inactive” time, which leaves you plenty of time to spend time with your loved ones making holiday memories to be cherished for years to come! And I’m here if you have any questions. You can do this ♥
To be completely honest… the hardest part about this recipe is sharing them! I made a couple dozen for our annual Christmas party, but at the rate I’m “taste testing” them, there won’t be any left by the weekend. They’re so good with coffee, wine, or tea! But my favorite is with wine haha.
The best peppermint chocolate truffles for the best time of year! I hope you gives these a try this holiday season.
More Christmas Candy Recipes:
- Kahlua Chocolate Truffles
- 5-Ingredient Espresso Chocolate Truffles
- Chocolate Oreo Truffles
- Grand Marnier Chocolate Truffles
- Easy Chocolate Peppermint Fudge
- 5-Ingredient Peppermint Patties

5-Ingredient Peppermint Chocolate Truffles
Ingredients
For the Peppermint Chocolate Truffles:
- 1 cup (227g/8 ounces) heavy whipping cream
- 2 and 2/3 cups (454g/16 ounces) semi-sweet chocolate, finely chopped
- 5 and 1/2 Tablespoons (78g/2.75 ounces) unsalted butter, cut into small cubes and at room temperature
- 1 teaspoon peppermint extract
For the Chocolate Coating:
- 1 and 1/3 cups (226g/8 ounces) semi-sweet chocolate, chopped
- 6 full-size candy canes, finely crushed
Instructions
For the Peppermint Chocolate Truffles:
- In a small saucepan over low heat, heat the cream just until it comes to a boil. Then immediately remove cream from heat and add in chopped chocolate. Allow the mixture to sit, untouched, for two minutes, then whisk smooth. Stir in the butter and peppermint extract and vigorously whisk until smooth and shiny.
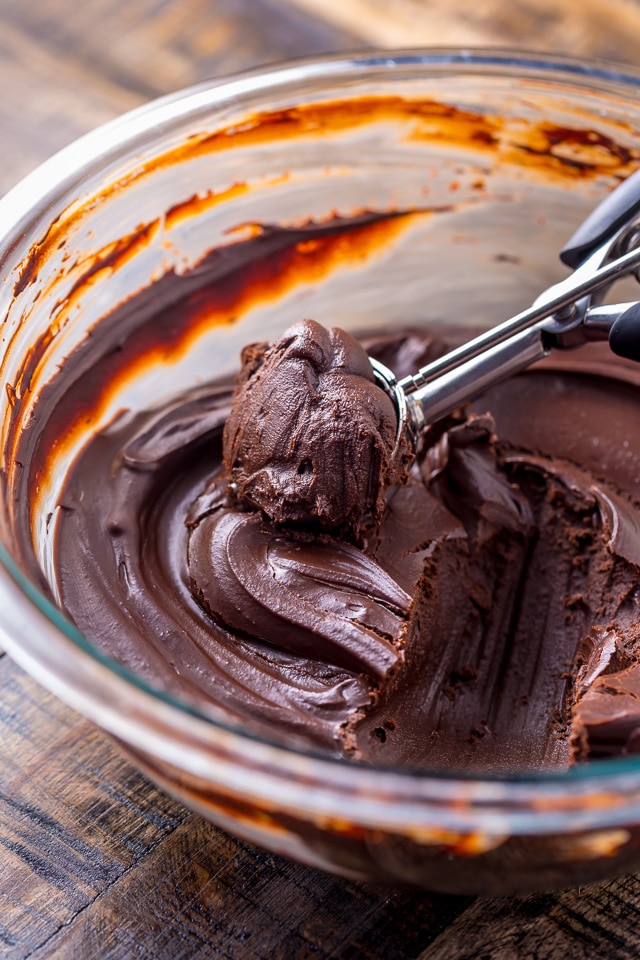
- Pour the mixture into a medium bowl and cool to room temperature before tightly covering the bowl with plastic wrap and refrigerating for 2 hours, or until firm enough to scoop.
For the Chocolate Coating:
- Fill a medium pot one-third full with water and bring it to a low simmer over medium heat. Place a heatproof bowl that will fit on top of the pan snugly, but will not touch the simmering water, on top of the pan. Reduce the heat to low and add two-thirds of the chopped chocolate into the bowl over the pot. Heat until the chocolate is completely melted, stirring occasionally with a silicone spatula. Once the chocolate is completely melted, remove the pan from the heat - keeping the bowl on top of the pan - and stir in the reserved chocolate.
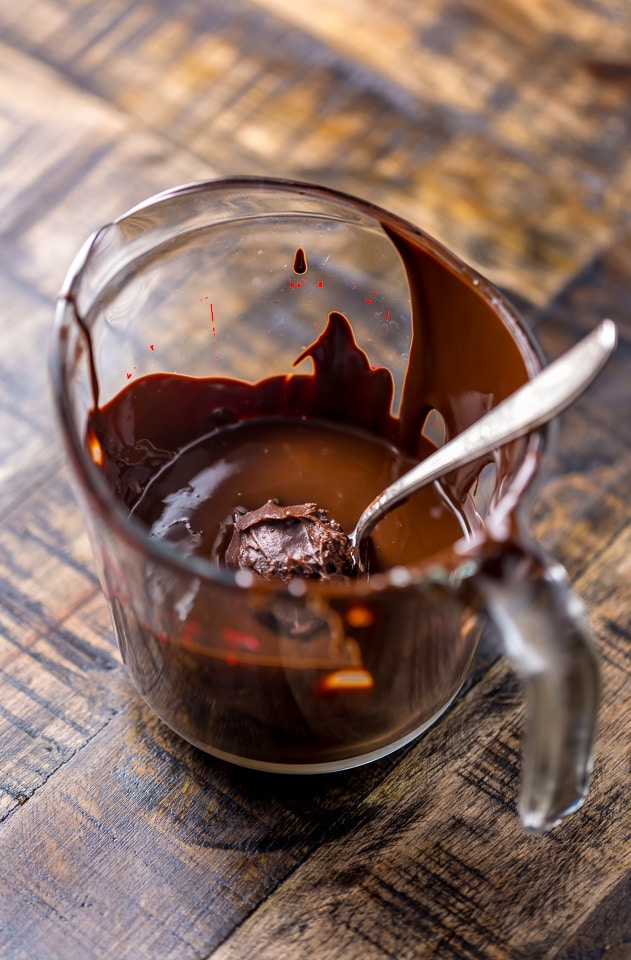
- Right before dipping, pour the melted chocolate into a liquid measuring cup.
Assembly:
- Before you begin, make sure you have enough room in your refrigerator for both baking sheets; the truffles must chill before being dipped in the chocolate coating.
- Line two large baking sheets with parchment paper and set them aside.
- Measure 2 teaspoons of the truffle filling and quickly roll it between your hands to form a ball. Transfer to the prepared baking sheet, and repeat with all truffles. Refrigerate the rolled truffles for at least 15 minutes before dipping in the chocolate.
- Remove the chilled truffles from the refrigerator and begin dipping them into the chocolate using a small spoon or fork. Transfer the dipped truffles back onto the baking sheets and sprinkle with crushed candy canes.
- Allow truffles to sit at room temperature until set, about 1 hour.
Notes
- If you cannot find heavy whipping cream, regular heavy cream will work. Regular milk should not be used as a substitute.
- Be sure to finely chop the chocolate so it easily blends with the cream.
- Use real chocolate, not chocolate chips.
- Store truffles, at room temperature, for up to 1 week.
- If you do plan on making these ahead of time, I suggest skipping the candy cane topping, as it softens after a few hours. Alternatively, you could refrigerate the undipped truffles until needed, then dip them the day you plan on serving them.
- For creamier truffles, add an extra 1/4 cup heavy whipping cream to the ganache mixture.

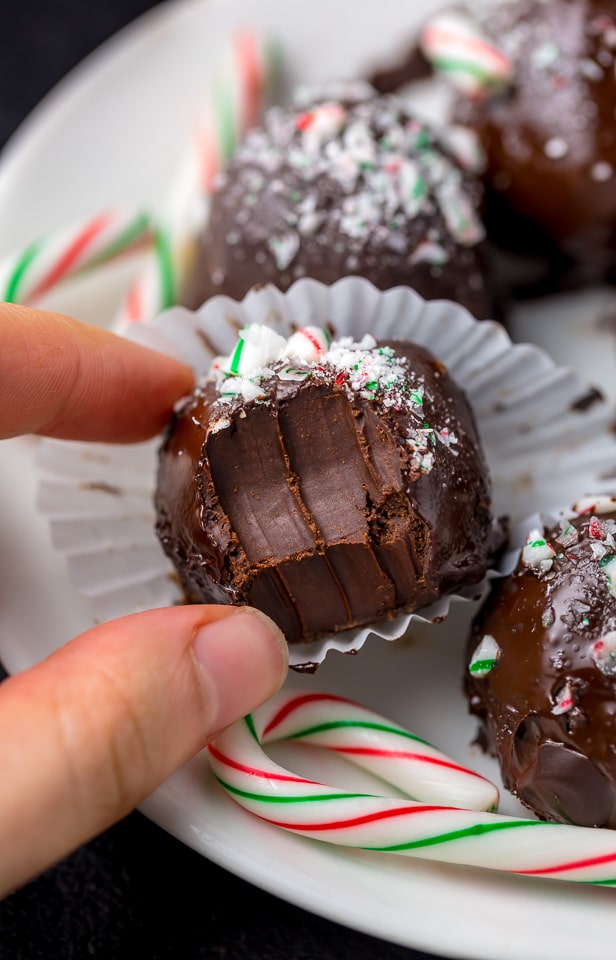 Peppermint Chocolate Truffles

Made these Truffles the other day and they are so lovely will be making some more and giving as presents
Hi! Just wondering how long these keep for? I made a bunch as a gift and want to make sure they don’t go bad. Can they be refrigerated/frozen to extend shelf life? Thanks!