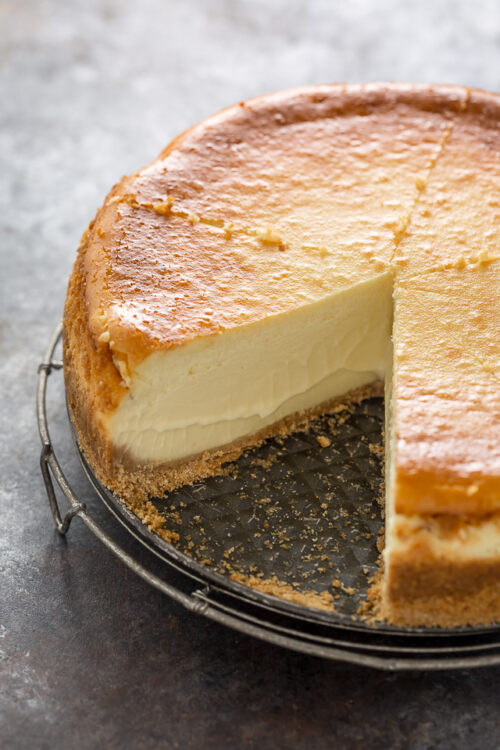
A combination of ricotta cheese and cream cheese makes this Italian ricotta cheesecake recipe extra creamy and flavorful! Golden brown and extra creamy, a classic graham cracker crust adds perfect texture to this dessert. You can make it up to 5 says in advance, cover with plastic wrap, and refrigerate until needed.
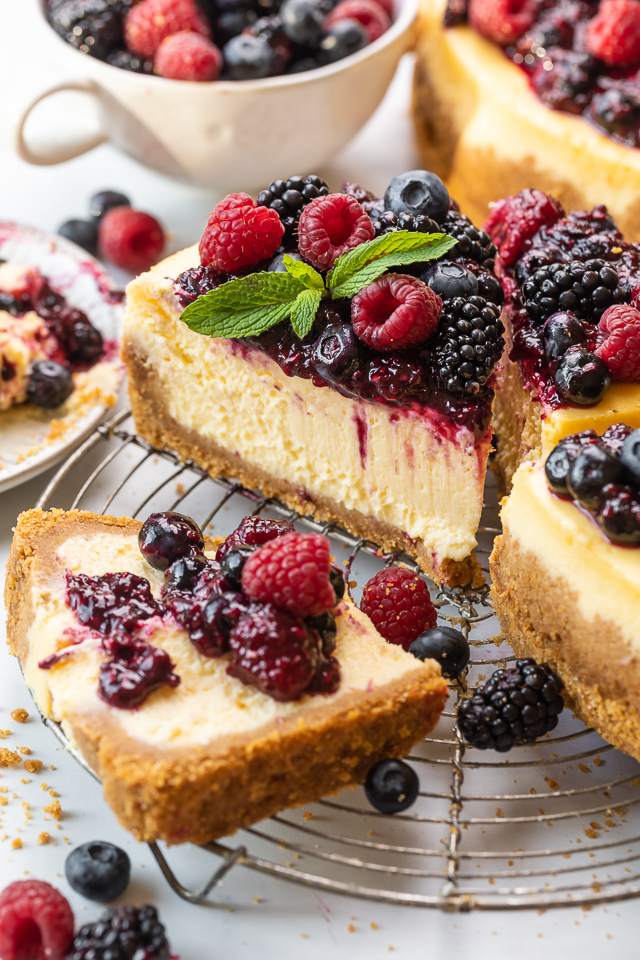
Ricotta Cheesecake Recipe
New York-style cheesecake is probably the most famous cheesecake recipe in the world. And my best cheesecake recipe basically has its own fan club. Between those two recipes, you might be thinking… do we really need another cheesecake recipe?
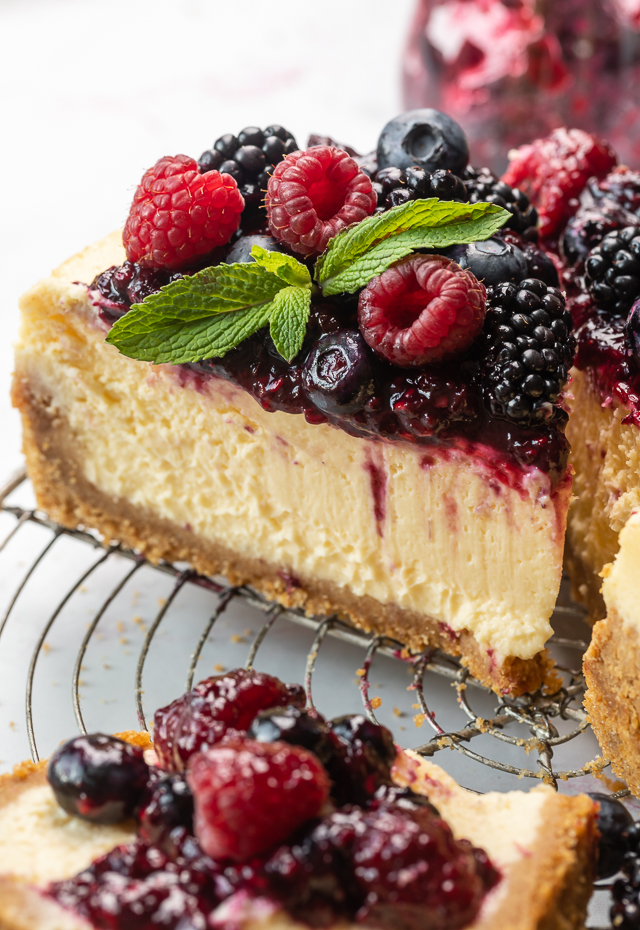
The answer: yes, we do! Because this golden brown ricotta cheesecake is out-of-this-world delicious! The unique combination of ricotta cheese and cream cheese creates a texture that’s both creamy and dense. And gives this ricotta cheesecake recipe the best flavor!
You’ll Love this Italian Ricotta Cheesecake…
- Ricotta cheese adds flavor and creates a creamy yet dense cheesecake texture!
- A crunchy graham cracker crust adds the perfect texture to balance out the creaminess.
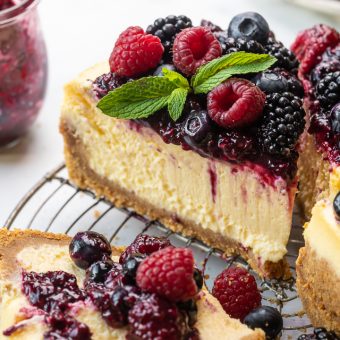
- Fresh berry sauce is stunning and to-die-for delicious.
- The perfect make-ahead dessert for Easter, Mother’s Day, summer parties, and beyond!
Make the Graham Cracker Crust
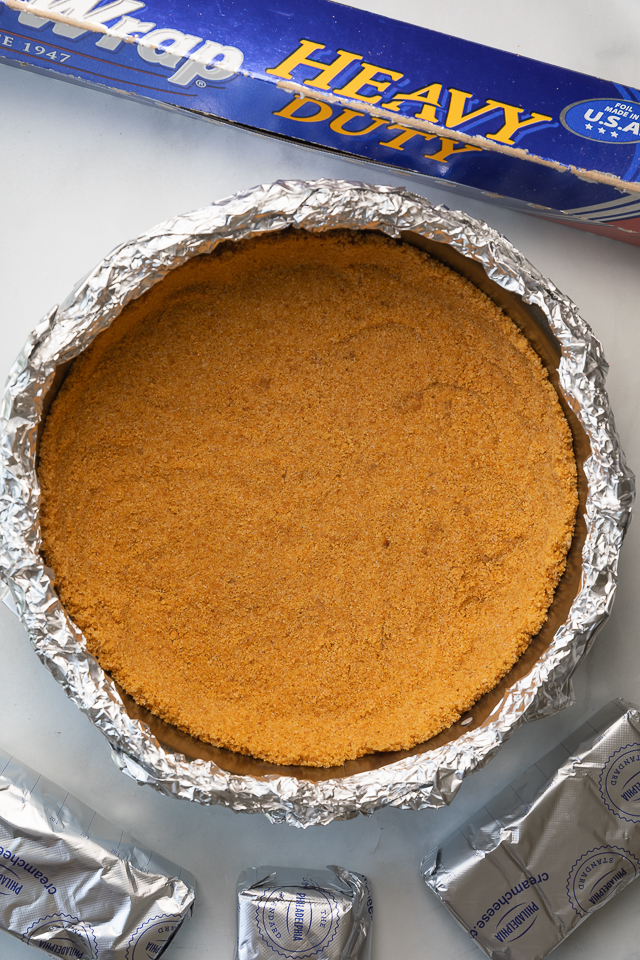
- This part is so easy! Especially if you use the pre-crushed graham cracker crumbs! But if you can’t find them, buy graham crackers and pulse them in the bowl of a food processor until they’re fine crumbs.
- Combine the graham cracker crumbs with melted butter and sugar! Make sure the crumbs look evenly coated in the melted butter before moving on.
- Pour the graham cracker crust mixture into a 9-inch springform pan. Then press the crumbs in the middle of the pan and slightly up the sides of the pan.
- Pre-bake the graham cracker crust for 10 minutes. This helps ensure you won’t have a soggy crust!
Ricotta Cheesecake Batter
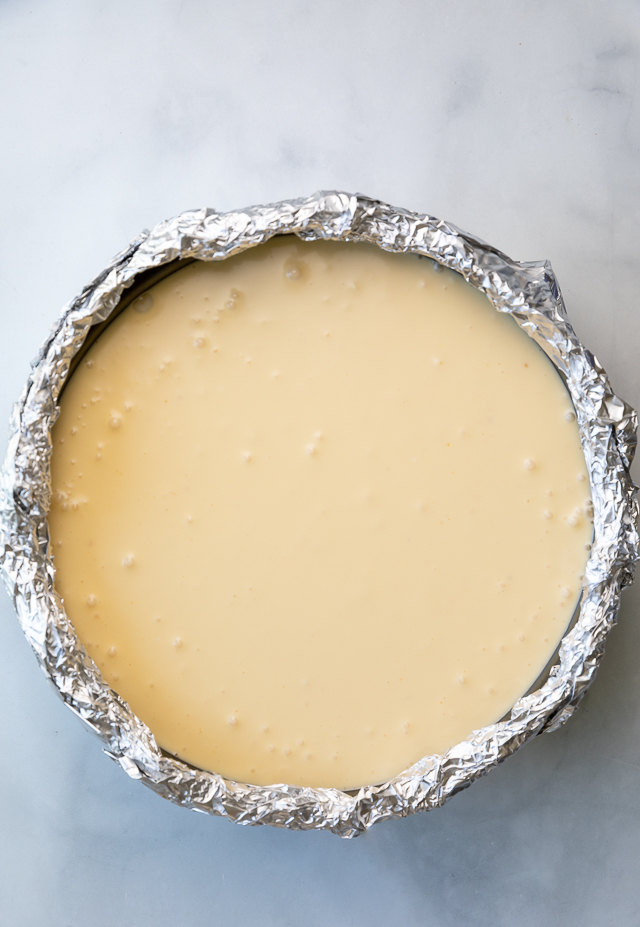
- The most important rule for making ricotta cheesecake batter? Room temperature ingredients!!!
- This is one of the few times I suggest ingredients a little warmer than room temperature. Especially the cream cheese, because cold cream cheese is a nightmare to try and evenly blend!
- I like to make this cheesecake in the bowl of a food processor. But an electric hand mixer or stand mixer will also work.
- Be sure to blend the ricotta cheese and cream cheese first. You want them completely smooth before adding other ingredients.
- Then add the sugar and the eggs one at a time (and egg yolks). Finally, toss in the flour and beat just until smooth.
Make the Water Bath
To make a water bath, you’ll need heavy duty aluminum foil, a large roasting pan, hot water, and a little patience! Read my entire post on how to make an easy water bath for cheesecake if you’re new to this process. Or here are the cliff notes:
- Wrapping your 9-inch springform pan with foil. Heavy-duty extra wide aluminum foil works best.
- I recommend 2 to 3 layers of foil. And make sure you wrap it all the way up the sides of the pan!
- When you’re ready to bake, place the 9-inch springform pan into a large roasting pan.
- Carefully pour freshly boiled water halfway up the side of the pan. It should go in the roasting pan but outside the cheesecake pan.
- Be careful when you slide the cheesecake into the oven. You don’t want water to splash into your cheesecake batter.
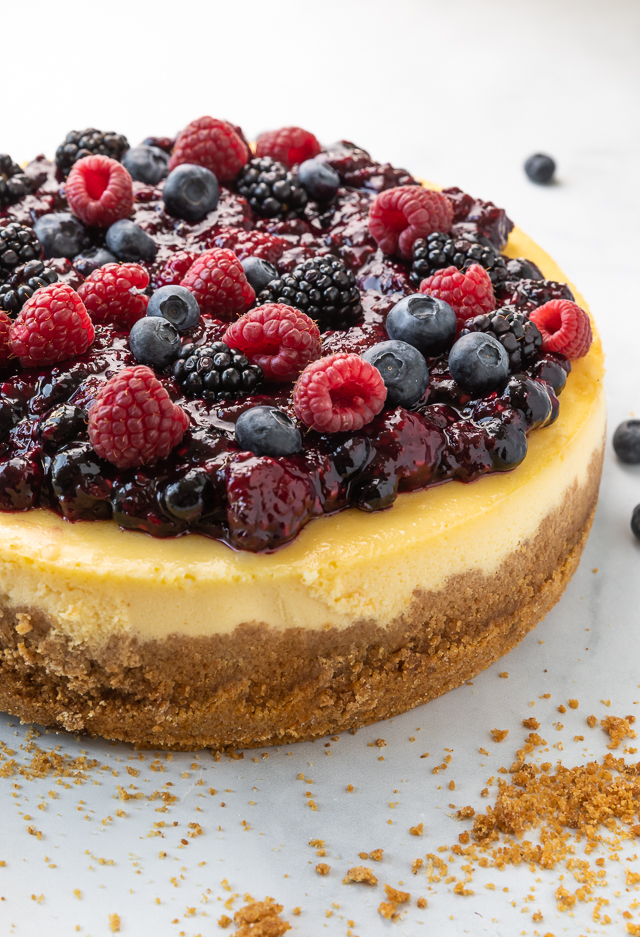
Golden Brown, Not Burnt
- When you turn off the oven, this ricotta cheesecake will still look quite wobbly in the center.
- That’s ok, because it’s going to cool in the oven, with the door shut, for 30 minutes. It will continue to cook during this time.
- It’ll also continue to cook as it cools to room temperature.
- If you bake until the cheesecake looks firm and completely set, it will be dry and not creamy.
The hardest part of this entire recipe? Waiting for the ricotta cheesecake to cool completely! I recommend 8 hours of chill time, but you must wait at least 6 before slicing. Otherwise you will have a cheesecake lava cake, instead of a firm but creamy cheesecake.
Can I Freeze Ricotta Cheesecake? Make it in Advance?
- You can totally make this ricotta cheesecake recipe in advance! Bake as directed and cool completely at room temperature.
- Cover the entire cheesecake with plastic wrap and refrigerate for up to 5 days.
- Or wrap tightly in plastic wrap and then wrap in foil and freeze for up to 2 months!
- Thaw in the fridge overnight, then allow the cheesecake to sit at room temperature for 15 minutes before slicing.
Fresh Berries for Berry Sauce
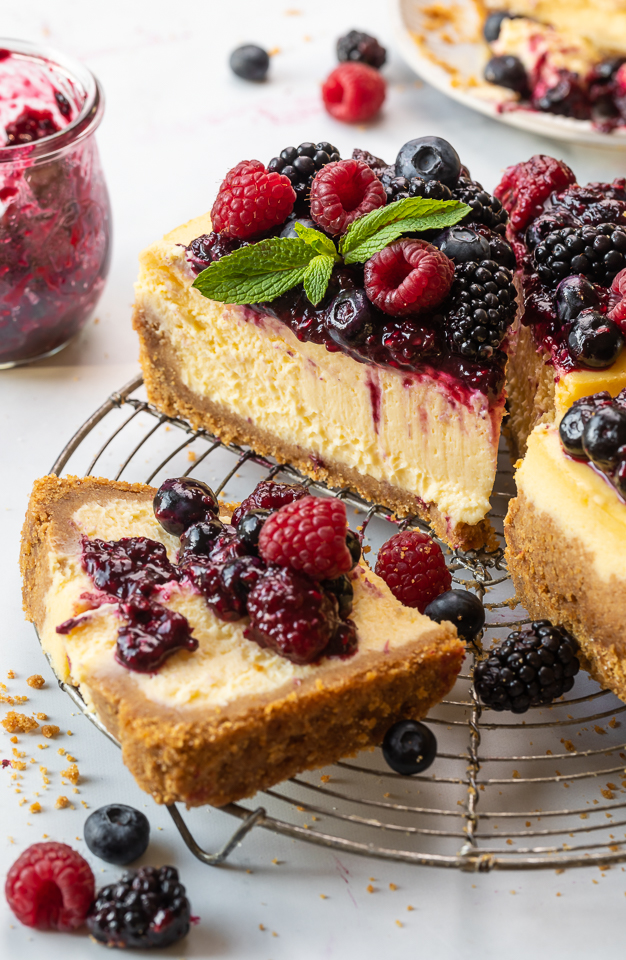
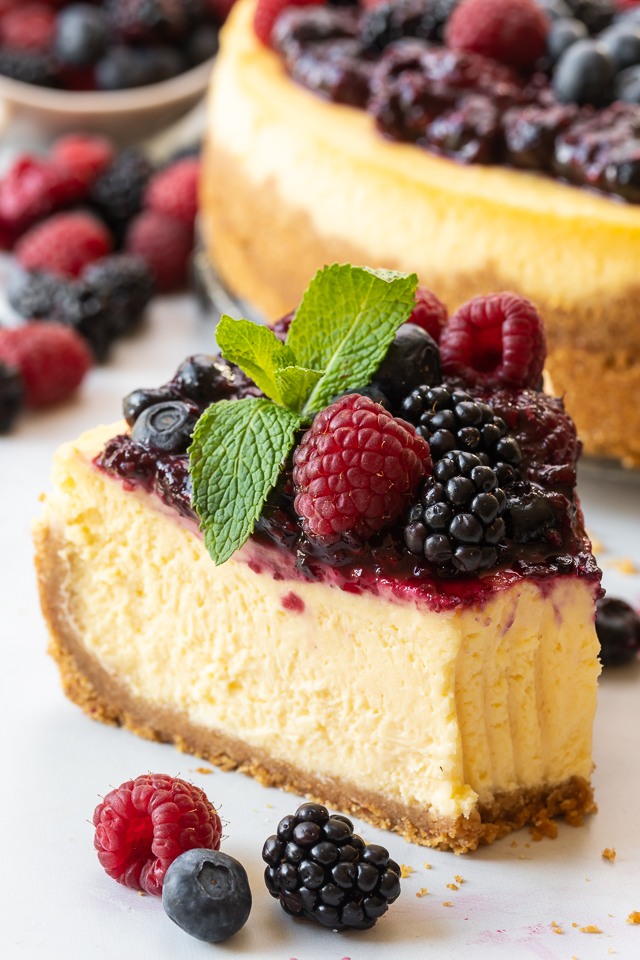
- This part is optional, but oh-so-delicious! You can use any fresh berries you’d like, or use a combination like I did! Or if you can’t find fresh berries, use frozen berries.
- You’ll simply cook the fresh berries down with a little sugar and lemon juice. Then strain, cool, and spread the fresh berry sauce on top of the ricotta cheesecake.
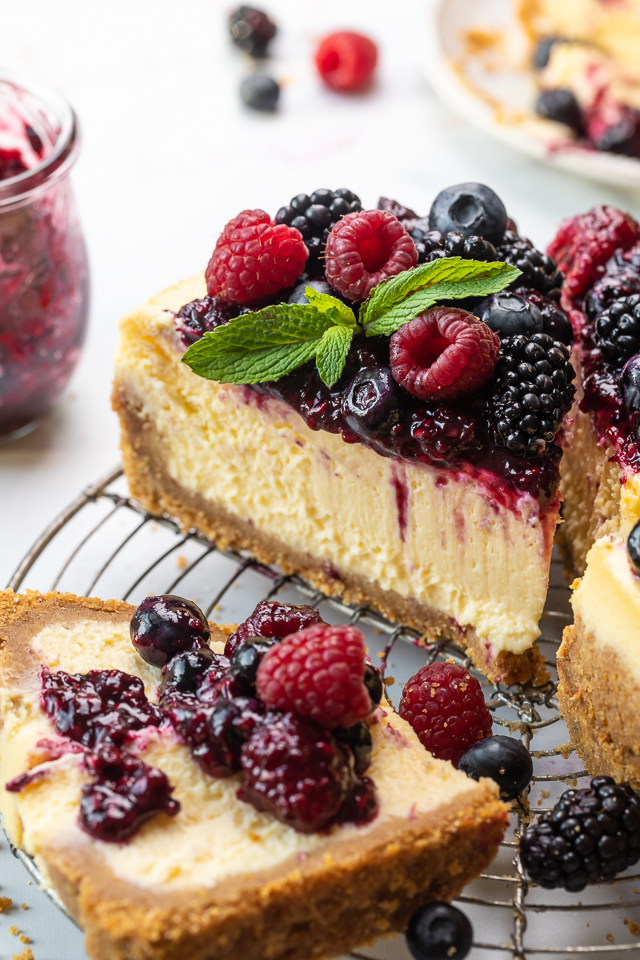
- And of course, you can top that with more fresh berries for a showstopper dessert!
More Ricotta Cheesecake Recipes:
- Orange Ricotta Cheesecake
- Mini Ricotta Cheesecakes
- Lemon Ricotta Cheesecake
- Pumpkin Ricotta Cheesecake
- Lemon Ricotta Cheesecake Cupcakes
This post may contain affiliate links!
Italian Ricotta Cheesecake
Ingredients
For the Graham Cracker Crust:
- 2 cups (225 grams) graham cracker crumbs
- 1/3 cup (67 grams) sugar
- 8 tablespoons (113 grams) unsalted butter, melted
For the Creamy Italian Ricotta Cheesecake:
- 4 blocks (920g) brick-style full-fat cream cheese room temperature
- 1 and 1/2 cups (341g) whole milk ricotta cheese, room temperature
- 1 and 1/2 cups (266g) granulated sugar
- 2 teaspoons pure vanilla extract
- 5 large large eggs room temperature
- 2 large egg yolks room temperature
- 1/2 cup (113ml) heavy cream room temperature
- 2 teaspoons all-purpose flour
For the Fresh Berry Sauce:
- 1/4 cup (57ml) fresh lemon juice
- 1/4 cup (50g) granulated sugar
- 1 teaspoon lemon zest finely grated
- 12 ounces (340g) mixed berries fresh or frozen
- 2 teaspoons vanilla extract
- 1 Tablespoon (14ml) Grand Marnier optional
Instructions
For the Graham Cracker Crust:
- Wrap the bottom and sides of the pan with heavy duty tinfoil. I recommend doing several diligent layers here to ensure no water creeps through when you place the pan in the water bath. Set pan aside.
- In a large bowl, combine graham cracker crumbs, sugar, and melted butter; stir well to combine.
- Firmly pat the mixture into the prepared pan. Bake in preheated oven for 10 minutes. Place partially baked crust on a cooling rack and set aside while you prepare the filling.
- Reduce oven to 325 degrees (F).
For the Creamy Italian Ricotta Cheesecake:
- In the body of a high power blender, food processor, stand mixer fitted with the whisk attachment, or in a very large bowl using a hand held mixer, beat the softened cream cheese and ricotta cheese until completely smooth, scraping the bowl as needed.
- Add sugar and vanilla and beat smooth, scraping down the sides and bottom of bowl as needed. Add in the eggs and yolks, one at a time, beating well after each addition.
- Add in the heavy cream and gently stir until it’s evenly combined. Finally, fold in the flour.
- Pour filling into prepared crust and, using a silicone spatula, smooth the top.
- Place the cheesecake pan into a large, deep pan. Fill the pan with 2 inches of hot water. This is your water bath and will help ensure your cheesecake comes out crack free.
- Carefully place the pan in the oven and bake for 1 hour and 15 minutes.
- Turn oven off and let the cheesecake sit, undisturbed, for 30 minutes, inside the oven with the door shut. The cheesecake should be still slightly wiggly.
- Remove cake from oven and gently run a knife very around the edge of the cake. Place the cheesecake on a cooling rack and cool completely, then loosely cover the pan with saran wrap and chill for at least 6 (preferably 8) hours.
- Cheesecake will keep, covered in the fridge, for 5 days. Cheesecake may be frozen for 2 months. Thaw overnight before slicing.
For the Fresh Berry Sauce:
- In a medium saucepan over medium-high heat, bring lemon juice and sugar to a boil. Cook, stirring occasionally, until sugar has completely disintegrated into the mixture.
- Add lemon zest and berries and bring mixture to a boil. Reduce heat to a simmer and continue cooking, stirring occasionally and slightly mashing down the berries, for 10 minutes.
- Remove from heat. Stir in vanilla extract and Grand Marnier.
- Pour sauce into a bowl and cool to room temperature.
- Spoon over cheesecake right before serving. For additional pizazz, generously garnish with fresh raspberries, blueberries, and blackberries, plus fresh mint sprigs!

Ashleym I am beginner ricotta cheesecake recipes