


 Search
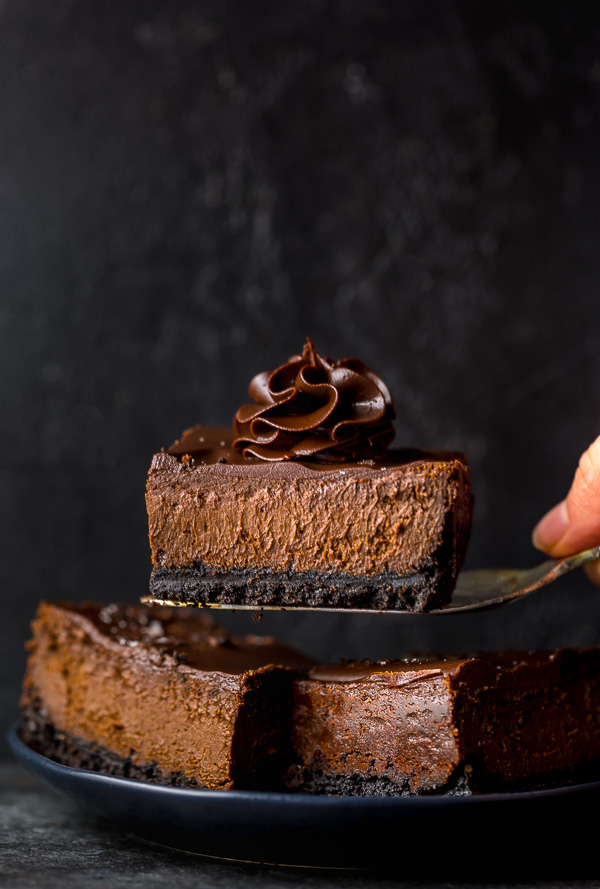
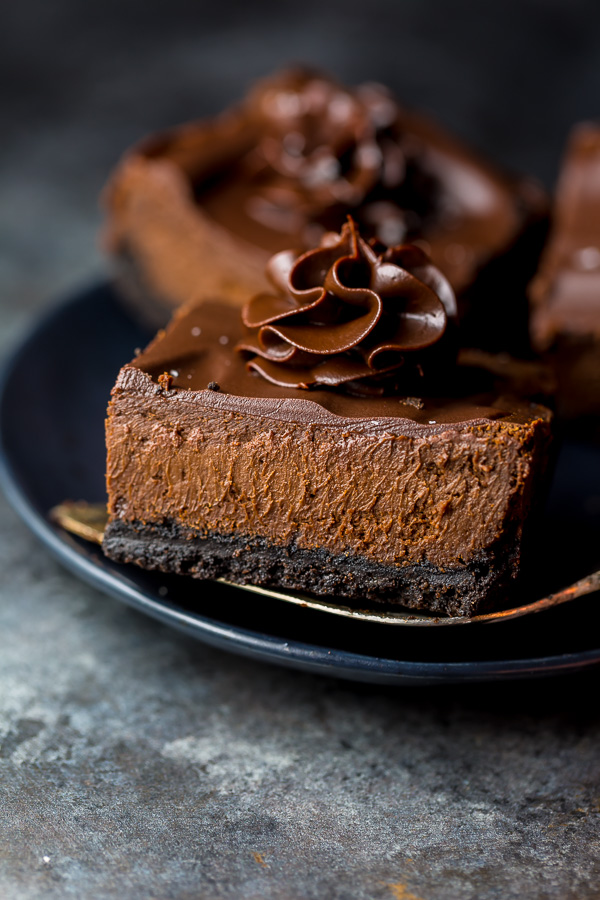
These easy chocolate cheesecake bars feature an oreo cookie crust, creamy chocolate cheesecake filling, and chocolate ganache! So decadent and a chocolate lovers dream come true! Preheat your oven and get ready for this to become one of your favorite dessert recipes!
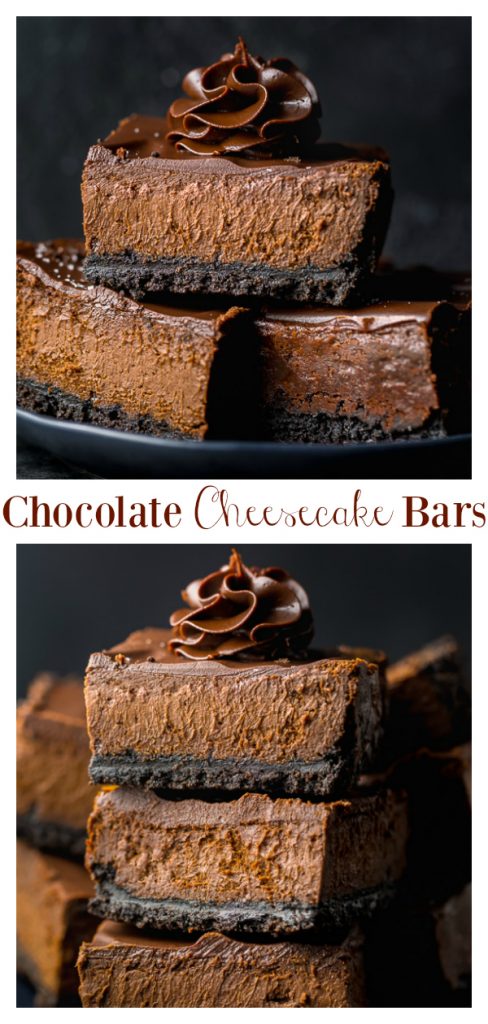
Chocolate Cheesecake Bars
I love cheesecake almost as much as I love chocolate, so this recipe for easy chocolate cheesecake bars was inevitable!
I used my Ultimate Chocolate Cheesecake recipe as a starting point for this recipe. Why? Because honestly, that recipe is completely foolproof so I didn’t want to change anything that didn’t need changing. If you’ve baked it, you know what I mean! The chocolate cookie crust is delightfully crispy and makes the perfect base. And the chocolate cheesecake filling is rich, creamy, and so decadent. So why transform the recipe into bar form? That’s an easy one! I did this for those of you who don’t own a springform pan, and don’t feel like buying more stuff. I also did this for all of my baking pals who loathe the water bath process. Which I’ve learned from feedback… is A LOT of you!
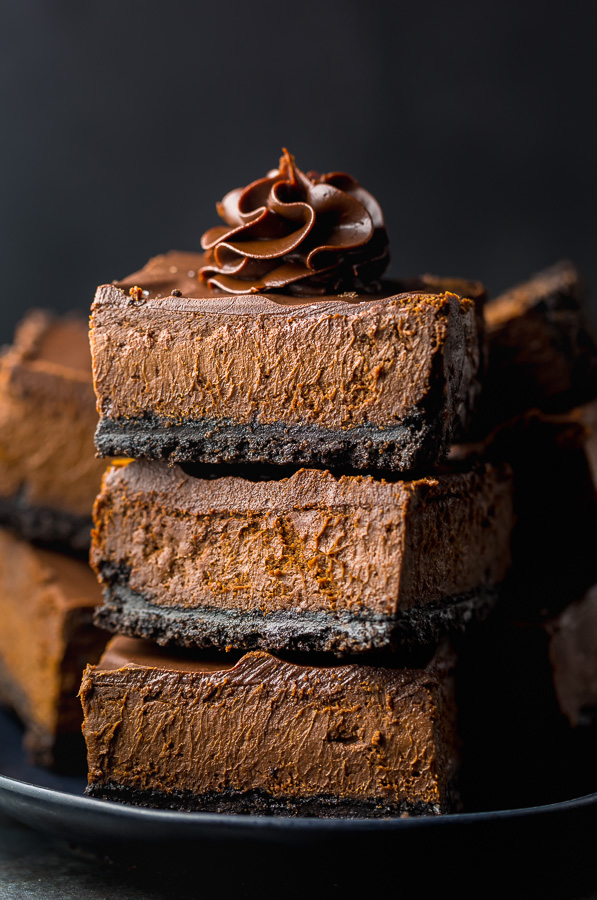
These chocolate cheesecake squares are also easier to share with a crowd, making them perfect for large group celebrations!
Easy Cheesecake Recipe
Ingredients:
- Room temperature ingredients are crucial when it comes to making any cheesecake – including these chocolate cheesecake bars! So be sure you bring your cream cheese, eggs, egg yolks, and heavy cream to room temperature before you begin assembling the batter.
- You can use any full-fat brand of cream cheese, but I love Philadelphia Cream Cheese blocks (it’s the Philly girl in me lol).
- To make the chocolate cookie crust you will need two ingredients: melted butter and Oreo cookies. You do not need to remove the cream from the center of the cookies.
- And be sure you use classic Oreo cookies, not double stuff or any of the new flavors.
- I suggest using high-quality chocolate, such as Lindt.
Assembly:
- To make the cookie crumbs, place the cookies in a food processor and pulse until finely crushed.
- You can make the cheesecake mixture in a food processor, high-power blender, or stand mixer. Or in a large bowl using a handheld electric mixer. So many options! Whatever appliance you use, be sure you really blend the cream cheese before adding the other ingredients.
- To prevent the crust from sticking, you will need to line your 9×13-inch baking pan with parchment paper. Be sure there’s an overhang of at least 2 inches on each side of the prepared pan. This will help you remove the bars from the pan later.
- When pressing the crust into the bottom of the pan, press it down very firmly. A firmly packed crust will bake up thick and won’t crumble when sliced.
- Start to press the crumbs down in the center of the pan and then work the crust out and a little bit up the edges.
- As for the chocolate, it will be melted and slightly cooled, 5 minutes should do the job. I give instructions for the double-broiler method, but you can also use the microwave.
Baking Cheesecake:
- The crust is pre-baked for 10 minutes. Cool the crust a bit before you pour the cheesecake filling on top.
- Don’t over bake! The cheesecake should be a little jiggly in the middle when you remove the pan from the oven. It will continue to cook as they cool.
Cooling:
- These chocolate cheesecake squares require 4 hours of chill time, so plan ahead time wise! But the good news? They’ll keep, stored in the refrigerator, for up to 3 days.
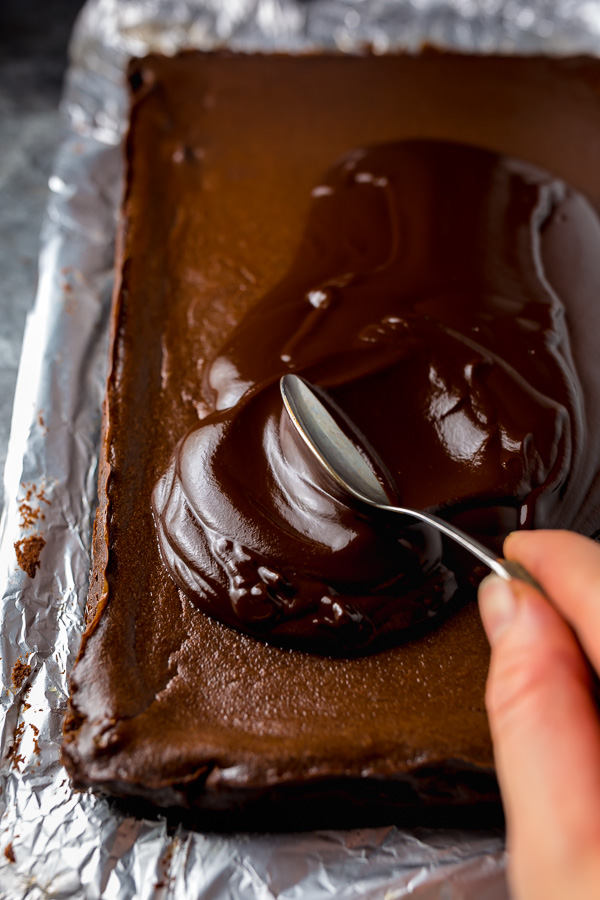
How to Make Chocolate Ganache
- The final step is the chocolate ganache, which is insanely easy to make! Simply combine chopped chocolate with warm cream and stir. Does it get any easier than that?!
- P.S. The ganache is delicious, but totally optional. These bars are so decadent on their own they don’t even need the ganache. However die hard chocolate fans (like me) will probably opt to use it! It also makes the bars extra pretty, which is great for special occasions. You could also top with whipped cream.
How to Freeze Chocolate Cheesecake Bars:
- There are two ways to freeze these chocolate cheesecake bars! The first is to allow the bars to cool completely, then wrap the whole slab in a few layers of saran wrap (or aluminum foil) and freeze. The second is to cool completely, slice into bars, and wrap each bar in a few layers of saran or aluminum foil and freeze.
Next time you have a chocolate craving, whip up a batch of these easy chocolate cheesecake bars! You won’t regret it.
More Cheesecake Recipes:
If you try this recipe for Easy Chocolate Cheesecake Bars, please let me know what you think! Leave a comment below, and don’t forget to snap a pic and tag it #bakerbynature on instagram! Seeing your creations seriously makes my day ♥
Easy Chocolate Cheesecake Bars
Ingredients
For the Chocolate Cookie Crust:
- (1) regular full-size package Oreo cookies, crushed into fine crumbs (36 sandwich cookies in total)
- 8 tablespoons (4 ounces) unsalted butter, melted
For the Chocolate Cheesecake Filling:
- 12 ounces bittersweet chocolate, coarsely chopped
- 1 and 1/2 pounds (24 ounces) full-fat cream cheese, at room temperature
- 1 cup granulated sugar
- 1/4 cup light brown sugar, packed
- 2 Tablespoons unsweetened natural cocoa powder
- 4 large eggs plus 2 large egg yolks, at room temperature
- 1 cup heavy cream, at room temperature
- 2 teaspoons vanilla extract
For the Chocolate Ganache:
- 16 ounces semi-sweet chocolate, finely chopped
- 1 and 1/4 cups heavy cream
Instructions
For the Chocolate Cookie Crust:
- Preheat oven to 350 degrees (F). Line a 9x13-inch baking pan with heavy-duty aluminum foil, allowing two of the sides to overlap (you want an overhang of at least 2-inches on two sides) and spray lightly with nonstick baking spray. Set aside.
- In a large bowl combine the crushed cookie crumbs and melted butter, mix well to combine.
- Press the mixture into the bottom - and slightly up the sides - of the prepared pan.
- Bake the crust in preheated oven for 10 minutes. Remove the crust from the oven and set aside on a cooling rack until needed.
- Reduce the oven temperature to 325 degrees (F).
For the Chocolate Cheesecake Filling:
- Fill a medium pot one-third full with water and bring it to a low simmer over medium heat. Place a heatproof bowl that will fit on top of the pan snugly, but will not touch the simmering water, on top of the pan. Reduce the heat to low and add the chopped chocolate into the bowl over the pot. Heat until the chocolate is completely melted, stirring occasionally with a silicone spatula. Remove the pot from the heat, leaving the bowl of chocolate over the hot water. Set aside until needed.
- In the bowl of a food processor (or high-powered blender), pulse the cream cheese until completely smooth, scraping down the sides of the bowl as needed, about 2 minutes. Add in both sugars and cocoa powder and beat smooth.
- Add in the eggs, egg yolks, and heavy cream and mix on low speed until just combined, about 20 seconds. Using a silicone spatula fold in the chocolate, mixing just until it's evenly incorporated. Finally, fold in the vanilla.
- Remove the bowl from the food processor and, using a silicone spatula, stir the filling several times to ensure it’s evenly blended.
- Scrape the filling over the partially baked crust in the prepared pan.
- Bake the cheesecake bars for 35 minutes, or until the center of the cake is set but still slightly jiggly. The cake will set completely as it cools.
- Remove the cake from the oven and place the pan on a wire rack. Carefully loosen the foil, then immediately run the tip of a knife around the sides of the pan, to prevent the top from cracking. Cool completely (in the pan), then transfer to the refrigerator to chill for at least 4 hours before removing from the pan and slicing.
For the Chocolate Ganache (optional):
- Add chopped chocolate to a large bowl and set aside until needed.
- In a small saucepan over medium-heat, bring the cream to a rolling simmer, then immediately remove from heat. Pour the cream on top of the chocolate pieces and set aside for 1 minute. With a whisk, begin to incorporate the melted chocolate into the cream, whisking until smooth and glossy.
- Set aside and cool until tepid. Then scrape about 3/4 cup of the ganache into a large piping bag fitted with an open star tip.
- Pour the remaining ganache over cooled cheesecake. Set aside until ganache is set, about 1 hour.
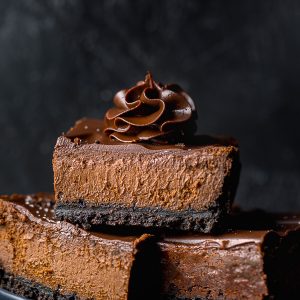
- To serve, slice the cheesecake into bars, using a thin-bladed sharp knife, wiping the knife clean between each cut. Pipe a star of chocolate ganache on top of each piece. Then serve!
- Or store, loosely covered, in the refrigerator, for up to 5 days.
Thanks for sharing great ideas 🙂 I’m gonna try this i get chance because it’s looks really amazing and i love it
Hello! I chose this recipe to make for my brother in law for Christmas because you pinned it as gluten free but an oreo is not gluten free. Suggestions?
Trader Joe’s has gluten free chocolate cream sandwich cookies. I use those and they are delicious!
I cup of sugar how many grams?? And pound as well…wsiting for your answer so excited to try it
Well I took this to my church’s Ladies Night of Reflection tonight. It was delicious and my presentation was like the pic, I piped ganache on each one. After it was over, at least three ladies asked if they could take a piece home (for themselves, not to share!). I did add 1/2 teaspoon espresso powder to the crust like the no-bake espresso cheesecake recipe you have. Thanks for the recipe and l look forward to making more of your recipes.
I’m so happy these were a hit with the ladies at church 🙂 Thank you for letting me know!
Hey there, just wondering which Lindt chocolate do you use exactly?
Hi Isabel! I used a mix of 70% and 85%, because we love dark chocolate. But you less deep cocoa levels if you prefer a sweeter cheesecake 🙂
I want to make these ahead and freeze for Christmas but I do not see where the freezing instructions are in the recipe?
Hi, Ashley, I’m Katie I love baking also. I just went to the store and purchase the items to make this, this coming week. My boyfriend and I can’t wait! I thought some peanut butter powder would be a great addition to this but I wasn’t certain how much I should try to go about using, any suggestions????. Have u thought about using the pb powder before for this as a alternative? I know I haven’t worked enough with the powder to be fully confident. I figured real peanut butter would just mess with the recipe,just no on that. what a great way to get a chocolate peanut butter combination without messing with the recipe and or the texture I hope. I assume add it when u add the cocoa powder. Ooh just thought would just adding the pb powder to the crust be better? And or both? something’s to ponder if u will. I figured u have made this many times before so u would have a better gauge for flavor profile and or richness of it. Thanks so much for any help or estimations would be a great starting point. Thanks for your advice. Can’t wait to make it either way. Have a nice day.
Thanks, Katie
I would substitute part of the cocoa powder with peanut butter powder, use peanut butter chips to make the ganache, and use the peanut butter filled Oreos for the crust.
Hi Ashley,
Looks yummy and delicious. My 6 years old son love chocolate and will try this for him. 🙂
I hope you both love them!!!
Would love to make this recipe however I need to make it in a smaller pan 8×8. (Oven currently broken and using a countertop convection oven). Obviously less crust ingredients will be needed, but would you make a half recipe for an 8×8 pan or use the entire filling recipe and bake longer. Thanks for your help.
Hi Jeanne. Unfortunately I haven’t tested this recipe using an 8×8 so I can’t advise well. I would think you could use the exact recipe in a smaller pan and just adjust the baking time, but again, not 100% sure. If you try it, we’d love to hear how it turns out 🙂
This looks delicious. Is that chocolate whipped topping on top of your beautiful bars? It really takes their beauty over the top! Can’t wait to give this recipe a try!
Hi Janie! It’s the chocolate ganache topping piped on top 🙂
What piping tip did you use?
Um she literally said chocolate ganache