


 Search
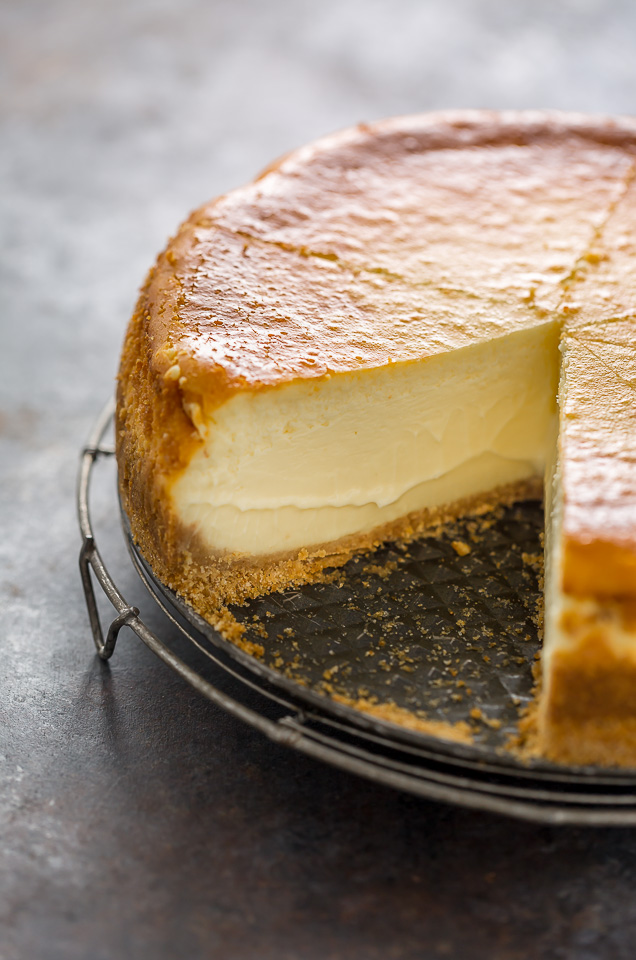
Let me teach you how to bake the best cheesecake recipe ever! This baked cheesecake has a heavenly rich and creamy cheesecake filling and classic graham cracker crust. Reader’s say it’s even better than the cheesecake factory cheesecake! Baked cheesecake will keep, chilled in the refrigerator, and stored in the springform pan, for 5 days!
Rebecca Lynne Scheetz says
“![]() This is the BEST cheesecake I have ever made. So creamy and delicious! I can’ t wait to make it again. Hands Down THE WINNER!”
This is the BEST cheesecake I have ever made. So creamy and delicious! I can’ t wait to make it again. Hands Down THE WINNER!”
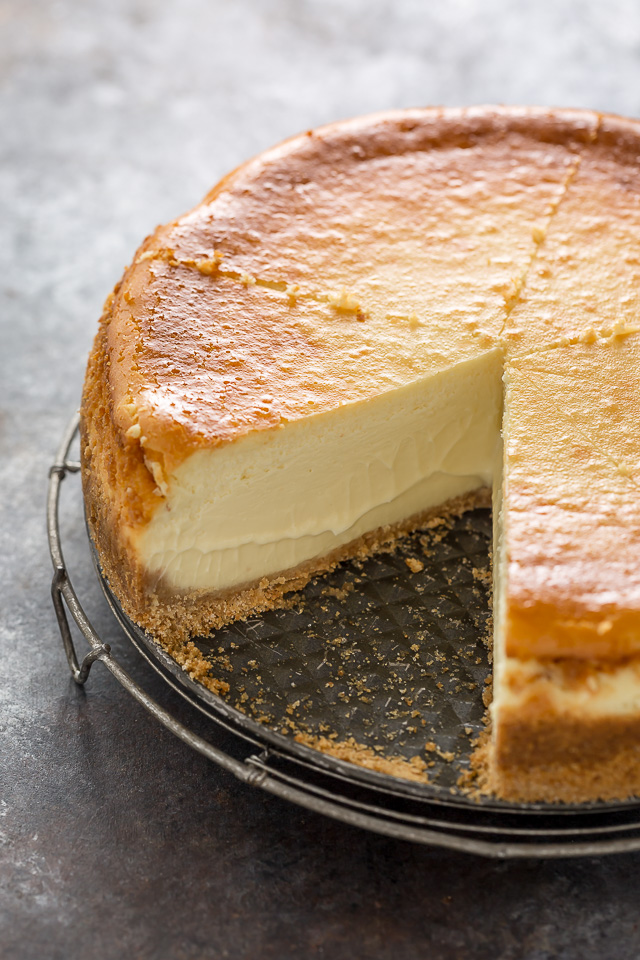
Let’s Bake Perfect Creamy Cheesecake!
If you’re a cheesecake lover, this cheesecake recipe is going to change your life!
Because let’s be real, what’s better than than sinking a fork into a creamy slice of cheesecake? From the crunchy graham cracker crust to the silky smooth cream cheese filling… this seemingly fancy dessert is pure perfection! And actually quite easy to make at home.
And did I mention that cheesecake is the ultimate holiday dessert? Because you can make it days – or even months – in advance. Which is a good thing because although it’s an easy dessert, it’s definitely a time consuming one. But you can make this dessert up to 3 days in advance and chilled in the refrigerator.
Water bath guide and cheesecake step-by-step video tutorial in the recipe card.
I’m Cheesecake Factory Alumni
Have you ever wondered: how are cheesecake factory cheesecakes baked? Well, you’re not alone in pondering this question. I worked there over 5 years, serving dessert to thousands of cheesecake lovers. And during that time, people asked me that exact question over and over again.
I’ve probably consumed over 1 million calories from cream cheese taste-testing my way to the answer! I’d take a slice or two home almost every night… sometimes even more! And quickly it became my life mission to learn how to bake next level cheesecakes. After years of research, I finally created the perfect recipe to share with you.
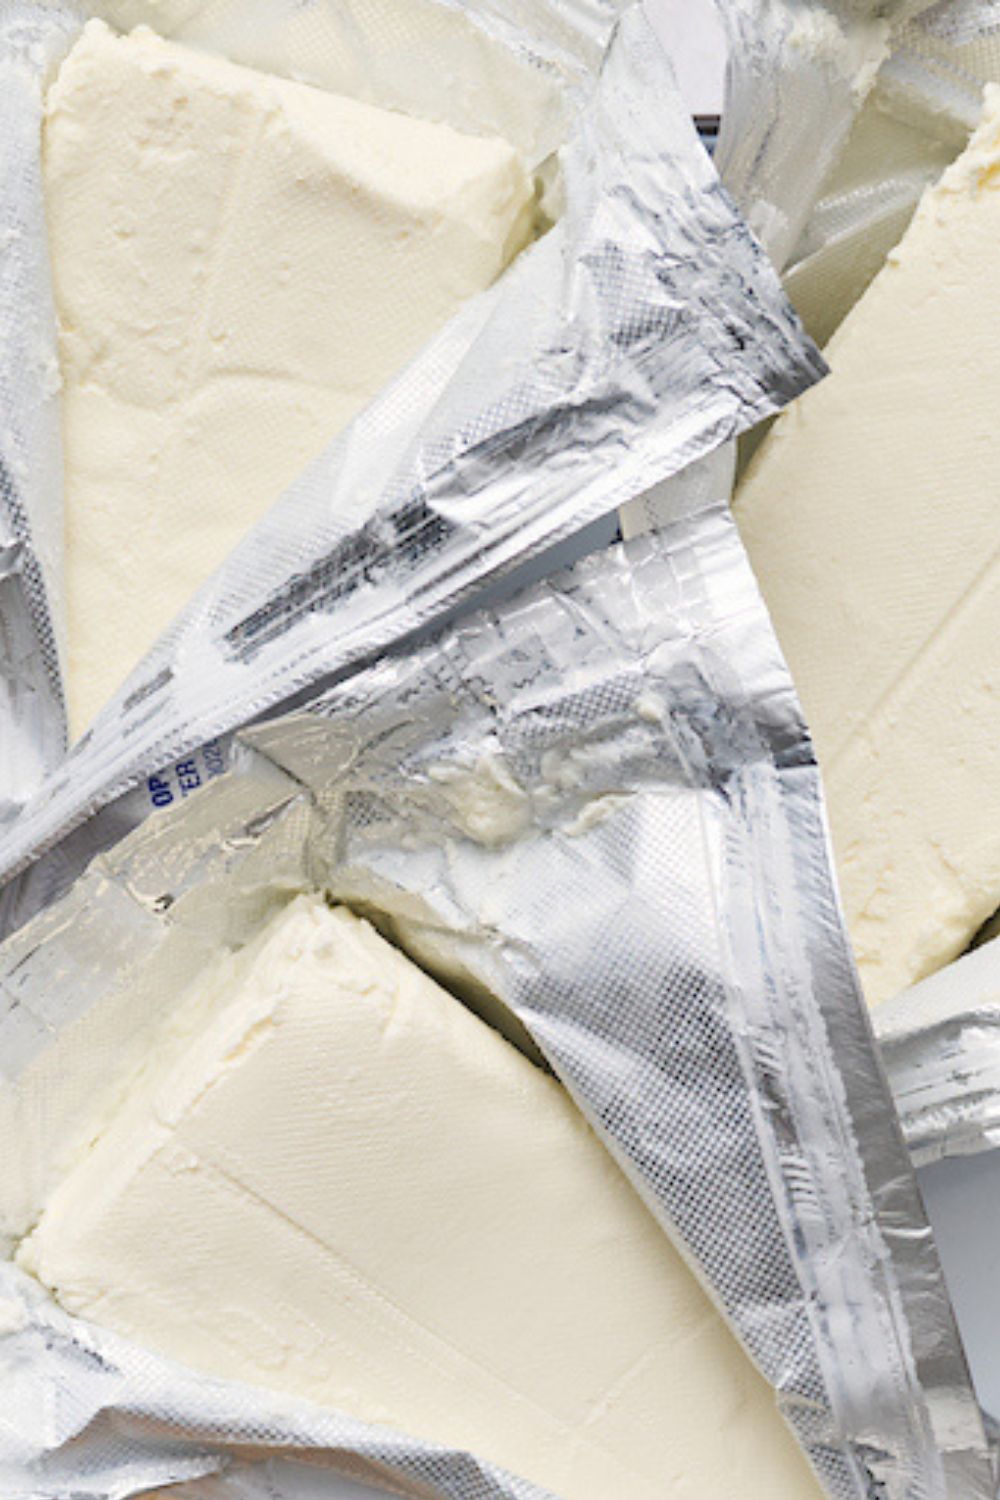
The Best Cream Cheese?
The most important ingredient in this recipe is cream cheese! With dozens of cream cheese options, it can be hard to know which variety works best, right? Well, I can tell you that after baking HUNDREDS of cheesecakes, the best cream cheese is brick-style cream cheese. I love Philadelphia brand, but use your favorite.
Just be sure your cream cheese is:
- Brick-Style
- Plain (Unflavored)
- Full-Fat
- And Room Temperature (before you begin baking)
Start with Room Temperature Ingredients
The ingredients should always be at room temperature before use! You remove them from the fridge at least 45 minutes before you plan on baking this cheesecake recipe. And never attempt to use cold ingredients! Cold cream cheese won’t blend smoothly and cold eggs won’t bond with the rest of the batter.
- Cream Cheese: Our number one ingredient, so be sure to read all my cream cheese tips above. And do not attempt to make this without cream cheese.
- Granulated Sugar: I don’t suggest reducing the amount of sugar in this recipe. Or using an alternative sweeteners, not even brown sugar.
- Eggs: Use large eggs and bring them to room temperature before use. You’ll use both whole eggs and egg yolks. Save egg whites for another recipe. Be sure to add the eggs one at a time, as adding eggs one at a time helps avoid over mixing.
- Vanilla: Pure vanilla extract adds so much delicious rich flavor. Do not use artificial or imitation vanilla.
- Heavy Cream: Aka heavy whipping cream, don’t sub with milk, half and half, or sour cream.
- Graham Cracker Crumbs: Pre-crushed graham cracker crumbs are the easiest choice. If you can’t find them, you can crush graham crackers in a blender until they’re fine crumbs, then use them as called for in the crust.
- Butter: Unsalted butter works best, but salted butter will work just fine.
Some people ask if they can add lemon juice to this recipe to cut the richness, and you can. But don’t add more than a teaspoon.
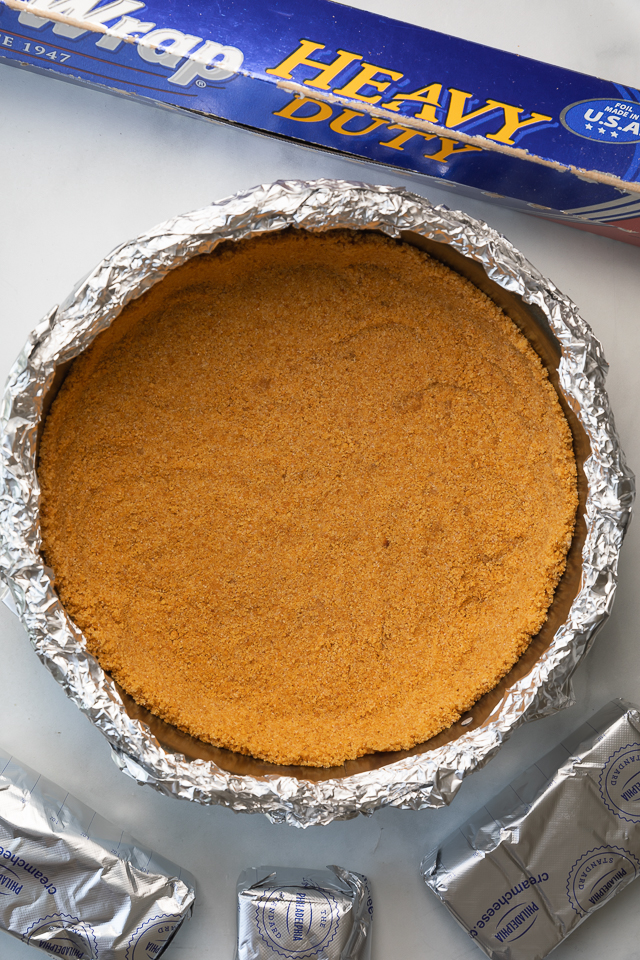
Make the Graham Cracker Crust
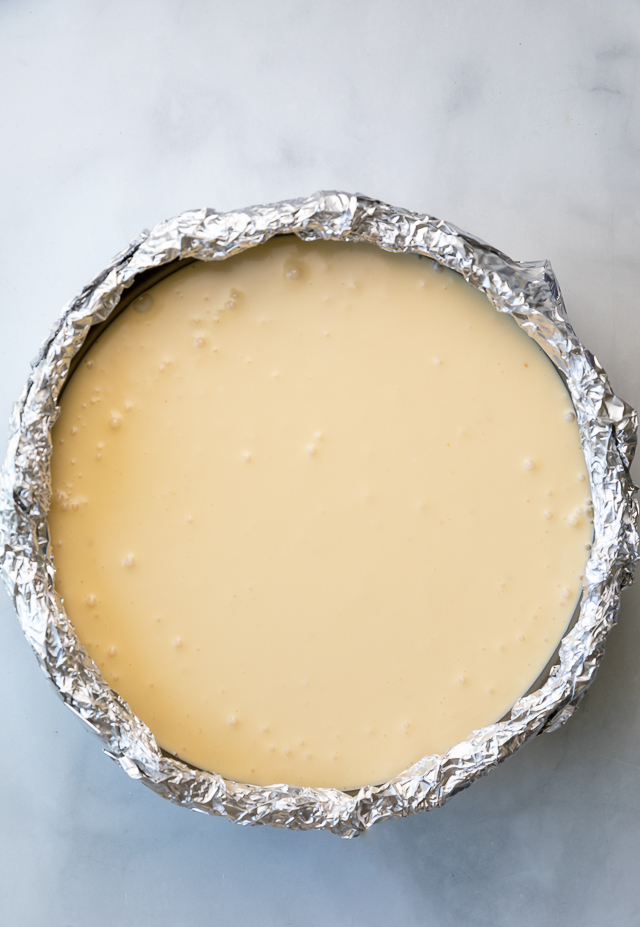
- Wrap a springform pan with heavy-duty aluminum foil. The foil will protect the pan from the water bath, keeping your graham cracker crust nice and dry!
- Spray the pan with non-stick spray. Or grease the pan with butter. Greasing the pan ensures no sticking. No sticking equals perfect slices!
- Combine the melted butter, graham cracker crumbs, and sugar. This is your graham cracker crust mixture!
- Press the graham cracker crust firmly into the bottom of the springform pan. A firmly packed graham cracker crust will bake up thick and won’t crumble much when sliced.
How to Make Cheesecake
- Cheesecake Prep: Turn the oven on and preheat the oven 20 minutes before you plan on baking. Prep you baking pan by wrapping it with aluminum foil and spraying it with nonstick baking spray.
- Par-bake the Graham Cracker Crust: This step ensures a crunchy graham cracker crust. Allow the crust cool as you make the batter. Press the crust up and add the sides of the pan.
- Make the Cream Cheese Batter: Use a food processor, stand mixer, or a handheld electric mixer to make the batter. Pour the cheesecake batter on top of the crust and smooth the top.
- Bake in a Water Bath: Place the springform pan inside roasting pan and fill with hot water. If you don’t have a roasting pan, use a large pan with high sides.
*This post may contain affiliate links!
Let’s Bake Cheesecake
- Bake the Cheesecake: After you preheat the oven, you’ll bake the cheesecake. Until the edges look firm, but the center is a little wiggly. Don’t over bake, it’ll firm up a good amount as the cake cools.
- Cool: The cheesecake cools in the oven first. Let it cool in the oven, without opening the oven door. Then you’ll cool again at room temperature, and finally chill in the refrigerator. This is a lot of chilling but I promise it’s worth the wait!
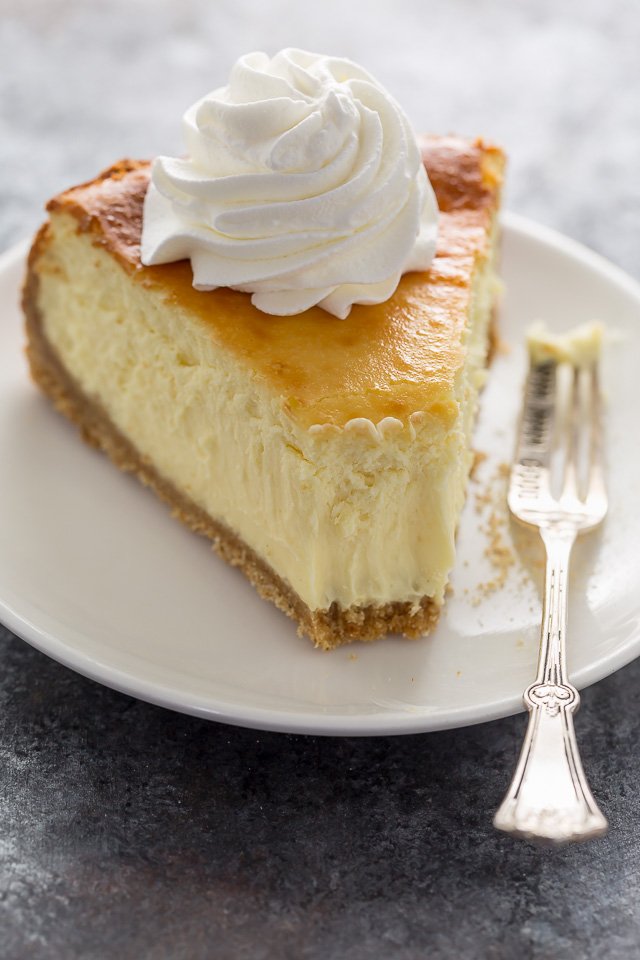
- Slice and Serve: Use a large sharp knife and wipe it between slices. Top with whipped cream right before serving! Or try homemade chocolate sauce or raspberry sauce.
- Storage: Wrap leftovers tightly in plastic wrap and store in the fridge. Or follow my guide below and you can freeze this extra rich and creamy cheesecake for up to 2 months.
Make a Water Bath: Grab a Springform Pan and Aluminum Foil!
- A water bath is an essential step in making the best cheesecake! The water bath helps the cake stay nice and moist – and gives it that signature creamy texture! A water bath also ensures the cheesecake doesn’t crack as it begins to cools down.
- You will let the cake cool in the water bath, in the oven, without opening the oven door. Then you’ll remove it from the water bath as you cool it to room temperature and eventually chill in the fridge.
- I promise, making one isn’t as hard or scary as you might think, and once you do it a few times, it becomes second nature.
For the best results, I don’t suggest making this cheesecake without a water bath!

How to Store Cheesecake
This creamy dessert will keep in the fridge for up to 5 days! To keep it even longer, you can freeze it!
- Let it cool completely at room temperature! This will take several hours, so be patient.
- Wrap the whole cake – or slices – in two layers of saran wrap. Then wrap tightly in aluminum foil.
- Transfer to a freezer bag, tightly seal, and place in the freezer for up to 2 months.
- To defrost, thaw in refrigerator overnight. Do not attempt to thaw in the microwave or oven!
Cheesecake Factory Menu Inspired Desserts:
- Oreo Cheesecake
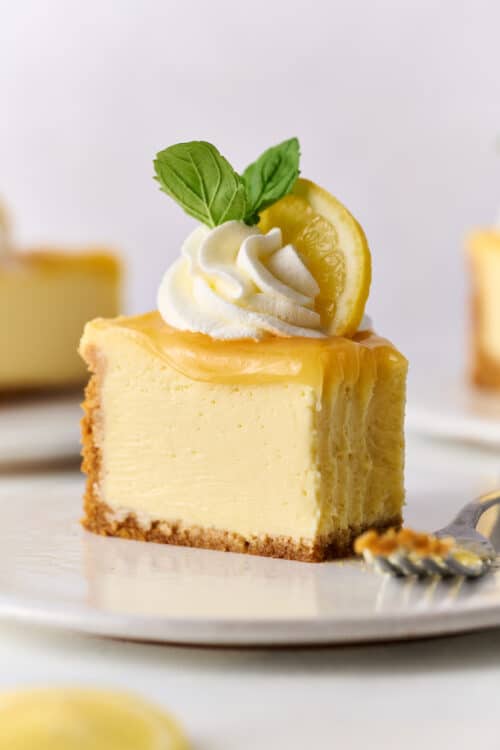
- Key Lime Cheesecake
- New York Style Cheesecake
- Chocolate Cheesecake
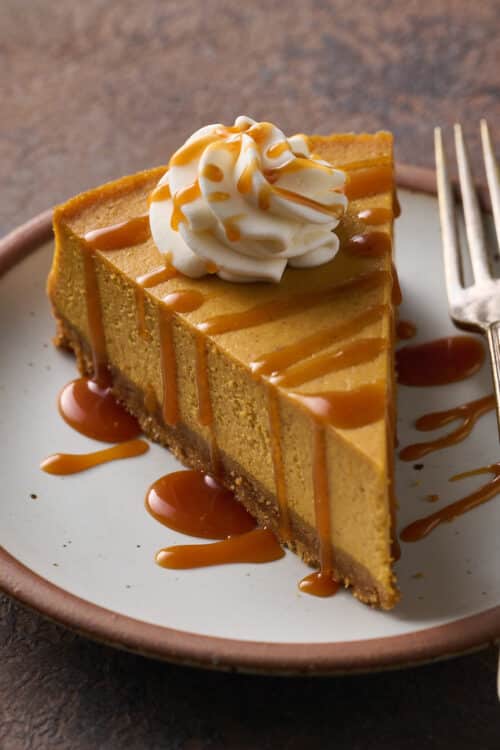
- Pumpkin Cheesecake
Even The Kitchn wrote a review on this recipe (saying it’s the only one you need)!
The Best Cheesecake Recipe
Ingredients
For the Crust:
- 2 cups (198 grams) graham cracker crumbs
- 1/3 cup (67 grams) sugar
- 7 tablespoons (99 grams) butter, melted
For the Creamy Cheesecake:
- 5 blocks full-fat cream cheese (40 ounces total) room temperature
- 1 and 1/2 cups (300g) granulated sugar
- 1 Tablespoon pure vanilla extract
- 5 large eggs room temperature
- 3 large egg yolks room temperature
- 1/2 cup (113ml) heavy cream room temperature (Use an extra 1/4 cup for even creamier cheesecake)
Instructions
For the Crust:
- Preheat oven to 350 degrees (F). Lightly spray a 9″ springform pan with non-stick spray.
- Wrap the bottom and sides of the pan with heavy duty tinfoil. I recommend doing several diligent layers here to ensure no water creeps through when you place the pan in the water bath. Set pan aside.
- In a large bowl, combine graham cracker crumbs, sugar, and melted butter; stir well to combine. Firmly pat the mixture into the prepared pan.
- Bake in preheated oven for 8 minutes. Place partially baked crust on a cooling rack and set aside while you prepare the filling.
For the Creamy Cheesecake Filling:
- In the body of a high power blender, food processor, stand mixer fitted with the whisk attachment, or in a very large bowl using a hand held mixer, beat the softened cream cheese until completely smooth, scraping the bowl as needed.
- Add sugar and vanilla and beat smooth, scraping down the sides and bottom of bowl as needed. Add in the eggs and yolks, one at a time, beating well after each addition.
- Add in the cream and beat until it’s just incorporated in the batter.
- Pour filling into prepared crust and, using a silicone spatula, smooth the top.
- Place the cheesecake pan into a large, deep pan. Fill the pan with 2 inches of hot water. This is your water bath and will help ensure your cheesecake comes out crack free.
- Carefully place the pan in the oven and bake for 1 hour and 10 minutes. Turn oven off and let the cheesecake sit, undisturbed, for 45 minutes, inside the oven with the door shut. The cheesecake should be still slightly wiggly.
- Remove cake from oven and gently run a knife very around the edge of the cake. Place the cheesecake pan on a cooling rack and cool completely, then loosely cover the pan with saran wrap and chill for at least 8 hours.
- Cheesecake will keep, covered in the fridge, for 5 days. Cheesecake may be frozen for 2 months. Thaw overnight before slicing.
It was a perfect Cheese cake! My family went bananas over it. Do you have A chocolate cheese cake recipe?? I would love to try it also.. Thank you so very much for an absolutely best cake❤️❤️
i love this recipie!
Does the cheesecake bake at 350 as well as the crust? I don’t see that stated.
Hi Deedee. Yes, the cheesecake also bakes at 350 🙂
Ms. Manila, I’m a 73 year old retired man that likes to bake and cook for fun. I followed this cheesecake recipe exactly. It was absolutely delicious!
I would like to add that some of the commenters that made this dessert had trouble including all the cheesecake batter into a 9” springform pan.
I bought and used a USA leakproof commercial springform pan from Amazon ($39.10 …yikes!) and it accommodated all the batter. Perhaps it was the design of this pan that allowed for the extra volume of batter…I don’t know. It did however fill the pan to about 3/8” from the top. Maybe some other springform pan brands are slightly smaller in capacity.
At any rate, I WILL be making this recipe again in the future…so rich and so creamy not to mention delicious
Hi Paul! I’m so happy this recipe was worthy of you making it again. And you’re so right… 9-inch springform pans vary widely in depth. The one you mentioned is my absolute favorite. It’s pricey but worth the splurge because it’s a total workhorse!
I agree with Paul! USA pans are the best & worth every penny. All their bakeware is exceptional.
This recipe is fantastic!!
Best cheesecake recipe ever! My family and friends were very impressed. I topped it with a gelee made from mango puree and gelatin and it went well with the cheesecake.
Oooh that mango topping sounds heavenly! So happy this was a hit 🙂
Delicious! Turned out perfectly! I did not do the water bath – never do- but I did do 20 minutes at 425 before turning the temp down for the last 40 minutes. Then turned off the oven and left the cheesecake in the closed oven until it completely cooled. Made it 3 days before serving, kept wrapped and chilled in fridge. Best recipe I’ve found after many years of making various cheesecakes. This one is a keeper.
I’m curious to what temperature you used for the last 40 minutes?
No splitting, very creamy and not too sweet. This recipe is magic. The cake was perfection. The batter was about to over filled the 9” pan so I buzzed up the third packet of grahams and made a personal sized cheesecake in a 6” pan for the birthday girl. 10/10 would recommend.
I’m looking for a relatively dense recipe that will freeze and transport well. This recipe looks like it would work with the extra yolks.
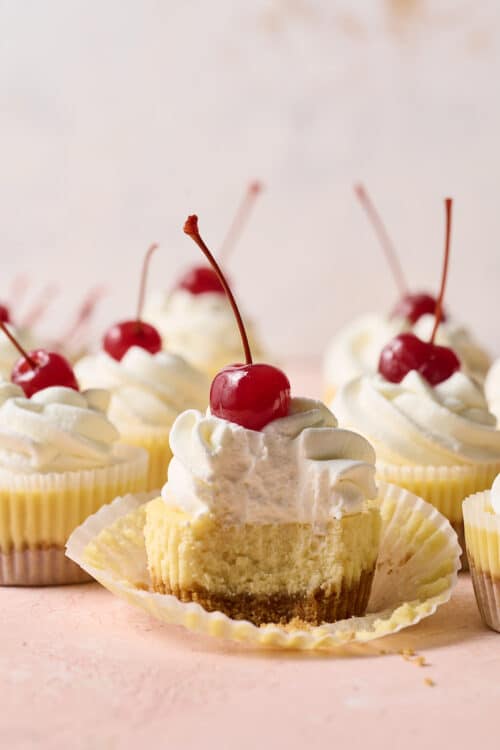
I’m planning on making mini cheesecakes for a wedding rehearsal using the smaller “mini” pans with straight sides and removeable bottoms that are smaller than regular muffin pans. Any idea on cooking times??
I plan to bake before and transport to the location frozen as will be couple hours before eating to allow for setup (still trying to decide how to display) and will have a topping bar with several choices for guests to pick from so not worried about topping – just that can store well in freezer and transport at least an hour without messing up.
Hi Pam! I have to be honest in saying I have not tried this recipe as mini cheesecakes. That being said, I think it should work. I would suggest following the directions for my mini cheesecakes: https://bakerbynature.com/mini-cheesecakes/
This is the second time I’ve made this in a 12” springform pan. Creamy delicious.
I have 2 springform pans and reading the recipe I knew a 9” wouldn’t suffice.
I typically make a triple berry coulis to serve with this. Have a beautiful plate with a swirl design of the coulis, lay a slice of cheesecake, top with a few berries and serve. ♥️
Did you do the same bake time?
Explain how you can put this in a 9 inch spring form pan. There’s no way. I tried.
Great recipe but please explain how you did it.