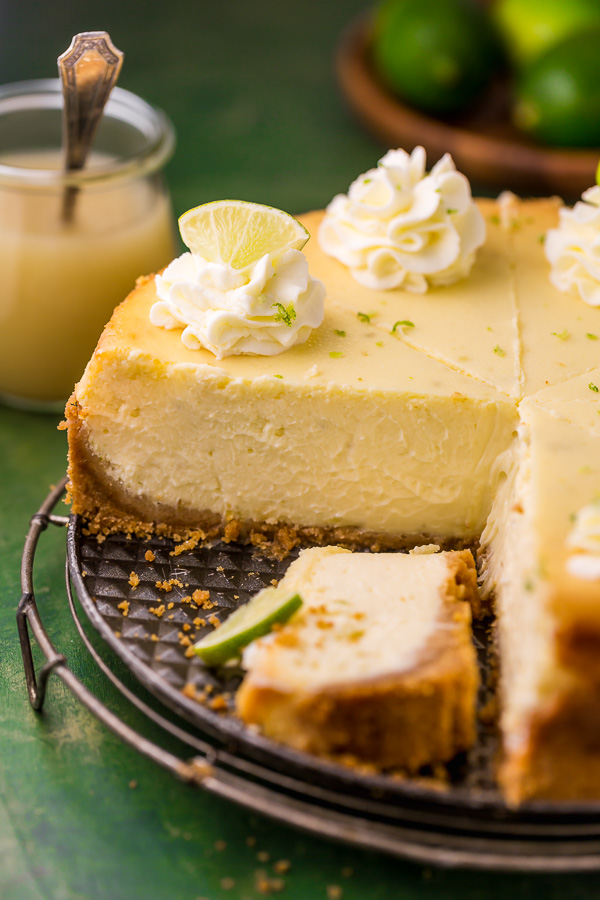
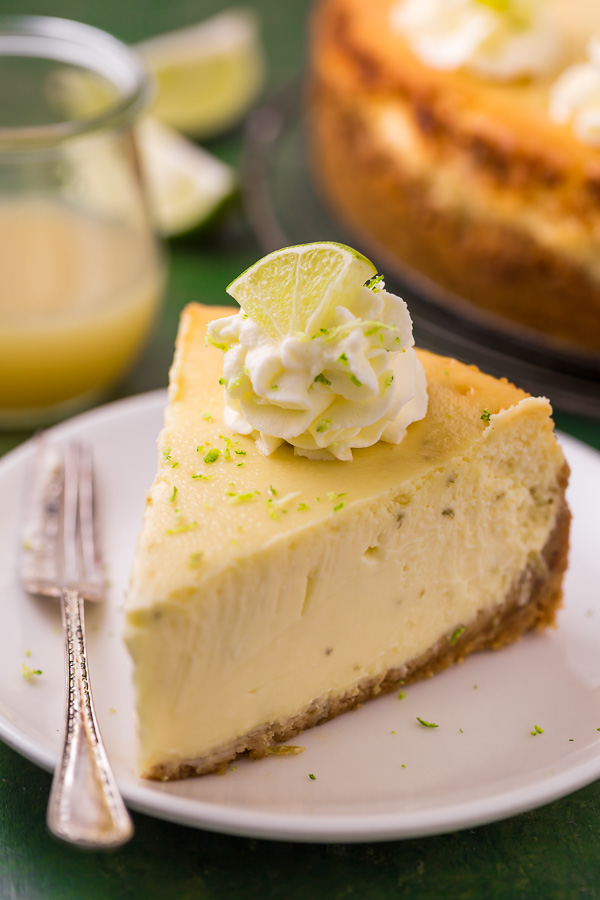
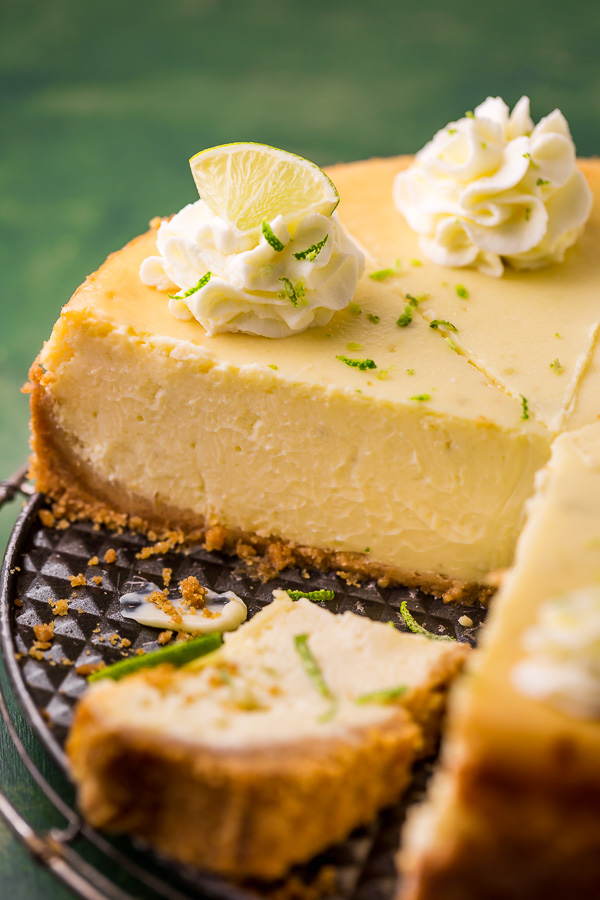
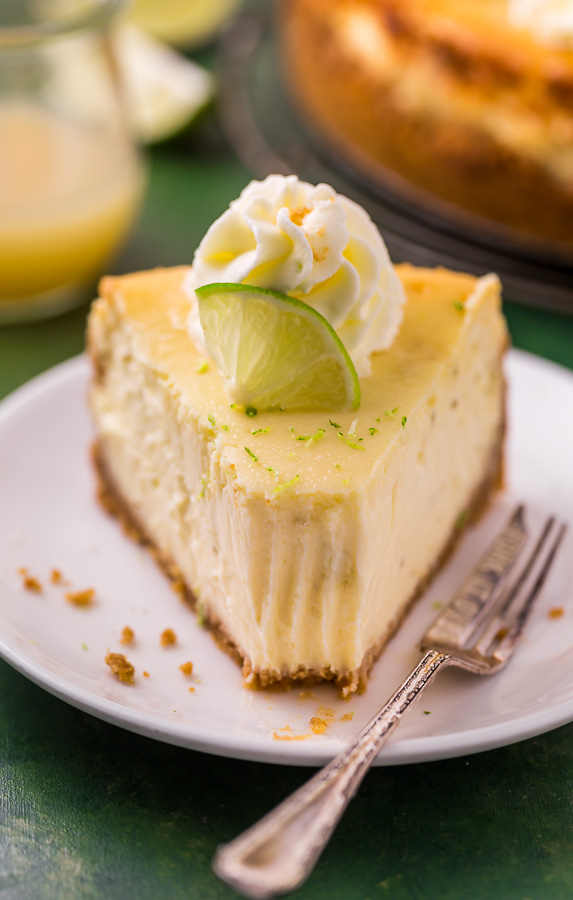
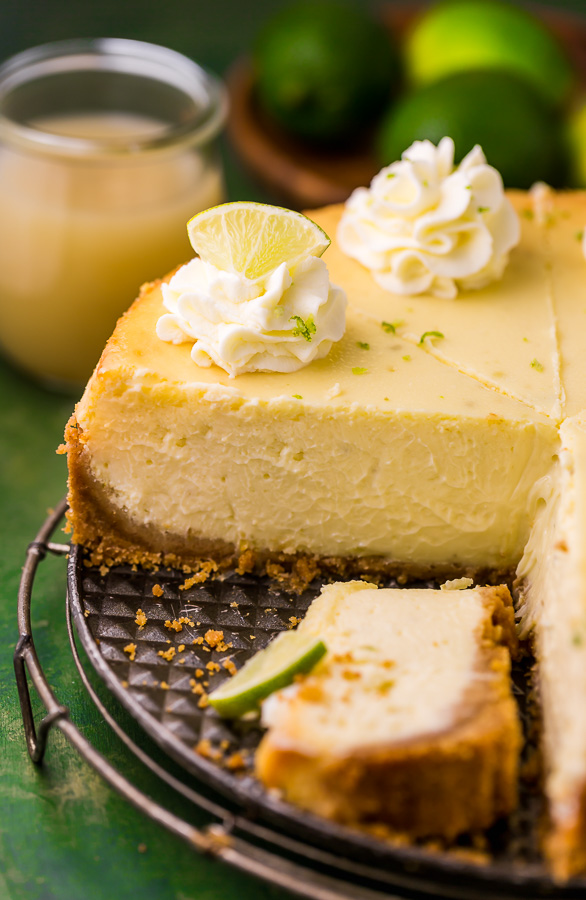
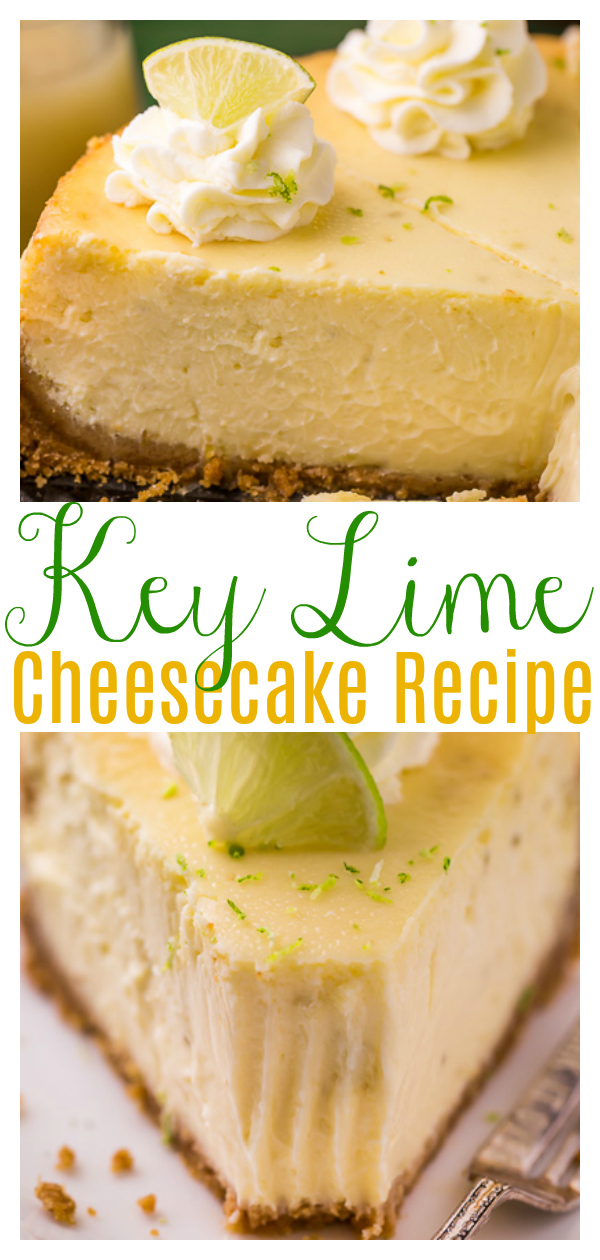
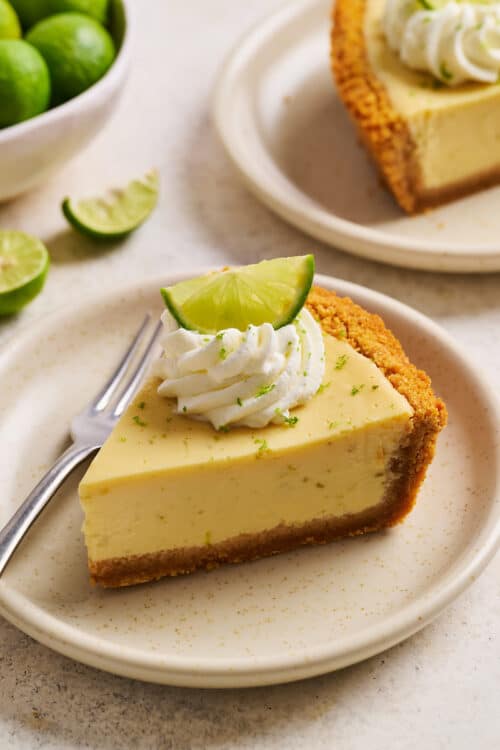
This Key Lime Cheesecake is so creamy and always a crowd-pleaser! The base is a graham cracker crust and the cheesecake filling is made with lime juice and lime zest, which provides plenty of lime flavor. If you love key lime pie and cheesecake, you have to try this great recipe!
Key Lime Cheesecake Recipe
So I’m pretty sure by now you know I’m obsessed with cheesecake! And lately… I’ve been baking one every week. And honestly, I see no end in sight! I have a ton of Spring cheesecake recipes coming for you in the near future, and I have several Summer and FALL cheesecakes on the editorial calendar for later this year. So hopefully you love cheesecake recipes as much as I do?!
Hoping you also love key limes… because today I’m teaching you exactly how to make Key Lime Pie Cheesecake! This lime cheesecake recipe is basically foolproof! And it looks – and tastes – like you could have bought it from a fancy bakery. But the best part? It’s make-ahead friendly. Which means it can be stored in the fridge for up to 5 days or frozen for up to two months!
 So… what’s the difference between a lime and a key lime?
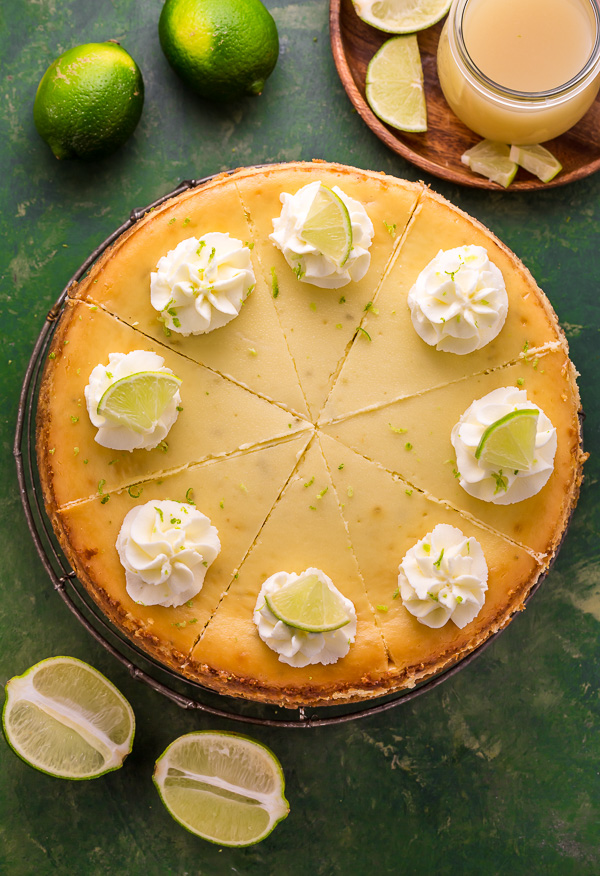
Key limes are much tinier than Persian limes (aka regular limes). They’re also slightly sweeter and contain more seeds. Persian limes are larger in size (thus hold much more juice) and slightly more bitter. In color, you will notice that key limes are typically more of a pale green/yellow while Persian limes are dark green. Finally, key limes have thinner skin while Persian limes have thick skin.
Can I use bottled lime juice for key lime pie?
Yes! In fact… I kind of recommend it. Because key limes are TINY and take forever to juice. And because key limes are not always in season, so bottled juice can be a lifesaver if you’re really craving key lime and can’t find them. I’m a big fan of Nellie & Joe Key West Lime Juice.
Can I substitute lime juice for key lime juice?
I’m going to be honest with you: YES! You can totally use regular lime juice. Will the cheesecake taste a little different? Yep. But keywords being “a little”. So if you can’t find key lime juice near you and really want to make this cheesecake, feel free to use regular lime juice.
How to make Creamy Lime Cheesecake
- Before you begin, be sure to lightly spray the entire baking pan with non-stick spray. If you don’t have, or don’t use, canned sprays, you may grease the pan with butter. Greasing the entire pan will ensure your crust and cheesecake don’t stick to the pan. No sticking equals perfect slices!
- Because this recipe begins with the crust, that is also where we will begin. To make the crust you will need melted butter, crushed graham cracker crumbs, and sugar. Yes, just three ingredients! You can buy graham cracker crumbs from the grocery store, or make your own by pulsing sheets of graham crackers in your blender or food processor.
- When pressing the crust down into the bottom of the springform pan, you’re going to want to press it down very firmly. A firmly packed crust will bake up nice and thick, and most importantly, won’t crumble much when sliced. I recommend starting to press the crumbs down in the center of the pan and then working the crust out and just a little bit up the edges.
- Room temperature ingredients are crucial when it comes to making a cheesecake! So be sure you bring your cream cheese, eggs, and heavy cream to room temp before you begin making the batter.
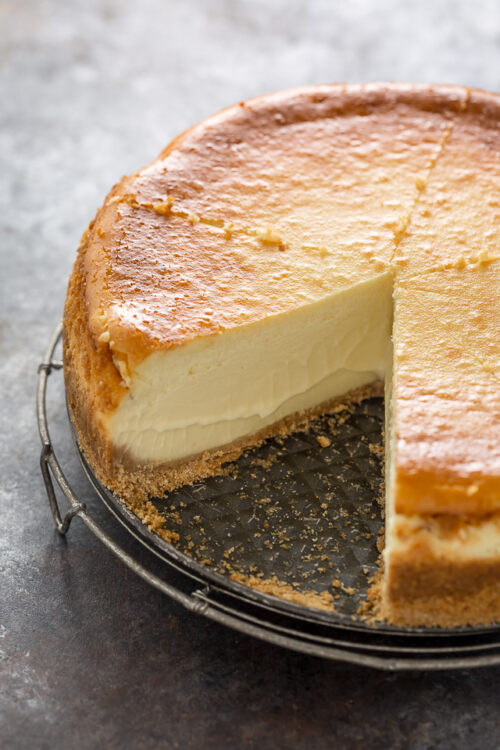
- Finally, let’s talk about baking. Because the worst thing you can do when it comes to cheesecake is over bake it. This cheesecake will bake at 300 degrees for 1 hour and 30 minutes. At that point you’ll turn the oven off but leave the cheesecake in the oven for another 30 minutes. Now it’s time to remove the cheesecake from the oven. It will still look jiggly (not done) in the middle but don’t fret! It will firm up as it cools.
- You will cool the cheesecake in the pan until serving. This means as it cools on the counter AND as it chills in the fridge. Do not attempt to remove the spring form pan until the cheesecake has chilled for at least 6 hours.
Moral of the story? Allow your cheesecake to cool completely in the pan and you’re golden!
Special Equipment Needed
You’ll need a 9″ springform pan and some form of electric mixer to make this cheesecake. If you don’t have an electric mixer, a blender or food processor can work.
Do I have to make a Water Bath for this Cheesecake?
Yes, but I promise it’s not that scary! The water bath helps the cheesecake stay nice and moist! And it also ensures a crack-free presentation.
The best type of pan to use for a water bath is a roasting pan but any other large baking pan with sides at least 2 inches high will work. You need a pan with high edges so you can put enough water into the pan without it overflowing. The best way to prepare a water bath is to place the wrapped cheesecake pan into the roasting pan, place the pan into the oven, and then, very carefully, add 2 inches of hot water into the pan. Since this recipe uses a springform pan, you’ll need to wrap the bottom and sides of the springform pan first with aluminum foil to prevent water from coming through the bottom. To quote Mary Berry, “nobody likes a soggy bottom!” lol. So play it safe and use MULTIPLE layers of heavy duty aluminum foil. You’ll want to bring the layer all the way up the sides of the pan, and in a crisscross pattern. I hope that helps!
If you’d like to avoid making a water bath at all costs, you can place the roasting pan of water on the rack beneath the cheesecake. This work about 80% of the time for me, but this method is not foolproof and sometimes I still get a little crack or two.
PRO TIP: BE SURE NOT TO OVERBEAT YOUR CHEESECAKE BATTER! THIS ALLOWS TOO MUCH AIR INTO THE BATTER, AND WILL CAUSE THE CHEESECAKE TO EXCESSIVELY RISE IN THE OVEN, THEN COLLAPSE WHEN REMOVED. TO MAKE A SILKY SMOOTH BATTER WITHOUT OVERBEATING, FULLY BLEND THE CREAM CHEESE BEFORE ADDING THE REMAINING INGREDIENTS.
Can I Freeze Cheesecake?
You sure can! Baked cheesecakes freeze great! Simply cool the cheesecake completely, then wrap the whole cheesecake, or slices of the cheesecake, in multiple layers of saran wrap, then place in a freezer bag. This cheesecake will keep, stored properly in the freezer, for two months.
How do you Defrost a Cheesecake?
To defrost this cheesecake, simply thaw the wrapped cheesecake in refrigerator overnight. Do not attempt to thaw cheesecake in the microwave or oven!
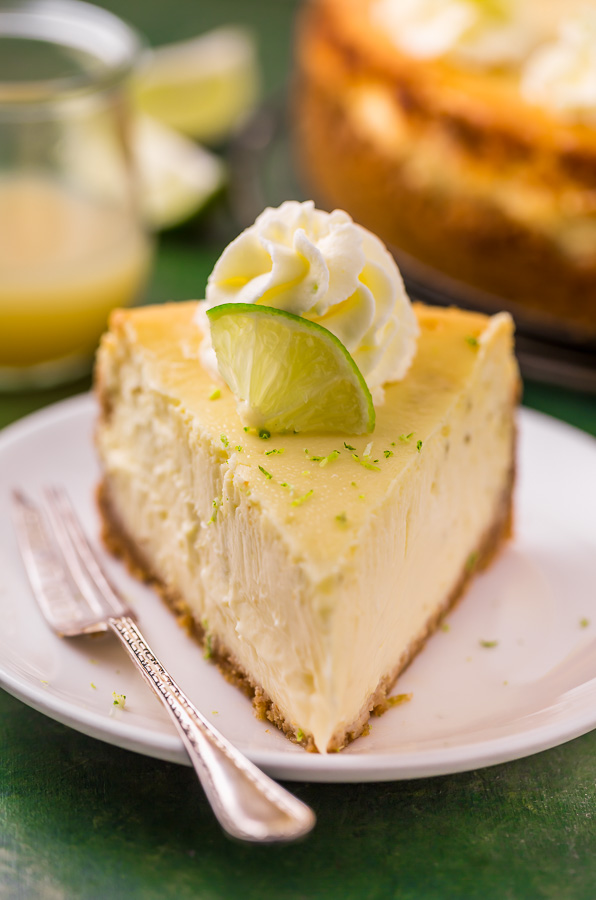
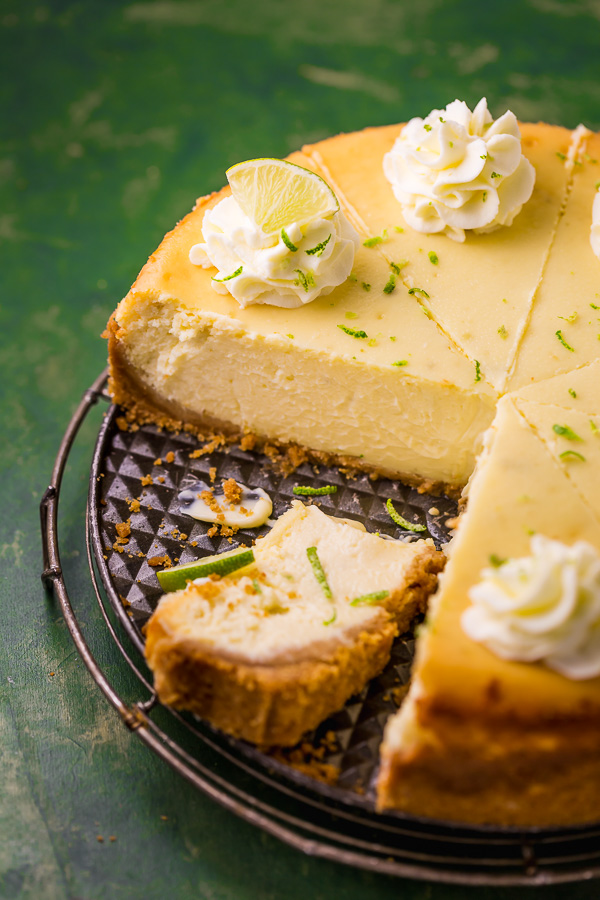
This Key Lime Creamy Cheesecake is delicious on its own, but we love garnishing the slices with whipped cream and extra lime slices. I can’t wait to hear how you enjoy this one!!!
More Key Lime Recipes:
- Mini Key Lime Cheesecakes
- Creamy Key Lime Pudding
- Key Lime Cupcakes
- Frozen Key Lime Pie on a Stick
- Key Lime Coconut Donuts
- Creamy Greek Yogurt Key Lime Cheesecake
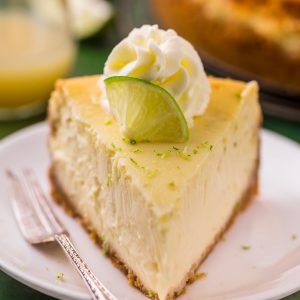
Key Lime Cheesecake
Ingredients
For the Crust:
- 2 cups graham cracker crumbs
- 1/3 cup sugar
- 8 tablespoons butter, melted
For the Key Lime Cheesecake:
- 5 blocks of full-fat cream cheese (40 ounces total), softened to room temperature
- 1 and 1/2 cups granulated sugar
- 2 teaspoons pure vanilla extract
- 2 teaspoons lime zest, finely grated
- 5 large eggs plus 3 egg yolks, at room temperature
- 1/4 cup heavy cream
- 1/2 cup key lime juice
Instructions
For the Crust:
- Preheat oven to 350 degrees (F).
- Lightly spray a 9" springform pan with non-stick spray.
- Wrap the bottom and sides of the pan with heavy duty tinfoil. I recommend doing several diligent layers here to ensure no water creeps through when you place the pan in the water bath. Set pan aside.
- In a large bowl, combine graham cracker crumbs, sugar, and melted butter; stir well to combine. Firmly pat the mixture into the prepared pan.
- Bake in preheated oven for 10 minutes. Place partially baked crust on a cooling rack and set aside while you prepare the filling.
- Reduce oven to 300 degrees (F).
For the Key Lime Cheesecake:
- In the body of a high power blender, food processor, stand mixer fitted with the whisk attachment, or in a very large bowl using a hand held mixer, beat the softened cream cheese until completely smooth, scraping the bowl as needed.
- On medium speed, add sugar, vanilla, and lime zest and beat smooth, scraping down the sides and bottom of bowl as needed.
- On low speed, add in the eggs and yolks, one at a time, beating on low until just combined. Do not over mix here or the batter will rise and fall in the oven!
- Add in the cream and beat until it's just incorporated in the batter. Finally, fold in the lime juice until it's evenly combined.
- Pour filling into prepared crust and, using a silicone spatula, smooth the top.
- Place the cheesecake pan into a large, deep pan. Fill the pan with 2 inches of hot water. This is your water bath and will help ensure your cheesecake comes out crack free.
- Carefully place the pan in the oven and bake for 1 hour and 25 minutes. Then turn oven off and let the cheesecake sit, undisturbed, for 30 minutes, inside the oven with the door shut. The cheesecake should be still slightly wiggly.
- Remove cake from oven and gently run a knife very around the edge of the cake. Place the cheesecake on a cooling rack and cool completely, then loosely cover the pan with saran wrap and chill for at least 6 hours.
- Cheesecake will keep, covered in the fridge, for 5 days. Cheesecake may be frozen for 2 months. Thaw overnight before slicing.

 So… what’s the difference between a lime and a key lime?
Seems like too many eggs
Made this for Thanksgiving. Turned out excellent even though I missed the step to reduce the temperature to 300°, so it was baked at 350° the entire time and still came out great.
Will add more zest the next time to help with the lime kick.
This is a perfect recipe and you will love the results!
I would suggest using two sheets of heavy duty foil, laid crosswise, to avoid a soggy crust from the bain marie.
Thank you Ashley for the excellent recipe. I’ll be making it again soon, as I already have requests!
Can I use ricotta cheese in this?
Hi Marie. I’ve never tried, but I have a feeling replacing the sour cream with ricotta should work fine.
I don’t see source cream in the ingredients??