


 Search
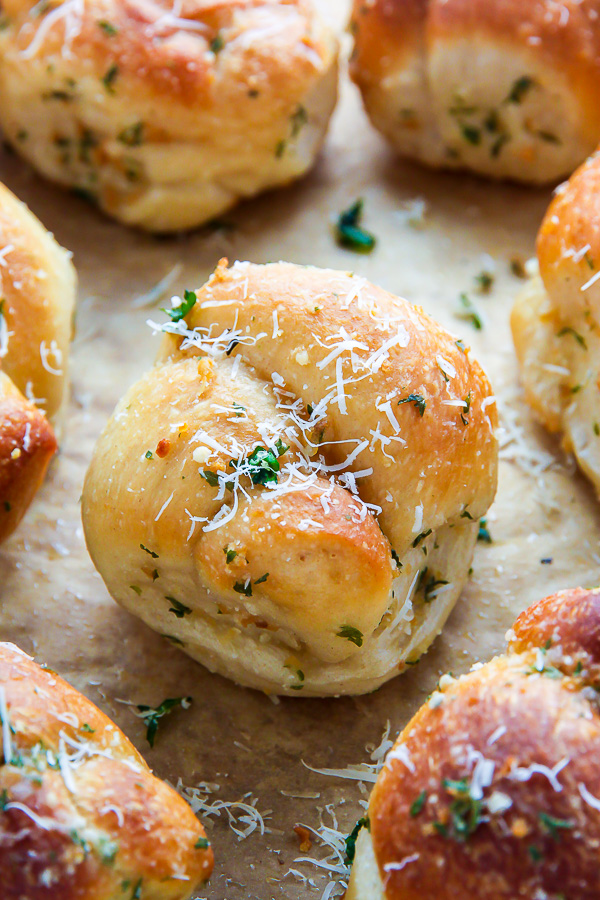
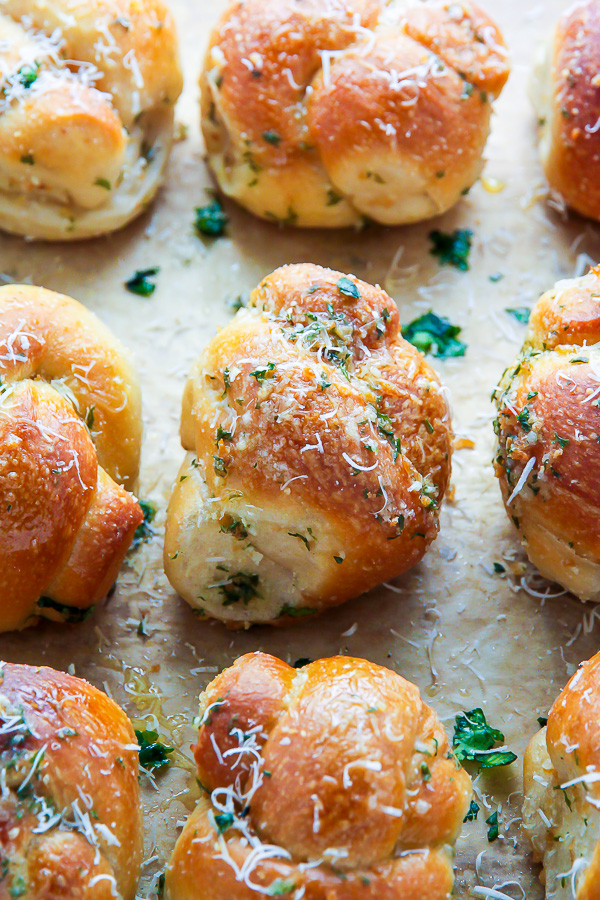
I’m kind of famous for this easy homemade garlic knots recipe! Soft and fluffy, these golden brown garlic knots get their flavor from fresh garlic and garlic powder! Top the homemade dough with grated parmesan and serve with marinara sauce for dipping. This golden brown garlic knots recipe are delicious warm or at room temperature!
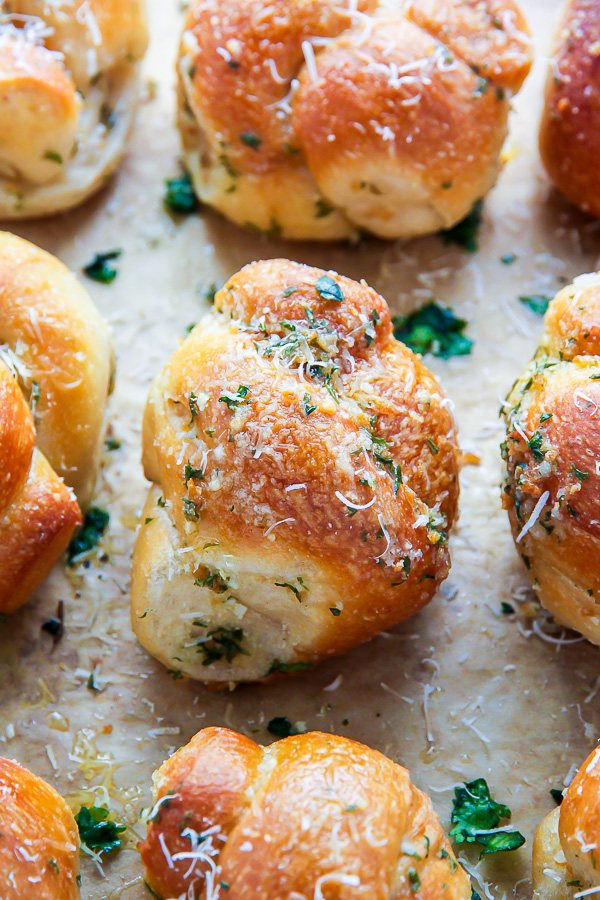
Homemade Garlic Knots are The Bomb!
As an Italian woman, and devout carb lover, I am a HUGE fan of garlic knots. So creating the best homemade garlic knots recipe was one of my top priorities this year! They needed to be soft and fluffy, golden brown, and have the perfect garlic flavor! Obviously, they also need a good sauce for dipping and extra extra Parmesan cheese on top!
And guess what? I learned and perfected this recipe way faster than I thought I would. Turns out making bread knots is NOT hard. And they’re made with super basic ingredients you probably have in your kitchen right now!
You ready to whip up some homemade dough and bake the fluffiest little knots you’ve ever seen?!
What to Serve with Garlic Knots?!
Garlic knots are a delicious snack on their own, especially when you serve with marinara sauce for dipping. But here are a few more ideas to round out your options:
- Pasta: Pasta bolognese, penne arrabbiata, or my amazing lasagna recipe!
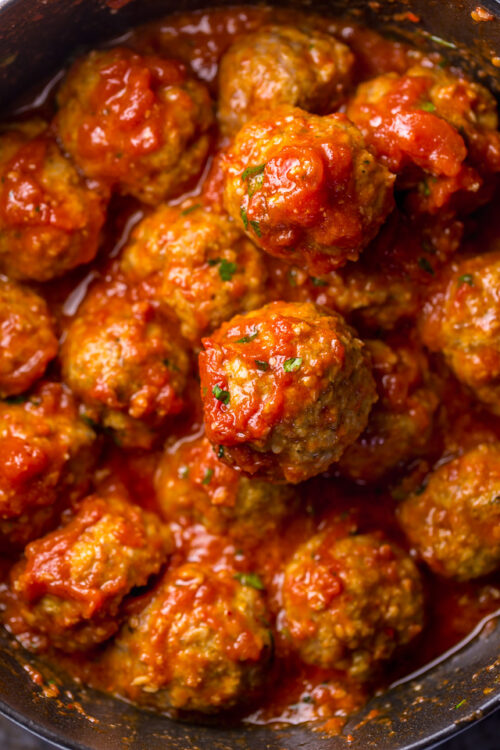
- Meat: Easy baked meatballs or meatball subs are always a great choice!
- Salad: For a lighter meal, try serving them with my famous Caesar salad or my Italian chopped salad!
- Soup: There’s nothing like dunking a golden brown garlic knot in a bowl of creamy tomato tortellini soup. But Italian wedding and Pasta fagioli are great, too!
In the end, you really can serve almost anything with garlic knots! They’re incredible versatile and pair well with a ton of food options, or just a salad and a big glass of wine.
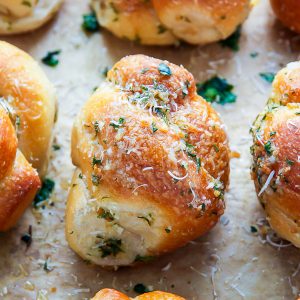
Think of these fluffy golden brown knots like an Italian dinner roll… perfect for almost any occasion!
Garlic Knots: The Ingredients
- Bread Flour: I don’t suggest subbing all-purpose flour. The bread flour makes this garlic knots recipe extra chewy and delicious!
- Granulated Sugar: Don’t skip the sugar, and don’t sub brown sugar in this garlic knots recipe!
- Active Dry Yeast: You’ll want to make sure your yeast isn’t expired! If you use expired yeast, your dough won’t double in size.
- Salt: I use fine sea salt, but in a pinch, almost any salt will work. If you leave the salt out of the homemade dough, the knots will taste bland.
- Warm Water: Whatever is in your tap should work fine, but use bottled or purified if you need.
- Olive Oil: Doesn’t need to be fancy, but should be pure olive oil, not canola oil or vegetable oil.
- Butter: I do find quality butter adds a delicious rich flavor, so use a brand you know and trust.
- Garlic: Fresh garlic and garlic powder give the perfect garlic flavor to our knots! I feel like this should be a no brainer, but you cannot make these knots without garlic.
- Fresh Parsley: Please don’t sub dried parsley, which will not add the same fresh and delicious flavor!
- Grated Parmesan Cheese: If you can, use a block of cheese and freshly grate it! Pre-grated Parmesan cheese doesn’t melt as well and has inferior flavor to freshly grated!
How to make Garlic Knots from Scratch
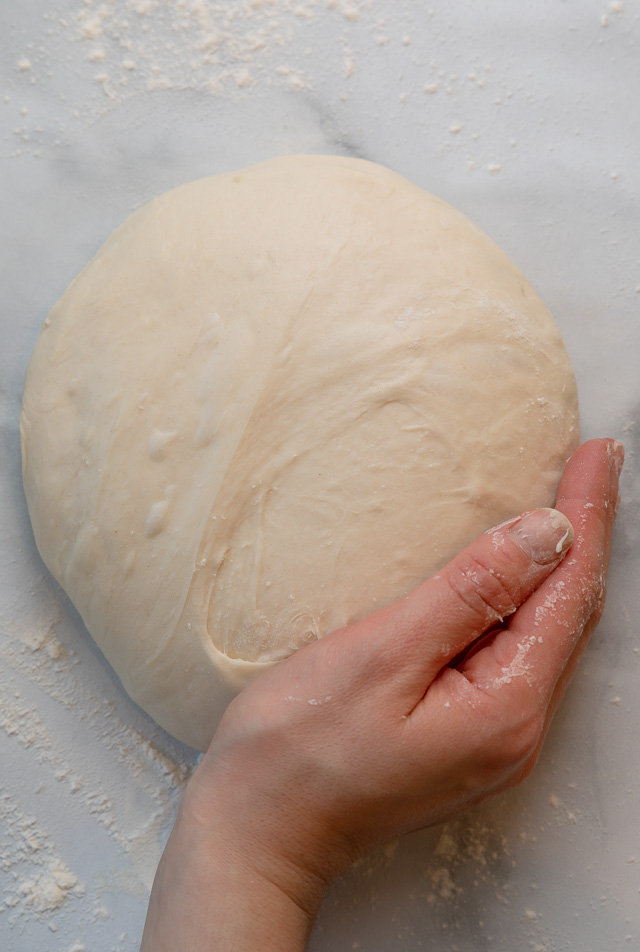
- Make the Dough: Make sure you have all your ingredients for garlic knots before baking! You’ll need a stand mixer fitted with a dough hook and a large bowl to make this garlic knot recipe! Once the dough comes together in the bowl, you’ll knead by hand. Kneading the dough together on a clean work surface helps it come together.
- Let the Dough Rise: Cover the bowl with plastic wrap and place the dough in a warm area and let it rise. The homemade dough should double in size in about 90 minutes. If your dough doesn’t double in size, your yeast was most likely expired (dead). You’ll have to start again.
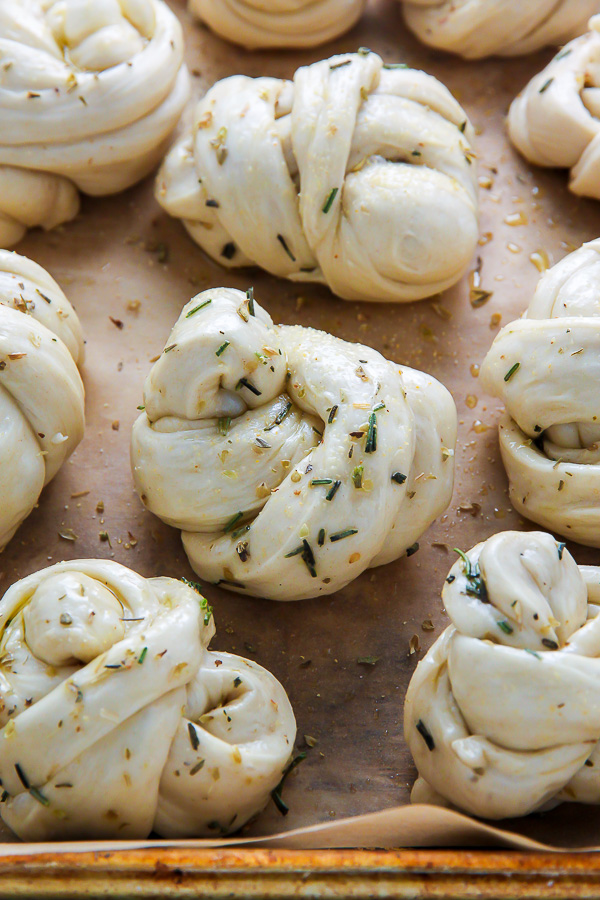
- Shape into Knots: Then place the homemade dough knots on a parchment paper lined baking sheet and let them rise another 30 minutes. The homemade dough will puff up even more during this time!
- Bake: Until golden brown. Then brush with delicious garlic butter and sprinkle with grated parmesan cheese. Time to serve warm and devour!
For extra flavorful garlic knots, brush them with melted butter and herbs before and after baking. Just note they’ll be a little darker in color if you do this. But will taste even more like garlic bread!
How to Shape Garlic Knots
- Divide the homemade dough into 2 equal pieces. Then let the dough rest for 10 minutes before shaping.
- Sprinkle the top of each round of dough with a little flour. Slice each round into quarters.
- Press each quarter into a rectangle, then slice in half again. You should have 16 pieces of dough. Dust each piece with a little flour and quickly shape into individual balls.
- Roll out each ball into a long rope then tie it into a knot. Place them on the prepared baking sheet, covered loosely with plastic wrap, and set aside for 30 minutes. The knots will rise more during this time.
Garlic Knots Need Bread Flour
- Bread flour is a high-gluten flour that has a tiny amount of barley flour and vitamin C added. The barley flour helps the yeast activate. And the vitamin C increases the elasticity of the gluten and its ability to retain gas as the dough rises and bakes.
- Bread flour is typically used in pizza dough and garlic knot recipes because of the chewiness that the extra gluten provides. I did test this recipe with all-purpose flour and unfortunately the results were tough, dry, and disappointing.
Can I Just use Pizza Dough?
Technically, yes, you can just use pizza dough. A lot depends on what pizza dough recipe you’re using though. So if you have a pizza dough you love, go ahead and try making knots with it. But for best results, I suggest making homemade dough developed specifically for making
For soft, chewy, and incredibly delicious garlic knots, don’t skip the bread flour!
Can I Freeze Garlic Knot Dough?
Yes! If you’re in a time crunch, I suggest making the dough ahead of time and freezing it. Then thaw and continue with the following steps as directed in the recipe. I always keep a batch of this dough hidden in the back of my freezer for when a garlic knot craving strikes!
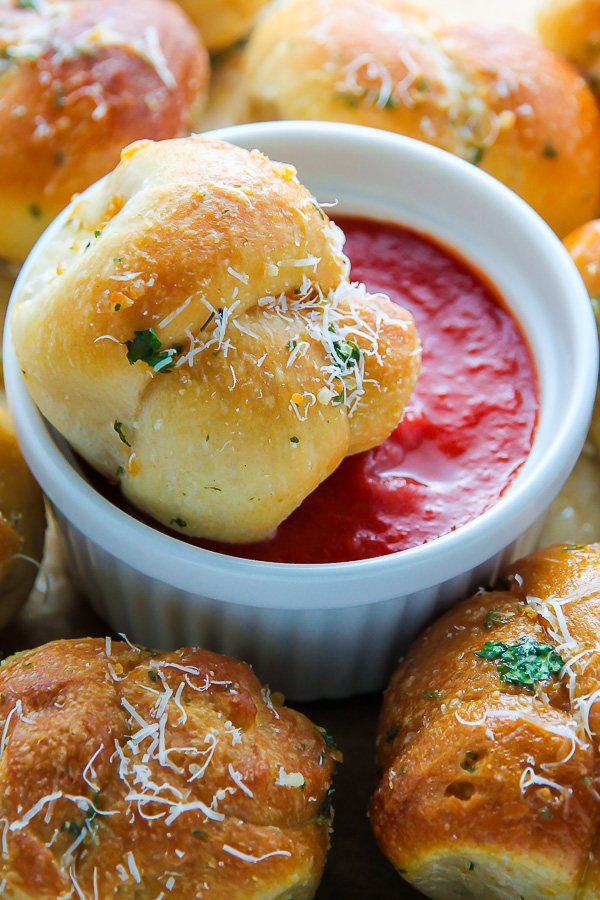
These garlic knots go great with a side of marinara sauce. You can check out my homemade marinara sauce here.
Next, try my Soft Pretzel Garlic Knots!!! They’re like a garlic knot and a soft pretzel had a baby. Yum!
Homemade Garlic Knots
Ingredients
For the dough:
- 3 and 3/4 cups bread flour
- 1 and 1/2 teaspoons granulated sugar
- 1 envelope active dry yeast
- 2 teaspoons salt
- 1and 1/2 cups warm water, 110 – 115 degrees (F)
- 2 tablespoons plus 2 teaspoons olive oil divided
For the garlic coating:
- 1/2 cup (113g) unsalted butter
- 6 cloves garlic minced
- 1/3 cup fresh parsley, minced
- 1 and 1/2 teaspoons garlic salt or garlic powder
- 1/3 cup Parmesan cheese finely grated
Instructions
For the dough:
- In the bowl of a stand mixer fitted with the dough hook add the bread flour, sugar, yeast and salt; gently whisk to combine.
- Turn mixer on low speed and add the warm water and 2 tablespoons of the olive oil. Beat until the dough forms a ball around the hook. If the dough is super sticky, add additional flour, 1 tablespoon at a time, until the dough comes together in a solid ball. If the dough is too dry, add additional water, 1 tablespoon at a time.
- Scrape the dough onto a lightly floured surface and gently knead into a smooth, firm ball.
- Grease a large bowl with the remaining 2 teaspoons olive oil. Add the dough, cover the bowl with plastic wrap, and place the bowl in a warm area to rise for 90 minutes, or until it has doubled in size.
- Turn the dough out onto a lightly floured surface and divide it into 2 equal pieces. Place each round of dough onto a piece plastic wrap and let them rest for 10 minutes.
- Dust the top of each round of dough with a little flour and, using a sharp knife, slice each into quarters. Press each quarter into a rectangle, then slice in half again. You should have 16 pieces of dough.
- Dust each piece with a little flour and quickly shape into individual balls. Roll out each ball into a long rope then tie it into a knot. Place the knots on the prepared baking sheet, covered loosely with plastic wrap, and set aside for 30 minutes. The knots will rise a little more during this time.
- Preheat oven to 450 degrees (F). Remove the plastic wrap from the garlic knots. Brush with a little garlic butter if desired (this optional). Then place the garlic knots in the preheated oven. Bake for 20 minutes, or until knots are golden brown and firm.
- Cool for 5 minutes, then brush the freshly baked knots with the garlic coating. Sprinkle with cheese and serve warm!
For the garlic coating:
- Melt the butter in a small pan over medium-low heat. Add in the garlic and simmer for 1-2 minutes, or until fragrant (be sure not to over cook it here). Add in the parsley and garlic salt and stir to combine. Taste to season (add more salt, if needed), then remove from heat. Set aside until needed.
Notes
- For darker and more flavorful garlic knots, brush garlic coating on knots before and after baking.
- To freeze: Make garlic knots as instructed, but preheat your oven to 275 degrees. Bake garlic knots for 16 minutes. Don’t worry that the rolls look pale in color and slightly undercooked. Remove from the oven and cool completely. Then flash freeze on a sheet pan until they are frozen solid, about 3 hours. Transfer frozen garlic knots to a freezer safe bag and place in the freezer for up to 2 months. When you’re ready to warm and serve, preheat oven to 400 degrees. Then bake the frozen garlic knots until they are lightly golden brown and warm in the middle, about 10 to 15 minutes. Brush with garlic butter and serve.


Devoured. So good, great instructions, super easy.
Can I make the dough and leave it overnight in the fridge?
Super easy to make and delicious
I’m 13 years old and I made these by myself (with a little help tying into knots and seasoning)
there super yummy and crunchy in the out side so soft and fluffy in the middle, a bit too crunchy on the bottom for braces tho. I kind of improvised with the garlic coating and just brushed lots of butter and put garlic powder and dried parsley with parmesan. I will definitely be making these again!!
~Jasmin
These are the best garlic knots I’ve made! I loved the butter mixture and how soft but chewy they were. Thank you Ashley!
These garlic knots were so chewy and delicious! A keeper!
I added these to our pizza night menu and they were a success! My sons loved them so much they wanted a second batch. Ha! Next week I might double the dough. Would that work ok?
Made these last night! I brushed with garlic butter before and after because I like tons of garlic flavor. So yummy!
Have you baked these in a muffin tin ? If so what was timing
Fantastic recipe! My kids loved these, and asked me to make them again and again. Texture is perfect, with a slight crisp on the bottom.
Excellent