


 Search
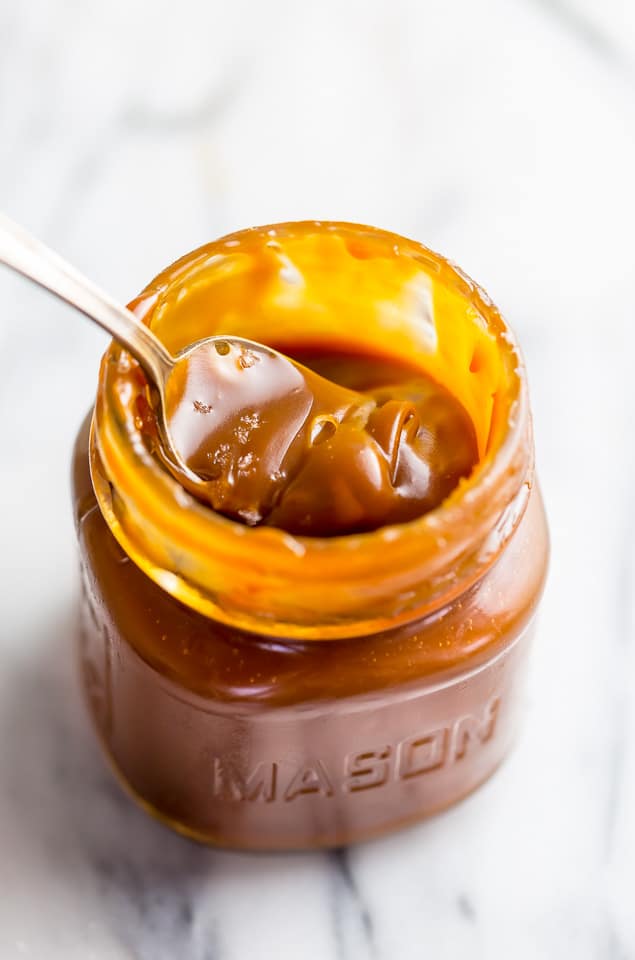
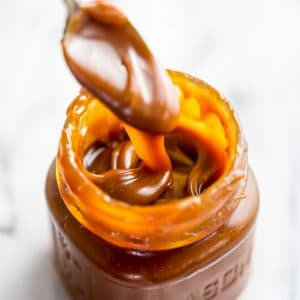
Learn How to make easy salted caramel sauce recipe with this foolproof method! Made with six simple ingredients: water, vanilla extract, salt, granulated sugar, butter, and cream. No candy thermometer required for this amber colored homemade salted caramel sauce. It’s so delicious on ice cream and brownies! And makes a great holiday gift!
Let’s Talk Salted Caramel Sauce
Are you a salted caramel sauce fan? Considering you’re ready this post for my salted caramel sauce recipe… I’m guessing you are. Me too! I make a jar almost once a month.
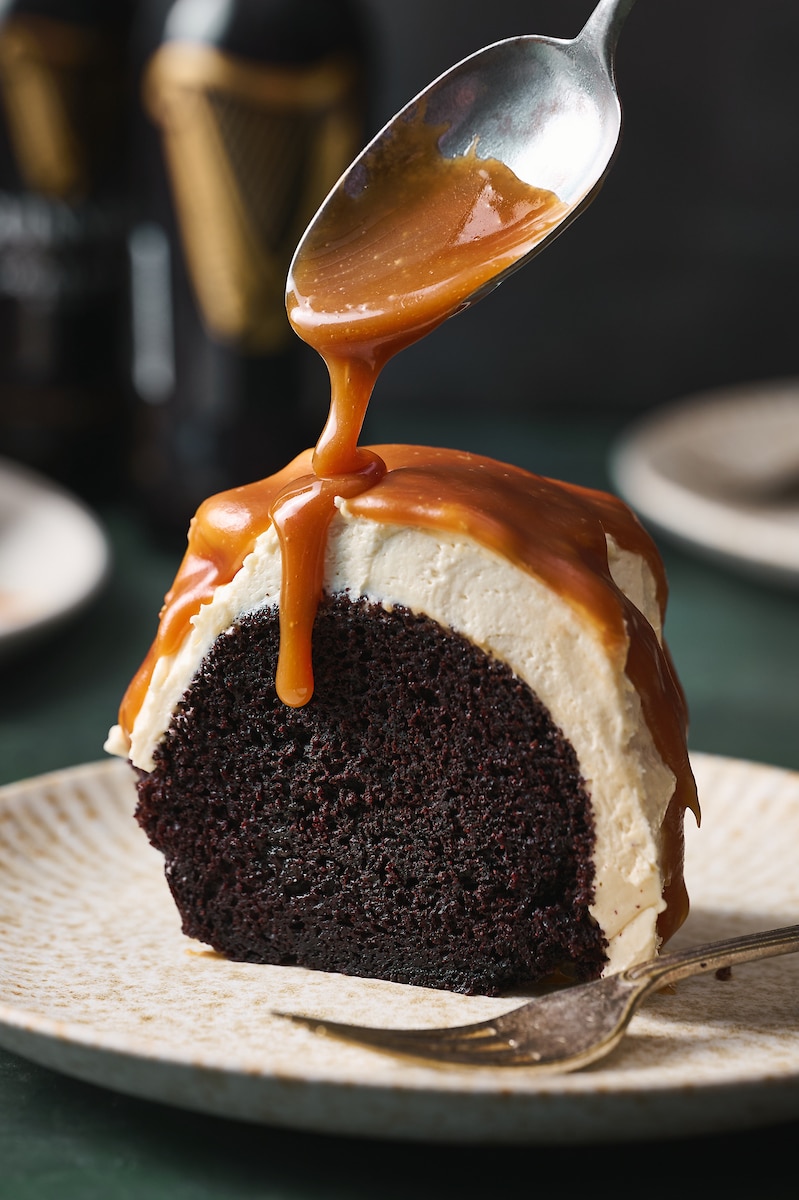
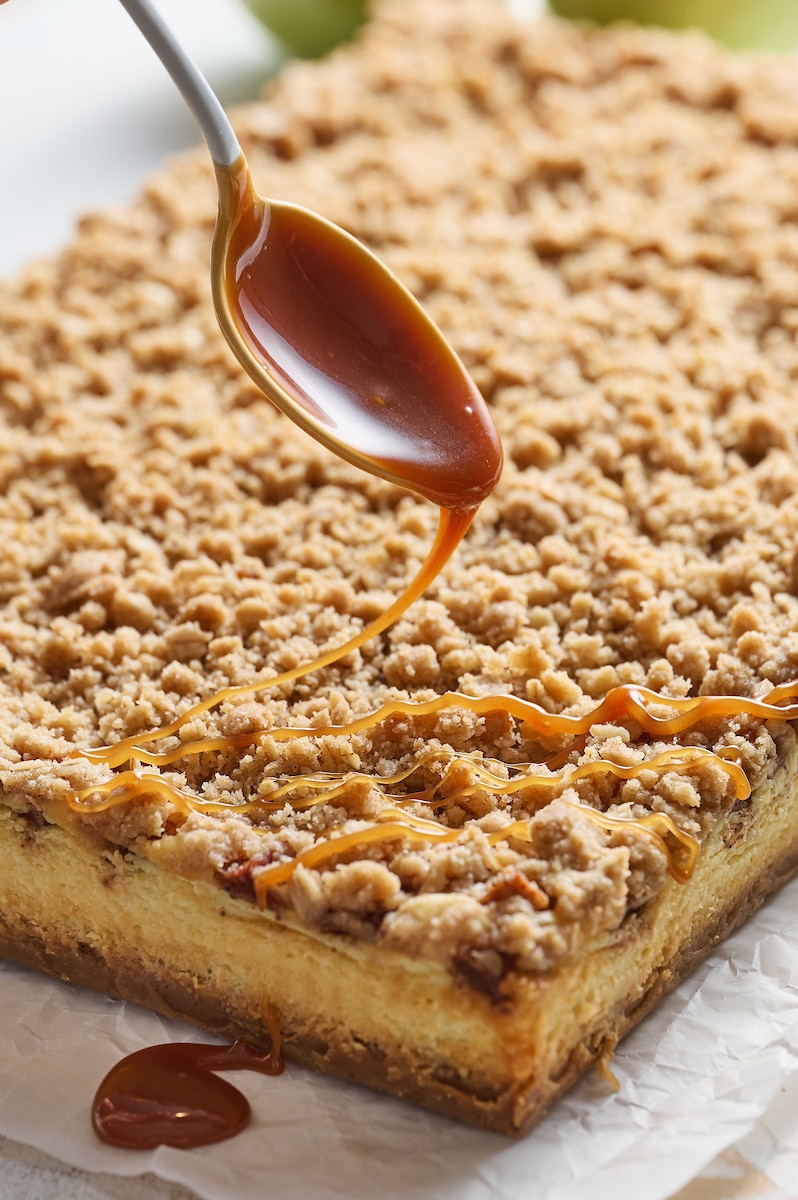
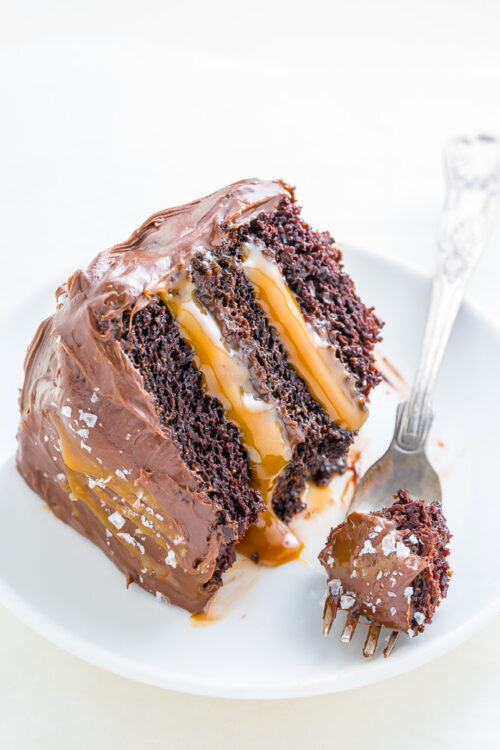
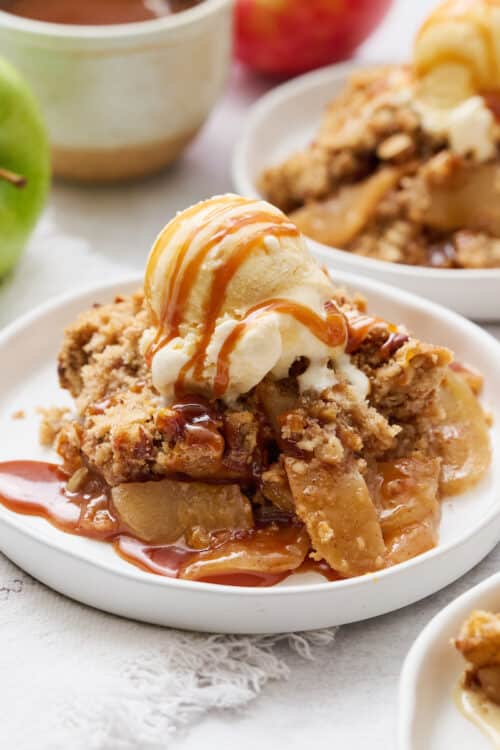
Between ice cream, salted caramel cake, salted caramel apple crisp, and salted caramel sticky buns… it disappears quickly! And while you can easily buy a jar at any grocery store or specialty food shop. Why not make some homemade salted caramel sauce instead?
Making your own caramel is cheaper, more fun, and more delicious. And I promise once you see how easy it is, you’ll be making jars of caramel all the time! You use salted caramel sauce on all of your favorite treats and in your favorite recipes. And it makes a great gift!

Salted Caramel Sauce Recipe: Ingredients
- Granulated Sugar: Brown sugar will technically work, but will create more of a butterscotch. So for best results use granulated sugar and don’t reduce the amount called for.
- Water: Regular tap H20 works great. Don’t sub more heavy whipping cream or milk for water.
- Butter: Unsalted butter works best, but you can use salted butter in a pinch. Do not sub oil for the butter.
- Heavy Cream: Aka heavy whipping cream. This is an essential ingredient, so make sure you have it before making this recipe. Do not sub milk or half and half.
- Pure Vanilla Extract: As always, pure vanilla works best. But a bourbon vanilla extract would also work great in this recipe.
- Flaky Sea Salt: If you use salted butter, reduce the salt to taste.
How to Make Caramel Sauce
- Water and Sugar: Whisk the granulated sugar and water in a saucepan with tall sides. Don’t use a shallow pan or pot, the caramel sauce will bubble over. Cook this mixture until the sugar completely dissolves.
- Add the Butter: Drop the butter in carefully and bring the mixture to a boil. Cook for 10 minutes, or until amber colored. Do not stir the sauce during this process! (NOTE: This step could be more like 15 to 20 minutes depending on your pan and range.)
- Add the Cream: Once the salted caramel sauce reaches the amber color, remove the pan from heat. Immediately add in the heavy whipping cream, stirring constantly. Be careful during this step – the caramel will hiss and bubble up aggressively!
- Vanilla and Salt: Remove from heat and stir in the salt and vanilla. Vigorously whisk the mixture smooth and set aside. The caramel thickens as it cools to room temperature, so cool completely before used.
- Store Caramel: In the fridge until needed. The salted caramel sauce will be quite thick right out of the fridge. To thin it out, reheat in a sauce pan over medium heat until completely melted. Or microwave for a few seconds.
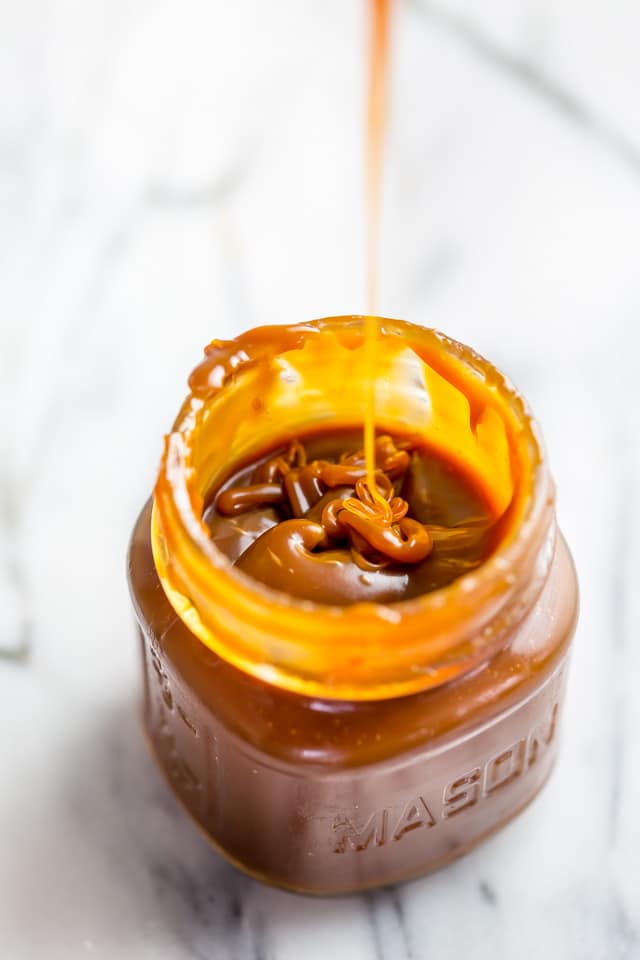
Salted caramel sauce makes a great homemade holiday gift or housewarming gift! I suggest pouring it in a cute mason jar and wrapping a cute ribbon around the top of the jar.
Salted Caramel Sauce Tips
- Use a pot with tall sides, because when you add the heavy whipping cream, the mixture will bubble up and hiss! A shallow pan can cause the sauce to pour over.
- Speaking of the pot, be sure to use a high-quality heavy metal pot. Most cheap cookware is too thin and heats unevenly, so avoid using them for caramel sauce. I also don’t recommend non-stick pans since high-heat can damage them.
- Once you’ve added the granulated sugar and water to the pan, whisk them together until combined. Then avoid stirring the rest of the time. Instead, occasionally, and gently, tilt the pan side-to-side to help the ingredients cook evenly and avoid burning. This no-stir method helps avoid sugar crystals from forming.
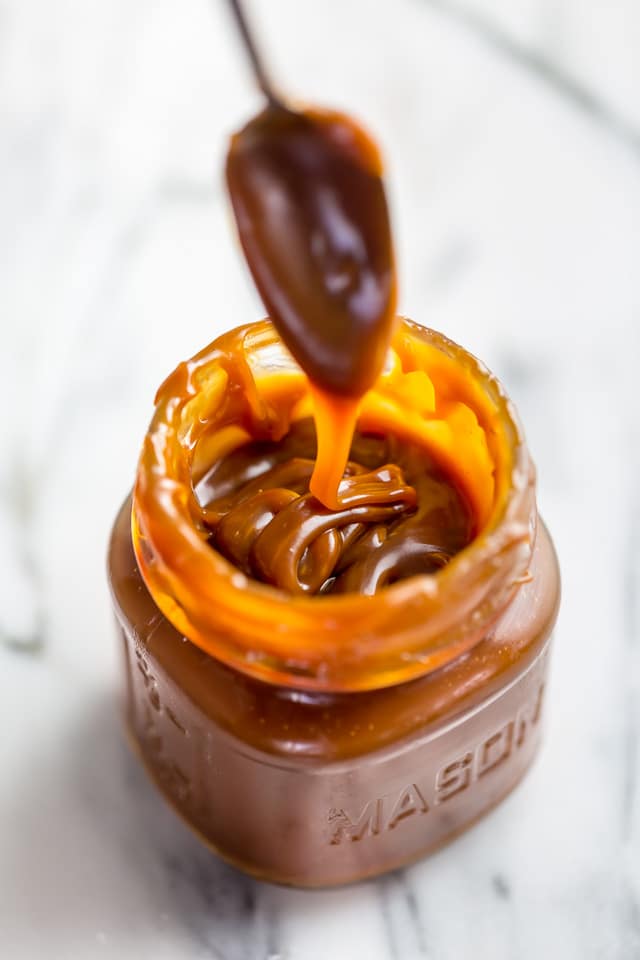
- The caramel takes time to develop, so be patient while it boils. You want it to reach a deep golden brown amber color before removing it from the heat. Removing it too soon can cause gritty caramel. Be patient here… it takes the time it takes.
- Once you’ve removed your salted caramel from the heat, add your cream right away. Use a spouted measuring cup so you can slowly add it in. As mentioned earlier, the mixture will aggressively bubble up, but as long as you used a tall sided pan, it won’t overflow. Be sure to whisk the mixture together well after adding the cream.
- Because the caramel is so hot when it comes off the stove, it will look thin. However once it cools it will thicken up quite a bit. If you’d like to return the caramel to a liquid form, simple reheat it in the microwave or on the stove top.
- Be sure to use quality sea salt. I recommend Maldon because it’s flaky, flavorful, and easy to find!
- Finally, if you burn your caramel… there’s unfortunately no method of saving it. Just toss it and start over again. Making homemade salted caramel can take practice, so try not to get down if your first attempt isn’t perfect.
How to Use Homemade Salted Caramel Sauce
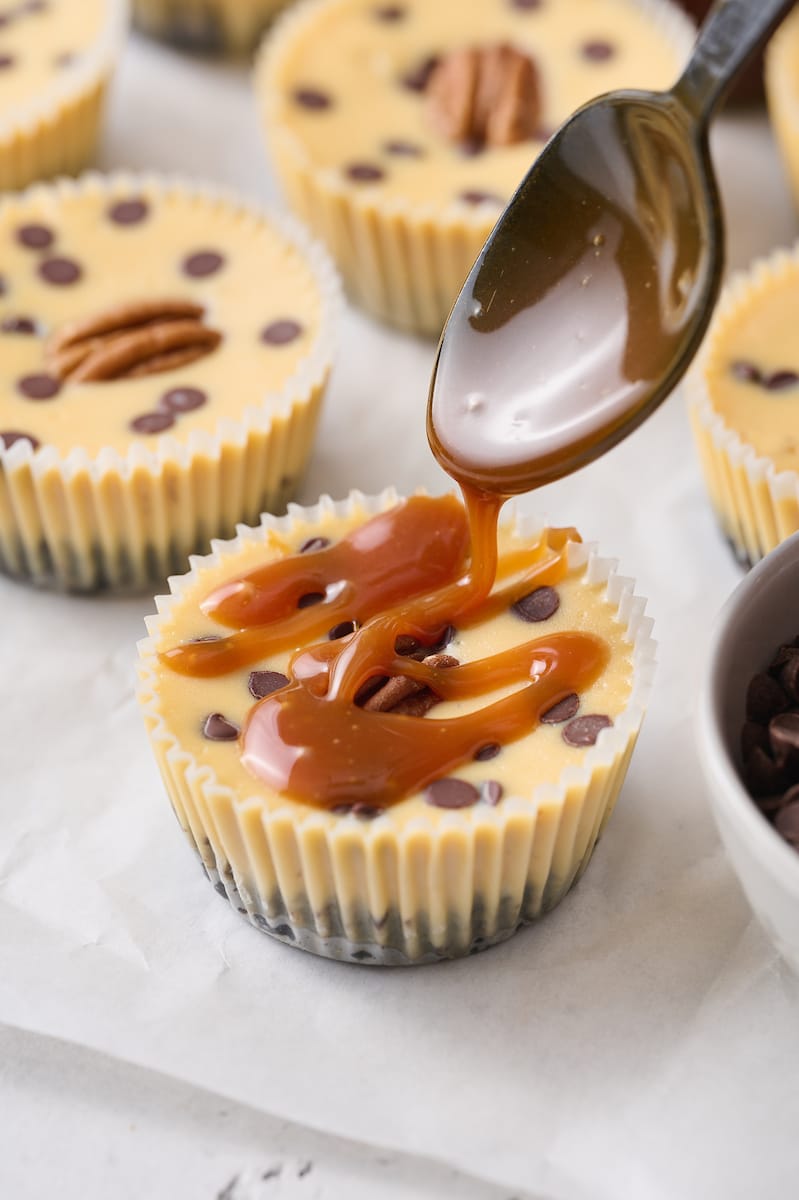
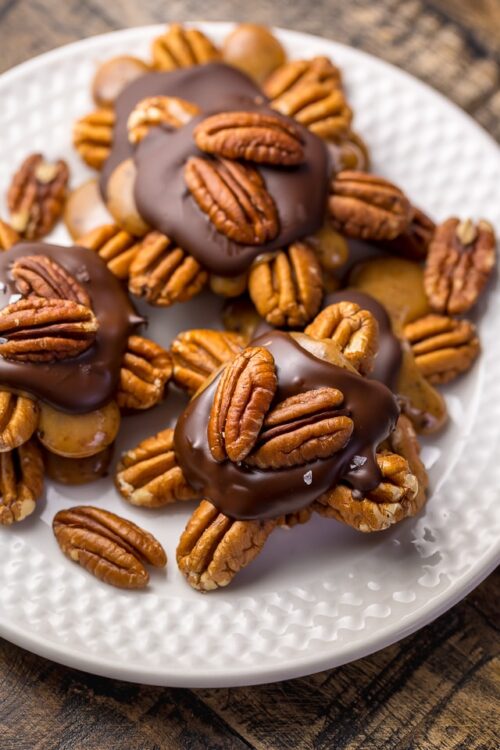
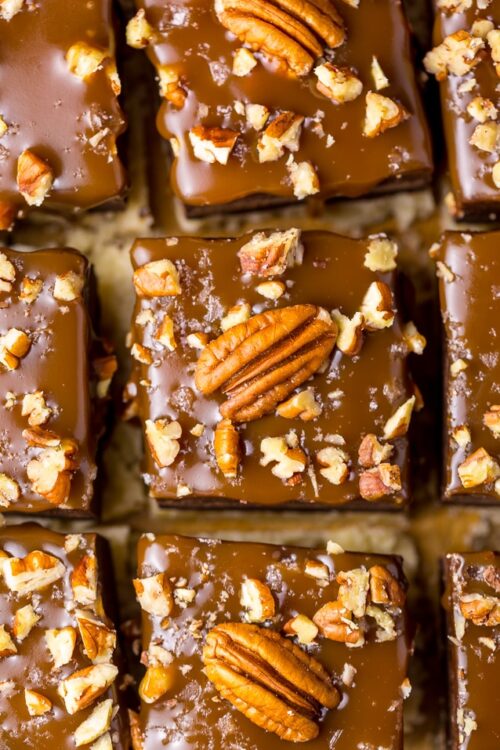
And just for the record, this homemade salted caramel sauce is not just for ice cream! It’s way more versatile than that. It’s great on apples, brownies, chocolate chip cookies, cakes, etc. And you can use it in most recipes that call for salted caramel sauce such as:
- Salted Caramel Apple Cheesecake Bars
- Salted Caramel Cupcakes
- Salted Caramel Chocolate Chip Mini Cheesecakes
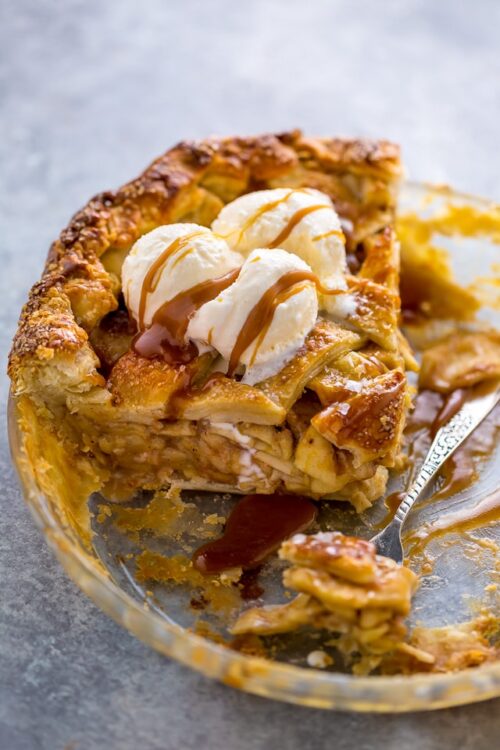
- Salted Caramel Apple Pie
Easy Homemade Salted Caramel Sauce
Ingredients
- 1 cup (199g) granulated sugar
- 1/2 cup (113ml) water
- 1/2 cup (113g) unsalted butter
- 1/2 cup (113ml) heavy cream
- 1 tablespoon pure vanilla extract
- 1 teaspoon flaky sea salt
Instructions
- Whisk together granulated sugar and water in a medium-sized saucepan with tall sides.
- Cook over medium-low heat until the sugar is completely dissolved, about 3 to 5 minutes, but maybe a little longer depending on your stove.
- Add in the butter and bring the mixture to slow boil over medium-heat. Continue cooking until the mixture turns a deep golden brown/copper color, about 12 minutes, maybe longer depending on your stove. Do not stir during this process!
- Once the caramel reaches this color, remove from heat and immediately add in the heavy cream. Be very careful during this step – the caramel will hiss and bubble up aggressively!
- Finally, stir in the vanilla and sea salt. Vigorously whisk the mixture smooth and set aside to cool. Store caramel in the fridge until needed.
Video
Notes
- You may use salted or unsalted butter.
- You may make this caramel sauce up t0 2 weeks in advance. Just be sure to tightly cover it (I love storing mine in mason jars) and store it in the refrigerator.
- Heavy cream can be found in the diary aisle in most grocery stores. Whipping cream may also be used. Do not use milk!
- All stoves run a little differently, so be sure to watch the caramel as it evolves, and time accordingly. You might need to add an additional 5 or even 10 minutes to the boil time if your stove top runs low.
may i know what the temperature should the mixture reached to be ready to add cream ?
Greetings from Dallas oregon
I am going to try making this. I am wondering if it can be processed and put on my canning pantry
Thank u
Hi. Tried this today. N it has not turned put nice. after removing from heat when I added the cream the sauce got crstalized. So I kept the sauce back on heat, crstalized meted n sauce looked nice. After it was cooked the sauce is crstalized again n oil is separting from it. Is there any way I cn save this sauce?
Maybe you should learn to type first so that you can read recipes properly! Cheers!
Kulsum, and to Tina K: No one is perfect and a genuine question with typos or not is fine with me! I have had a fair share of typos in my life!
It’s been 4 years and this is still one of the most rude comments I’ve seen in a recipe comment section.
We are addicted to this sauce. I gave small mason jars of it as Christmas presents to some of my favorite people. And my sister-in-law, now 9 months pregnant and unable to eat sweets, has specifically requested I bring her a jar in the hospital just as soon as her baby girl (my niece!) is born.
I ran into the caramel color issue when I tried to make this at my sister’s house last week. Alas, we needed higher heat. But it tasted like butterscotch and was STILL a hit. Cue the ice cream!
This turned out so great I made a second batch!
Is there a temperature that’s just right for the caramel color…the right number to pull it off the stove, rather than minutes? Thanks
Your salted caramel chocolate cake recipe calls for almost 1 and 1/2 cup of sauce. Do you recommend doubling the recipe or making two separate batches?
I tried this but it flopped. Wondering what I did wrong: first, I cooked the butter in the simple syrup for 6 min LONGER than recipe said but never achieved the golden brown color. When I added the cream, it didn’t bubble up furiously. And now that it’s cooling, a bit of butter is separating out. Maybe my stove’s ” medium” heat isn’t hot enough?
Definitely eatable but not as beautiful as pictured!
Update: tried a second batch and cooked it significantly longer after adding butter (~17 min) until it really reached the golden brown color and it came out perfectly. Big hit! I learned to go by color, not time!
Hi Brittney! So happy this worked out for you the second time around 🙂 When it comes to caramel, it’s definitely best to trust your instincts, as every stove top runs a little differently. I’m going to add a note about this right now 🙂
Ive just made this, i was so sure id messed it up but then i mixed in the cream and had the biggest smile on my face as it started to look like *caramel*!!! Feeling so smug and my partner is going to love it in his chocolate fudge birthday cake. Thank you!!!!
I’m glad I read this comment, mine is taking forever to turn color
I had the same issue. The caramel just did not change colour! I tried for 20 minutes and gave up! Also had to add more salt than mentioned, couldn’t taste it otherwise. It tastes fine now but doesn’t look caramely. Quite sad 🙁
Hi Samam. It sounds like your stove top heat may run low, so I would try increasing the heat slightly next time. It’s very important that the sugar has completely dissolved before adding the butter. And as I mention in the post, you must be patient as it boils and give the caramel color time to evolve. If you have any questions – just ask 🙂
This is exactly what happened to me. I didn’t cook the first batch long enough so it turned out pretty runny. I read your comment and followed your advice about colour rather than time and the next batch turned out perfectly. Thanks so much!
Thank you for this recipe!!! I make a Kentucky Bourbon butter layer cake with cream cheese frosting and homemade salted caramel sauce. I’ve been stirring the water and sugar (per that recipe’s instructions) prior to the addition of the butter, and have always had crystals to first mash and then strain out. I’ve grown weary of the headache and extra time, so here is a hug of gratitude from northwest Wisconsin.
Oh my goodness, Jeri – that cake sounds phenomenal!!! And I’m so happy you love this recipe as much as we do 🙂
I’ve learned that adding 1 tablespoon of corn syrup to the sugar and water mixture prevents it from crystallizing. I use this hack whenever I make caramel
You add the butter *before* the caramel boils? That’s seems odd.
Yes, you add the butter once the sugar has dissolved. It will be bubbling at that point. May I ask why that seems odd to you?
Normally in a wet caramel, you boil the sugar and water until it turns Amber and then add the cream and butter.
I don’t know how this is *usually* made…but I have made this sauce many times now and IT. IS. AMAZING! I’d say the recipe is perfect the way it is!
Thank you. I try to do it. This summer I have a rest from all things it’s my first lazy summer and I bake nothing Soon I’m going to start baking.