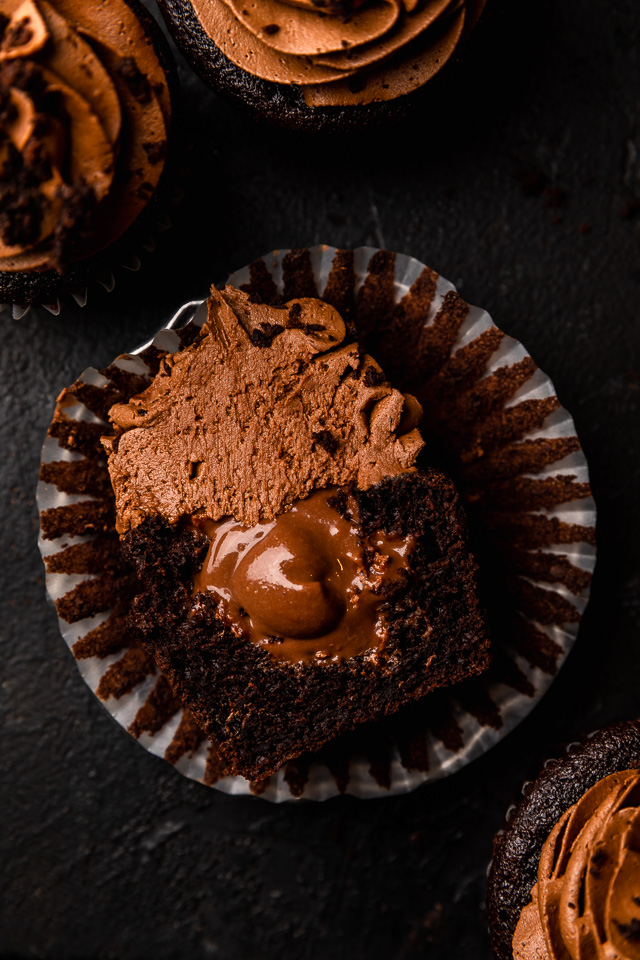
The Best Brooklyn Blackout Cupcakes are insanely moist, filled with chocolate pudding, and topped with fudgy chocolate frosting and chocolate cake crumbs! Just like Brooklyn Blackout Cake… but in cupcake form! These require a little advance planning, but are sure to be a showstopper at your next event!
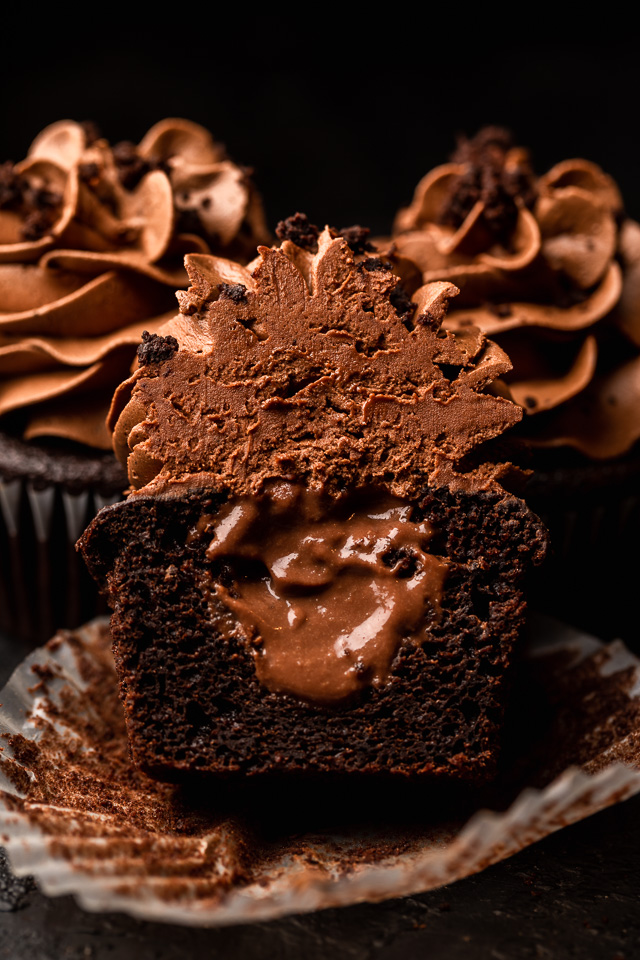
Brooklyn Blackout Chocolate Cupcakes
Week 3 of CHOCOLATE MONTH! And today we’re making chocolate cupcakes! But not just any chocolate cupcakes… BROOKLYN BLACKOUT CUPCAKES!
I’ve been dying to create a Brooklyn blackout cake recipe for years now! Have you ever had it? Heard of it?!
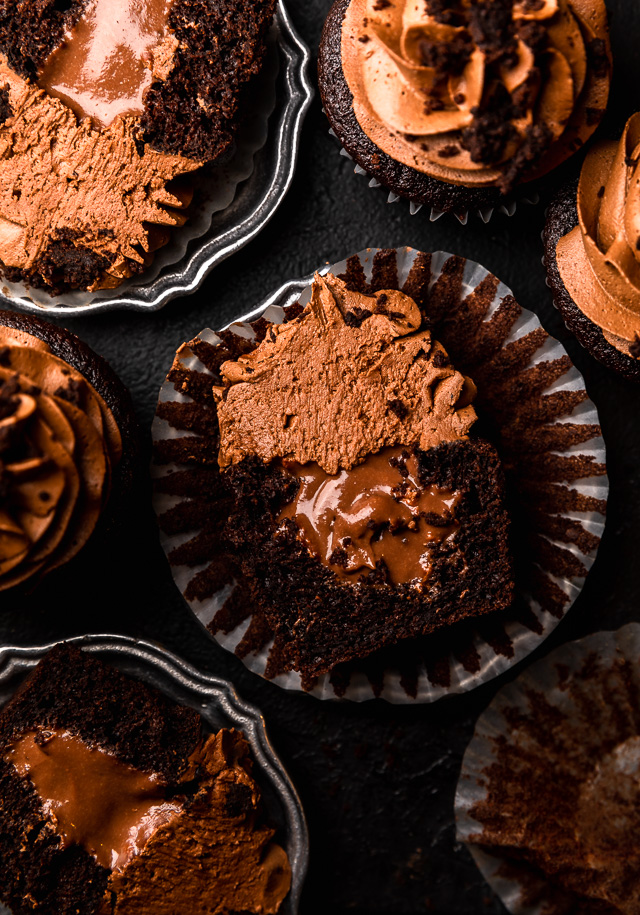
So intense that it gave me an idea… why not take this behemoth of a cake and downsize it into perfectly portioned cupcakes?! Cupcakes are so much easier to serve to a crowd, and a great option when serving something intensely decadent! Plus, no plates and forks, required!
So I got to work and I have to tell you, these are some of the best chocolate cupcakes I’ve ever had in my LIFE!!! And that’s saying a lot considering I have over 20 chocolate cupcake recipes on this website alone!
Why is it Called Brooklyn Blackout Cake?!
Like I mentioned when I shared my Devil’s Food Cake recipe, I love knowing the origin of a recipe! And this one has quite the history!
You see, chocolate blackout cake was developed in Brooklyn, NY during world war II! It got its name from the blackout drills preformed by that civilian defense corps! These blackouts were preformed so ships sailing off to battle couldn’t be spotted by enemy planes! The city lights were all turned off and windows were covered with black material. Hence the name, Brooklyn Blackout!
The original blackout cake was invented and sold by the beloved Brooklyn based Ebinger Baking Company, a popular chain of bakeries founded in 1898. Sadly, the company is no longer in existence. But the famous blackout cake lives on! There have been tons of renditions, and this cupcake version is mine!
Let’s make Blackout Cupcakes!
You should know, these are not the quickest cupcakes in the world! They are made up of 4 components, and each one is a bit time consuming. I say that not to scare you off! But to help you plan ahead time wise.
The first step is making the chocolate pudding! And since I know someone will ask, yes, you can use store-bought chocolate pudding. But in my opinion, if you’re going make these cupcakes, make the pudding from scratch!
It’s as easy as combing cornstarch and sugar in a small saucepan, adding milk, and cooking until thick enough to coat a spoon! Then you’ll toss in the butter and cook until it’s even thicker. Add a dash of vanilla extract and viola! You’ve got pudding! Scrape it into a small bowl and press plastic wrap on the surface, so pudding skin doesn’t form!
And be sure to chill this for at least 4 hours! But the good news? This can be made up to 3 days in advance and stored in the fridge!
Next, it’s time to make your cupcakes! You’ll sift all of your dry ingredients into a medium bowl and whisk until well combined. Then you’ll melt your butter, chocolate, and oil.
And finally, you’ll beat your eggs and sugars until well combined. Pour in the cooled chocolate mixture. Then add in the dry ingredients and sour cream.
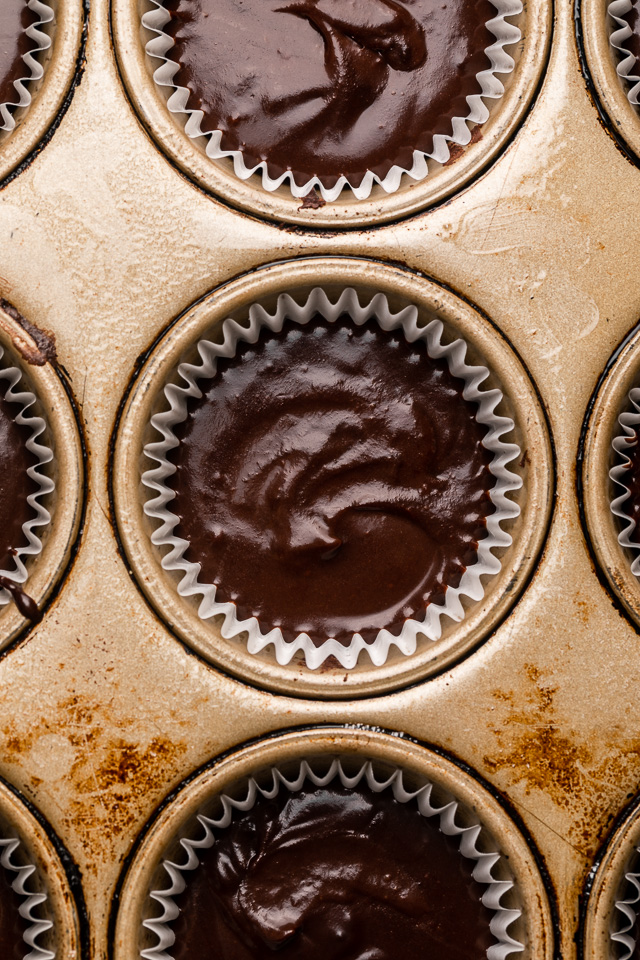
Finally, you’re going to pour HOT water (or hot freshly brewed coffee) on top of the batter and let it sit for about 30 seconds, before stirring everything together! The key here is not to over mix! Which leads to dry cupcakes. Instead, gently fold the mixture together, and scrape down the sides and bottom of the bowl, so that the batter is evenly combined.
Our third component is our chocolate frosting! Made with a melted chocolate, confectioners’ sugar, a ton of butter and vanilla.
You will need an electric mixer for this part! Because you’ll beat the butter in the bowl of a stand mixer fitted with the paddle attachment, or in a large bowl with an electric handheld mixer. Be sure your butter is softened to room temperature! And to sift your confectioner’s sugar, otherwise it’ll be clumpy!
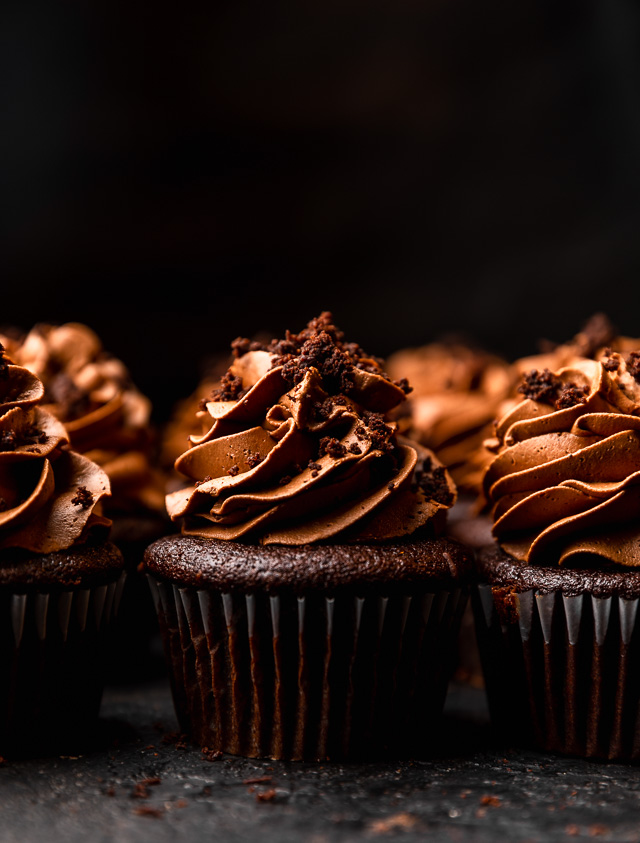
The last step is the most fun, albeit messy! Crumble up the cupcake scraps and sprinkle them on top of the cupcakes!!! You could also add some mini chocolate chips if you want even more chocolate! But I find the chocolate cake crumbs to be sufficient! And a nod to the traditional recipe.
More Chocolate Cupcake Recipes:
- Old-Fashioned Chocolate Buttermilk Cupcakes
- Zucchini Chocolate Cupcakes
- Super Decadent Chocolate Cupcakes
- Kahlua Chocolate Cupcakes
- Nutella Stuffed Chocolate Cupcakes with Raspberry Frosting
The Best Brooklyn Blackout Cupcakes
Ingredients
For the Chocolate Pudding:
- 2 and 1/2 Tablespoons (23 grams) cornstarch
- 1/4 cup (50 grams) granulated sugar
- 1 Tablespoon brown sugar
- 2 cups (460 grams) whole milk
- 5 ounces (142 grams) 60% bittersweet chocolate, coarsely chopped
- 1 teaspoon pure vanilla extract
For the Blackout Chocolate Cupcakes:
- 1 and 1/4 cups all-purpose flour (150 grams)
- 1 cup unsweetened non-alkalized (natural) cocoa powder (112 grams)
- 1 teaspoon (5 grams) baking soda
- 1 and 1/2 (6 grams) teaspoons baking powder
- 1/2 teaspoon salt
- 4 tablespoons (63 grams) *canola oil
- 1/2 cup (113 grams) unsalted butter
- 3 ounces bittersweet chocolate (60%), finely chopped
- 1 teaspoon espresso powder
- 1 cup (198 grams) granulated sugar
- 3/4 cup (142 grams) light brown sugar, packed
- 2 large eggs plus 1 large egg yolk, at room temperature
- 2 teaspoons vanilla
- 1 cup full fat sour cream
- 1 cup hot coffee OR hot water
For the Fudgy Chocolate Frosting:
- 6 ounces bittersweet chocolate (62%), finely chopped
- 4 ounces unsweetened chocolate, finely chopped
- 3 sticks (340 grams) unsalted butter, softened
- 2 and 1/2 cups (283 grams) confectioners' sugar, sifted
- 2 teaspoons vanilla extract
Instructions
For the Chocolate Pudding:
- In a small, heavy bottomed saucepan, combine the cornstarch and both sugars. Gradually pour in the milk, adding it a little bit at a time, and whisking well to ensure no lumps form in the mixture.
- Cook over medium heat, stirring constantly, until the mixture thickens and can coat the back of a spoon, about 10 minutes.
- Add the chopped chocolate and continue to cook, stirring often, for about 4 minutes, or until the pudding is smooth and very thick.
- Remove from heat and stir in the vanilla. Pass the mixture through a fine-mesh strainer into a large serving bowl.
- Place plastic wrap on top of the pudding and smooth it gently against the surface. Refrigerate for at least 2 hours, or up to 3 days.
For the Blackout Chocolate Cupcakes:
- Preheat oven to 350 degrees (F). Line (2) 12-cup muffin tins with cupcake liners. Spray lightly with non-stick baking spray, and set aside.
- In a large bowl, sift together the flour, cocoa powder, baking soda, baking powder, and salt. Set aside until needed.
- Combine the oil, butter, and chocolate together in a large bowl. Heat in the microwave, in 30 second increments, stirring between increments each time, until the butter and chocolate are completely melted. Stir in the espresso powder. Set aside and cool while you assemble the other ingredients.
- In a large bowl, combine both sugars, eggs, egg yolk, and vanilla and beat until smooth and well combined.
- Gradually add in the melted chocolate mixture, adding a little bit at a time and whisking constantly.
- Gently fold in the flour in 3 additions, alternating with the sour cream, beginning and ending with the flour. Mix gently and stop when you can still see the lightest trail of dry ingredients.
- Pour in the hot coffee (or water) and let it sit for 30 seconds, then fold it into the batter until combined.
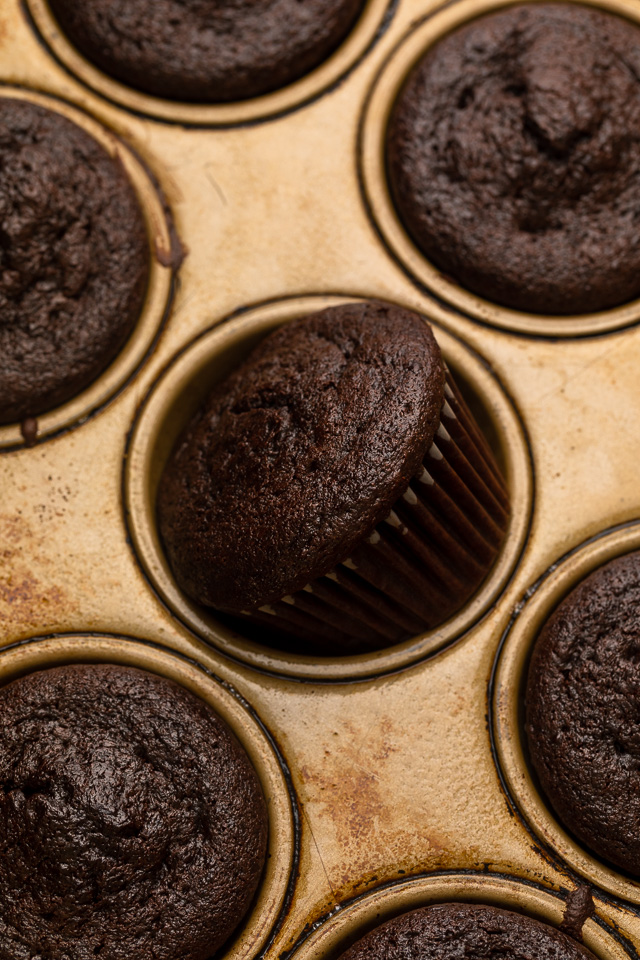
- Fill each cupcake liner so that they're 2/3 full with batter. Bake, one tray at a time, for 16 to 18 minutes, or until the cupcakes have puffed up and a toothpick (or cake tester) inserted in the middle of a cupcake comes out clean, or with a few moist crumbs attached.
- Allow cupcakes to cool completely before frosting!
For the Fudgy Chocolate Frosting:
- Place both chocolates in a microwave-safe bowl. Heat in the microwave, on low power, in 30 second increments, stirring between each increment, until the chocolate is completely smooth and melted. You may also do this in a double-boiler. Set aside and cool until tepid.
- In the bowl of a stand mixer fitted with the paddle attachment or in a large bowl using a handheld electric mixer, beat the butter until completely smooth.
- On low speed, add in the confectioners' sugar, a little bit at a time, beating until each addition has been completely incorporated into the butter before adding more. Once all of the sugar has been added, increase speed to medium-high and beat for 3 minutes.
- Decrease the speed back to low and beat in the vanilla extract. Then slowly pour in the cooled melted chocolate and continue mixing until well combined, tuning the mixer off and scraping down the sides and bottom of the bowl as needed.
- Once all of the chocolate has been added, increase the speed back to medium-high and beat for 2 minutes. Set aside for 30 minutes to firm up, or up to 3 hours. Do not refrigerate (the chocolate will seize and render the frosting impossible to spread).
Assembly:
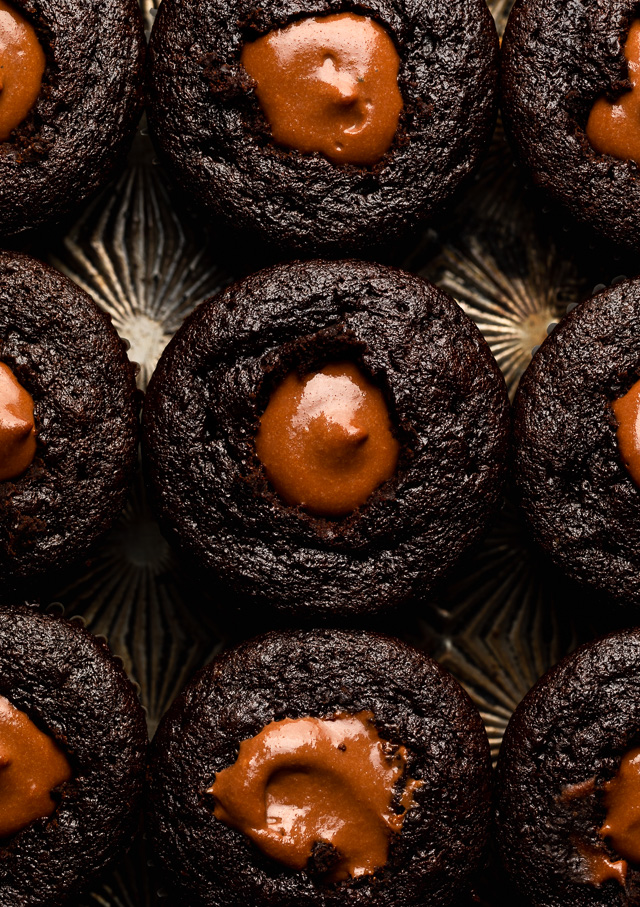
- Using a paring knife, cut out a 1/2" inch cone shaped hole in the middle of each cooled cupcake. The hole should stop about 1/4" from the bottom of the cupcake, to avoid breaking the base. Set all of the cupcake scraps aside!
- Scrape the chilled pudding into a large piping bag fitted with a medium piping tip, like this one.
- Pipe the filling into the middle of each cupcake cavity, filling it all the way to the top.
- Next, scrape your fudgy chocolate frosting into a piping bag fitted with an open star piping tip, like this one. Pipe the frosting on top of each cupcake, making sure the pudding is completely covered.
- Crumble up the cupcake scraps into fine crumbs and sprinkle a generous amount on top of each cupcake.
- Serve at once, or store in the fridge until needed. Cupcakes are best served the day they are made, but will keep, stored in the fridge, for 2 days.


Where doeit say how much butter is added to the pudding and when to add it?
Thank you
Hi Valorie. There is no butter in the pudding mixture.
Typically there is butter in pudding and you mention it in the description but I don’t see it in the ingredients or in the directions. Unless I completely missed it!
Thank you
Would the batter work for simple muffins?
These are incredible!!!