Today I’m teaching you how to make a water bath for cheesecake! I hope to take the fear out of this often dreaded baking method, and show you just how easy and efficient it is! I’m also going to share with you all of my pro tips and MUST HAVE cheesecake baking gear!
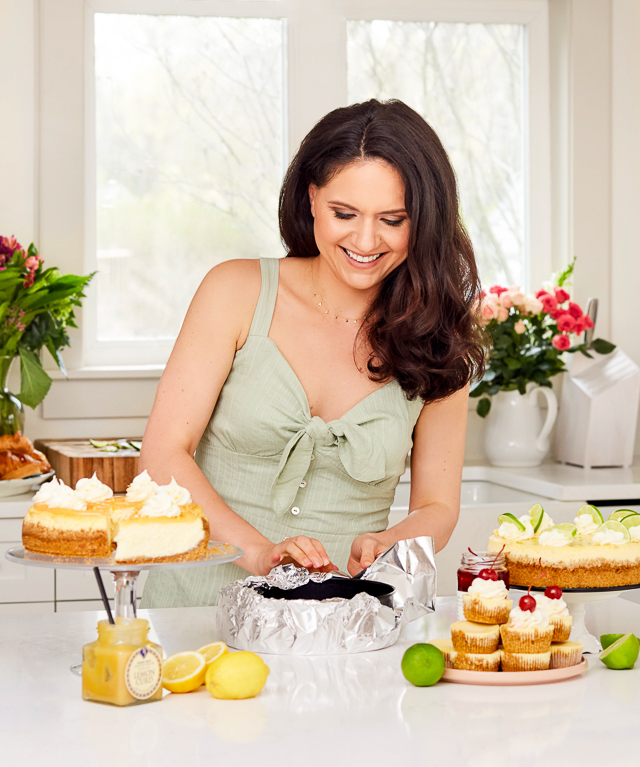
How to Make a Cheesecake Water Bath
It’s no secret I’m a diehard cheesecake fan! It’s easily my favorite dessert! And definitely the thing I bake most often. I even worked at the legendary CCF from my late teens into my early twenties! So yeah, I’m kind of a cheesecake fanatic!
Thankfully, you love it too! I know this because my Extra Rich and Creamy Cheesecake is the most popular recipe on my website! Followed very closely by my Ultimate Chocolate Cheesecake and New York Style Cheesecake!
And I have to say you guys have great taste because all of those are my faves, too! In fact, I always freeze a few slices of each so I have a variety to choose from when the craving strikes! Yes, that’s right – you can freeze cheesecake! For up to 2 months!!!
What is a Water Bath?
But for the rest of us, let’s dive into what I’m calling water bath 101!
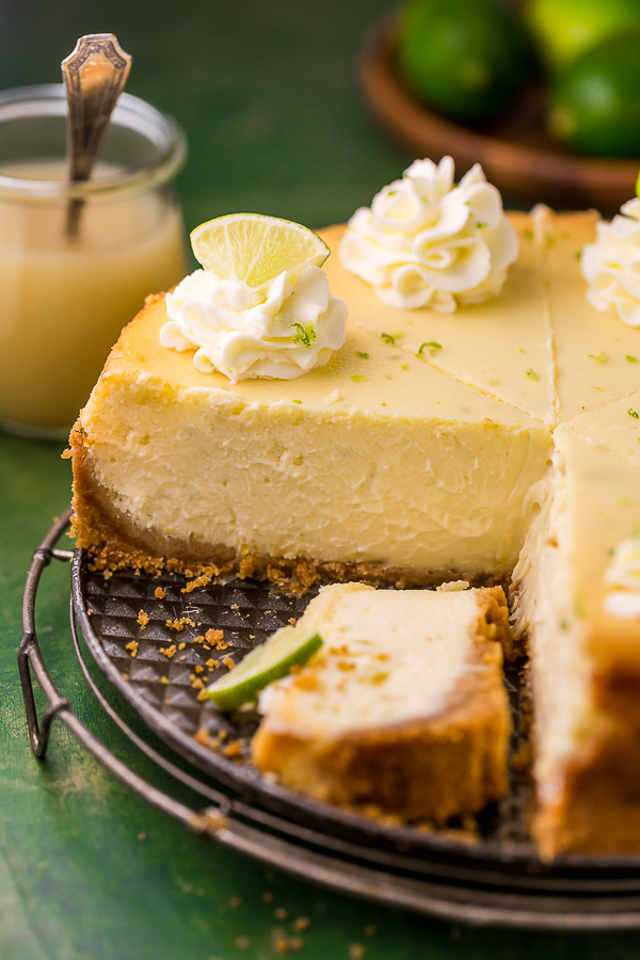
I’ll start by quickly explaining what a water bath is exactly. A water bath, also known as a bain marie, is simply a pan of hot water that protects your delicate cheesecake while it’s baking in the oven. This method not only helps the cheesecake not crack on top, but also ensures the cheesecake will come out smooth and creamy. If you’ve ever had a rubbery or curdled cheesecake before, it was most likely baked without a water bath!
Why use a Water Bath?
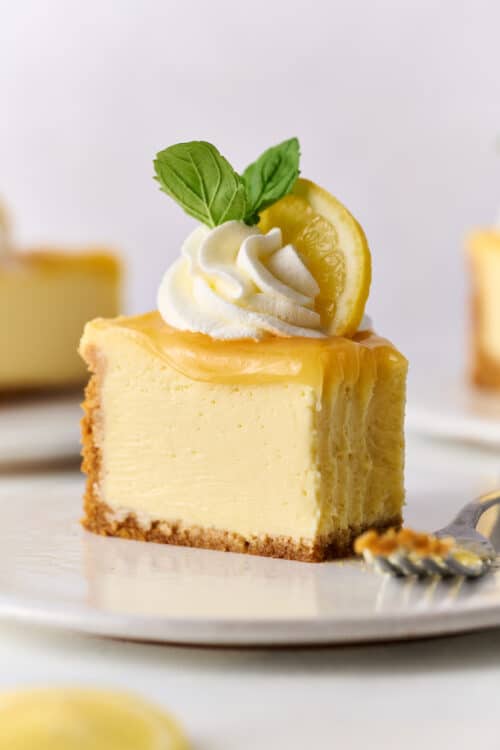
A water bath essentially guarantees you’ll have a cheesecake that:
- is lusciously smooth
- and ultra creamy
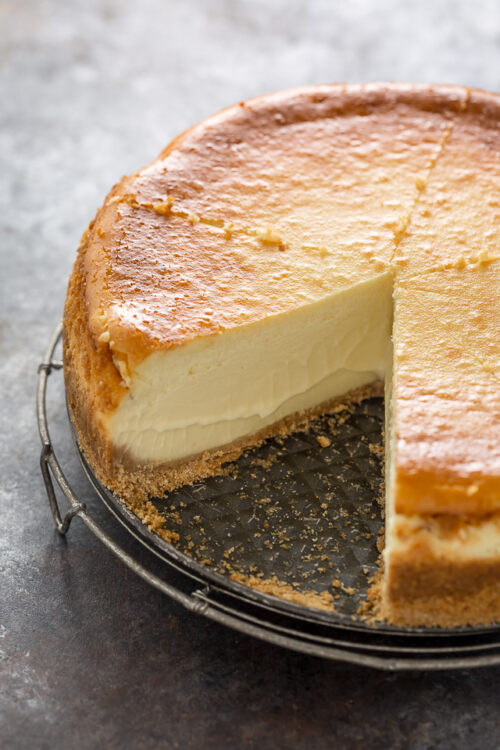
- beautiful and crack-free
- and is not over cooked and gummy
- and doesn’t brown too much or puff up in the oven
What do I need to build a Water Bath?
You’ll need a few things to build a solid water bath! Luckily, they’re things most bakers already have on hand or can easily grab at the store.
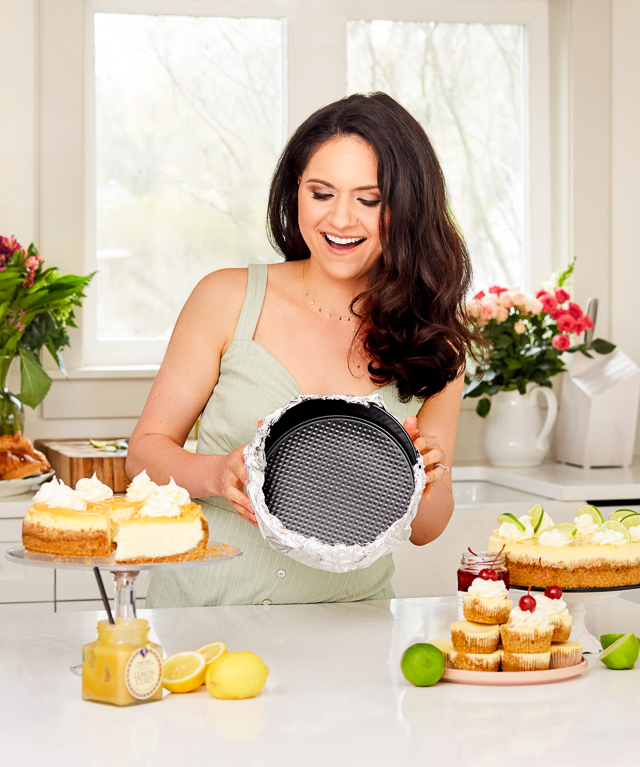
- Springform Pan: I have tons of springform pans, but this Circulon Non-Stick Springform Pan gets the most use in my kitchen! It’s easy to clean and my cakes and cheesecake come out with ease. That said, I’ve literally never had a springform pan that doesn’t leak just a little bit, and this one is no exception. It’s definitely the best I’ve tried, but still leaks slightly. Which brings up to the next item you’ll need below!
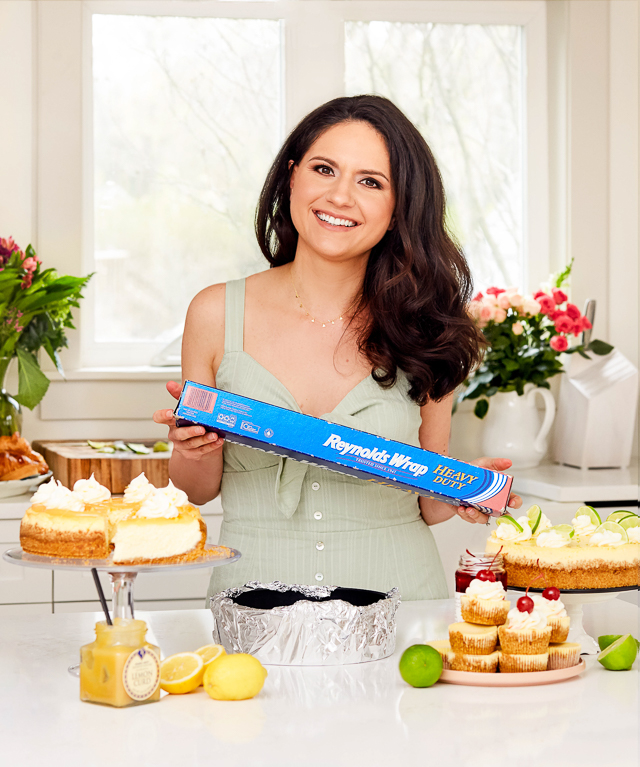
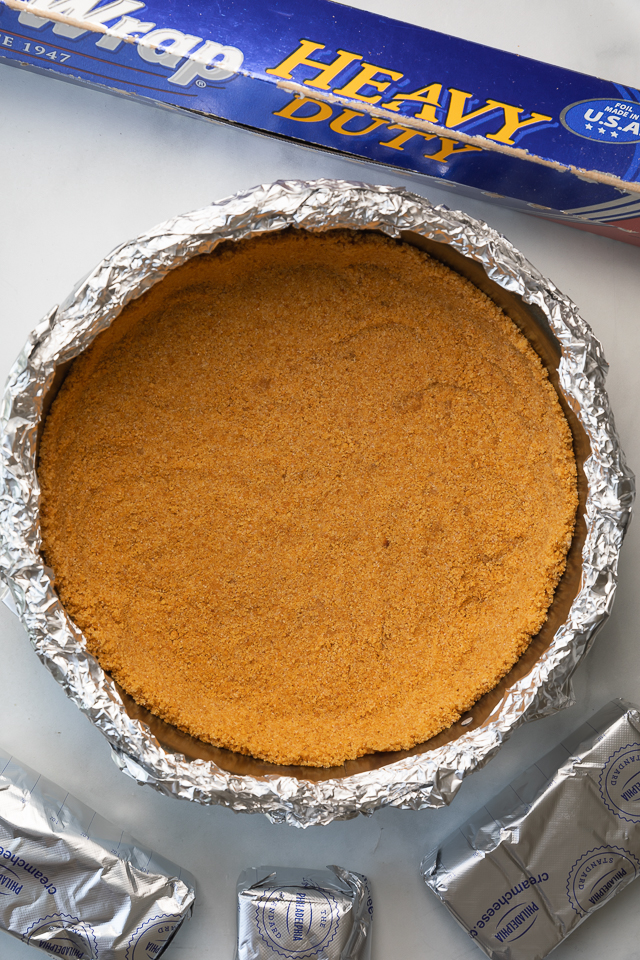
- Heavy-Duty Aluminum Foil: I’ve made hundreds of water baths in my life, and I can say with certainty that heavy-duty foil is the way to go! I only use this Reynold’s Wrap because it covers the entire surface of the pan AND goes all the way up all of the sides. Meaning there’s literally no gaps for the water to seep into! That said, I still do 2 to 3 layers, just to be safe!
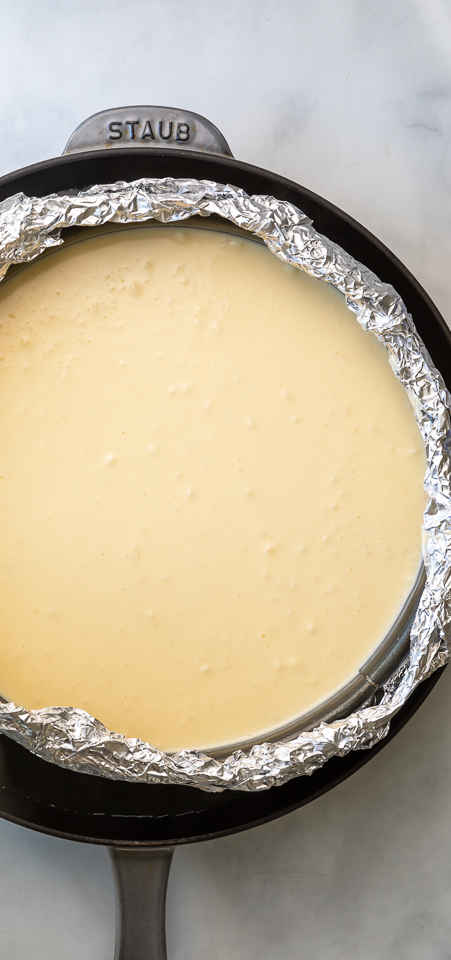
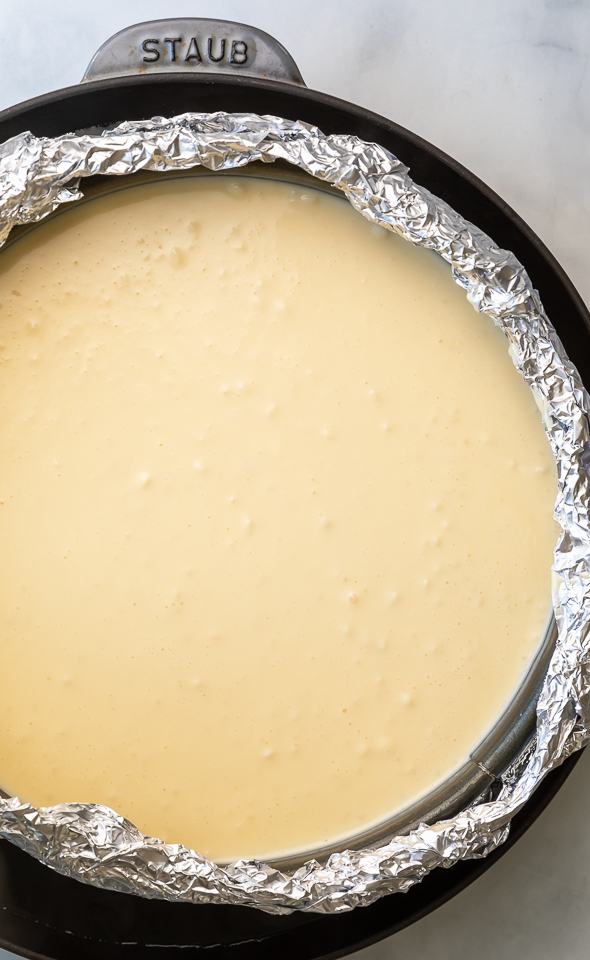
- Large Roasting Pan, Baking Pan, or Skillet: You’ll need something large enough that your springform pan can fit inside of! I use a heavy duty 12-inch skillet, but any roasting pan or cake pan that’s large enough to fit your pan will suffice!
- Oven Bags: If you’ve been burned before by aluminum foil leaking and don’t want to leave anything to chance, you can take the extra step of placing your foil wrapped pan into an oven bag. Personally, I don’t do this because I’ve never had any issues after just wrapping my pans in heavy-duty foil, but I wanted to place it here as an option!
- Freshly Boiled Water: While you can technically boil water in a pot or pan, the best way to do it for this use is in a kettle! That’s because the spout will make it much easier to pour the water into the pan without it splashing onto the cheesecake batter!
How to make a Water Bath Step-by-Step:
- Prepare your cheesecake crust, then press it into the cheesecake pan. Par-bake, if directed in recipe. Then remove from the oven and let cool until the pan is cool enough to handle.
- Place a large piece of heavy-duty aluminum foil underneath the pan. You’ll want to tear off a piece that’s large enough to completely cover the bottom and sides of the spring form pan.
- Gently press the foil up and around the edges of the pan. Repeat this process at least twice to ensure there’s no gaps for the water to seep in. Personally, I do 3 layers of foil.
- Optional step: place your foil wrapped pan inside an oven bag.
- Next, fill a kettle with water and bring to a rolling boil.
- Now pour your cheesecake batter on top of the cooled partially baked crust. Then place your spring form pan inside your larger roasting pan.
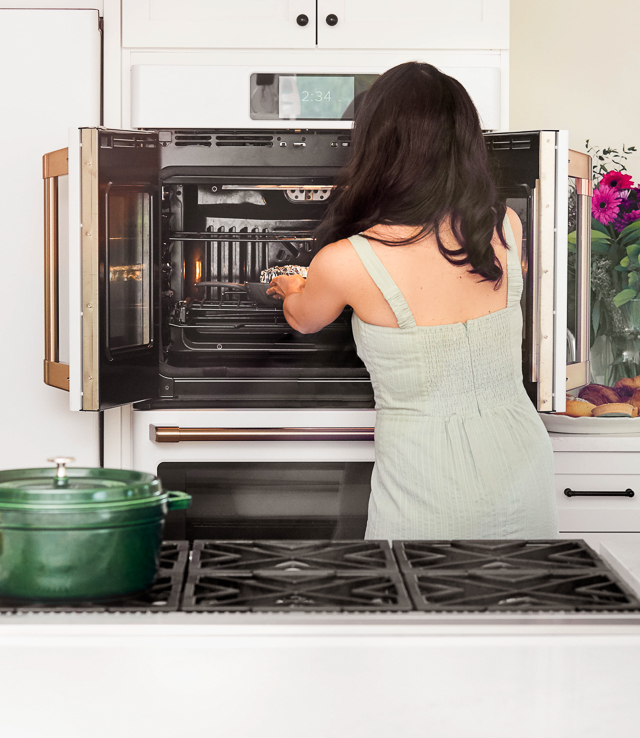
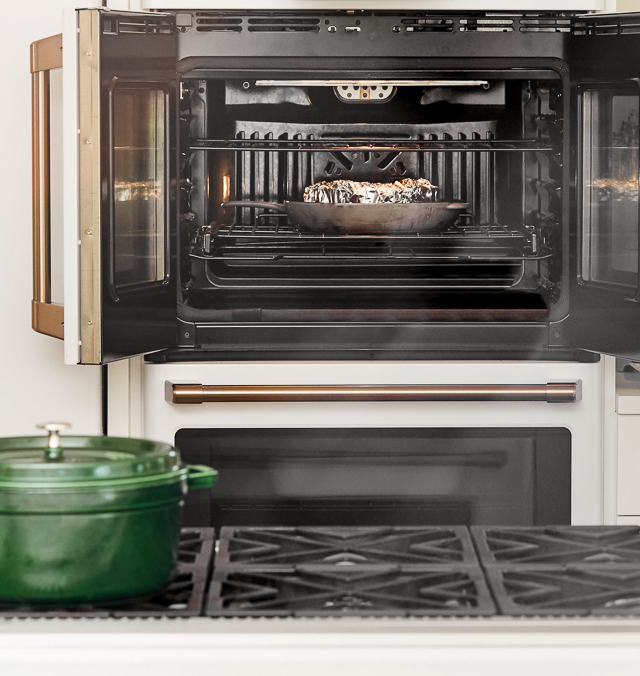
- Place both pans inside your preheated oven, on the middle rack. Then very carefully pour a few inches of hot water into the bath pan (the pan outside of the cheesecake pan). You only need about 2 to 3 inches of water. I like to stop pouring when the water is halfway up the side of the cheesecake pan. Essentially you want enough water that it won’t quickly evaporate during the baking process, but not so much that it’ll splash up or touch your cheesecake batter.
- Gently push the cheesecake and water bath into the middle of the rack, close the oven, and bake as directed.
A few Pro-tips for Perfect Cheesecake:
- Don’t over bake your cheesecake! Because even if you use a water bath, over baking can lead to cracks and not so creamy cheesecake slices! You want to remove your cheesecake from the oven when the top looks dry and set, but the center still jiggles quite a bit! If you bake your cheesecake until it’s firm in the middle, you will be disappointed later on. So don’t fear the jiggle!
- Let it par cool in the oven! All of my cheesecake recipes call for this in the instructions, but basically what you’re doing is allowing the cheesecake to slowly cool down, without giving it the temperature shock of going from 300 degrees to room temperature all at once.
- Remove the spring form pan from the water bath pan, but do NOT remove the cheesecake from the spring form pan until it’s fully cooled and chilled in the fridge. Otherwise it will flow like lava and be a complete disaster!
- Be sure to chill completely before removing from the pan and slicing! Most full-size cheesecakes call for at least 6 hours of chill time, but I find chilling in the fridge overnight will yield the best texture!
Best Cheesecake Recipes:
- New York-Style Oreo Cheesecake
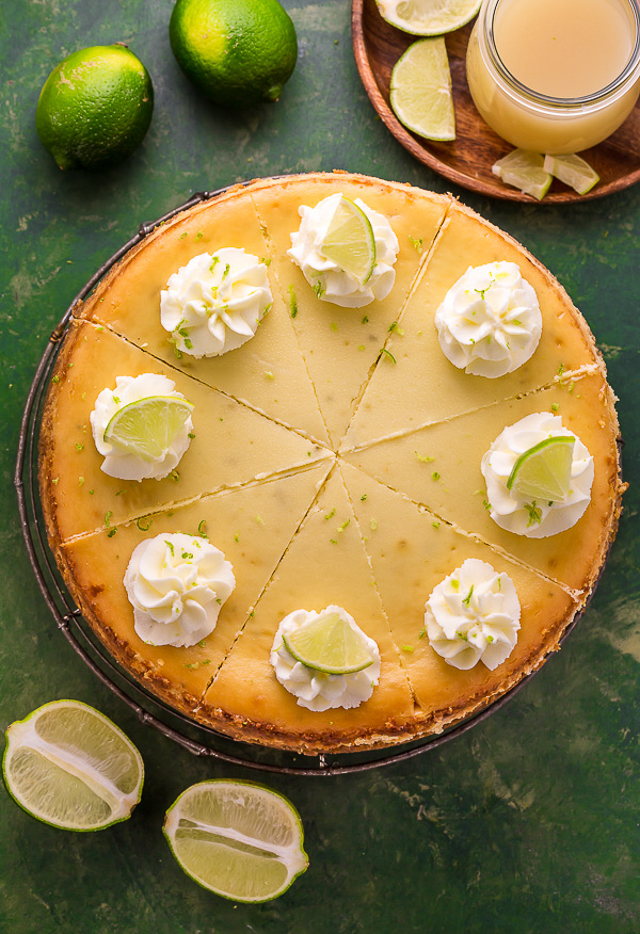
- Key Lime Cheesecake
- Creamy Italian Ricotta Cheesecake
- Chocolate Covered Peanut Butter Cheesecake
- White Chocolate Raspberry Cheesecake
- Baileys Irish Cream Cheesecake
All photos of me shot by Rikki Snyder! This post contains affiliate links, which simply means if you purchase something from a link posted here on my website, I’ll make a small commission with no extra cost to you! Thank you for supporting Baker by Nature!


1
If your water evaporates, do you add more or just leave it?
I tried making your blueberry swirl cheesecake. Everything was going great until I got to the step where you had the lemon juice and the melted white chocolate. When I added the lemon juice and the white chocolate, the chocolate started to harden and left chunks of chocolate in my batter. What did I do wrong?
Do you have a lactose free cheesecake recipe?
Hi! How long in the oven? Its not mentioned.
Thank you !
Hi Bernardo. Follow the bake time in whatever recipe you’re using. This is simply a guide on how to make a water bath for the cheesecake, not a cheesecake recipe. Although I have plenty of those linked in the post, too 🙂
I’m loving all of your recipes! I will make all of your cheesecakes as I’m a cheesecake lover too. I’m also one of those that have always been afraid of the dreaded water bath! One day as I was making a cheesecake, I could not reach my roasting pan that was way up over the microwave. I had to think of an alternative. I grabbed two loaf pans and filled each with hot water. I placed those side by side in the oven and then preheated it. When ready, I placed the cheesecake spring form pan on top of the “steam bath” loaf pans. To make sure that they would not tip, I placed the spring form pan a little to the front of the loaf pans. You will need to space your loaf pans maybe an inch or two away from each other depending on the size of your cheesecake. You want to be sure the water from the loaf pans can steam off. Please let me know if you ever have the opportunity to give this a try. I’d love to know if you get the same results with your cheesecake. Mine always turn out beautiful and creamy with no cracks but could they be better with a true water bath? Gee, I’m in the mood for that really creamy looking one of yours!
Do you have a great recipe for Marioberry swirl cheese cake??
Please and thank you!
I don’t! But if I ever come up with one, I’ll definitely share 🙂
I put the empty casserole dish into the empty pan into the cold oven; pour water into the pan around the casserole to the desired level; remove the casserole dish and set it aside for the recipe; allow the water in the pan to heat up with the oven. This avoids dealing with the hot oven when adding hot water to the pan around the casserole.