


 Search
Homemade Cinnamon Rolls are soft, fluffy, and the perfect baking project! Make the cinnamon roll dough in advance, cut the rolls, then pop in the fridge and bake when you’re ready. Top with sweet glaze or cream cheese icing and dig in! These rarely last longer than 30 minutes!
Overnight Cinnamon Rolls
I should call these “award winning cinnamon rolls”, because so many readers have won baking contests using this recipe! Made with basic pantry staples and a tested and perfected baking technique, they’re basically foolproof. Even newbies to yeasted doughs can master this recipe!
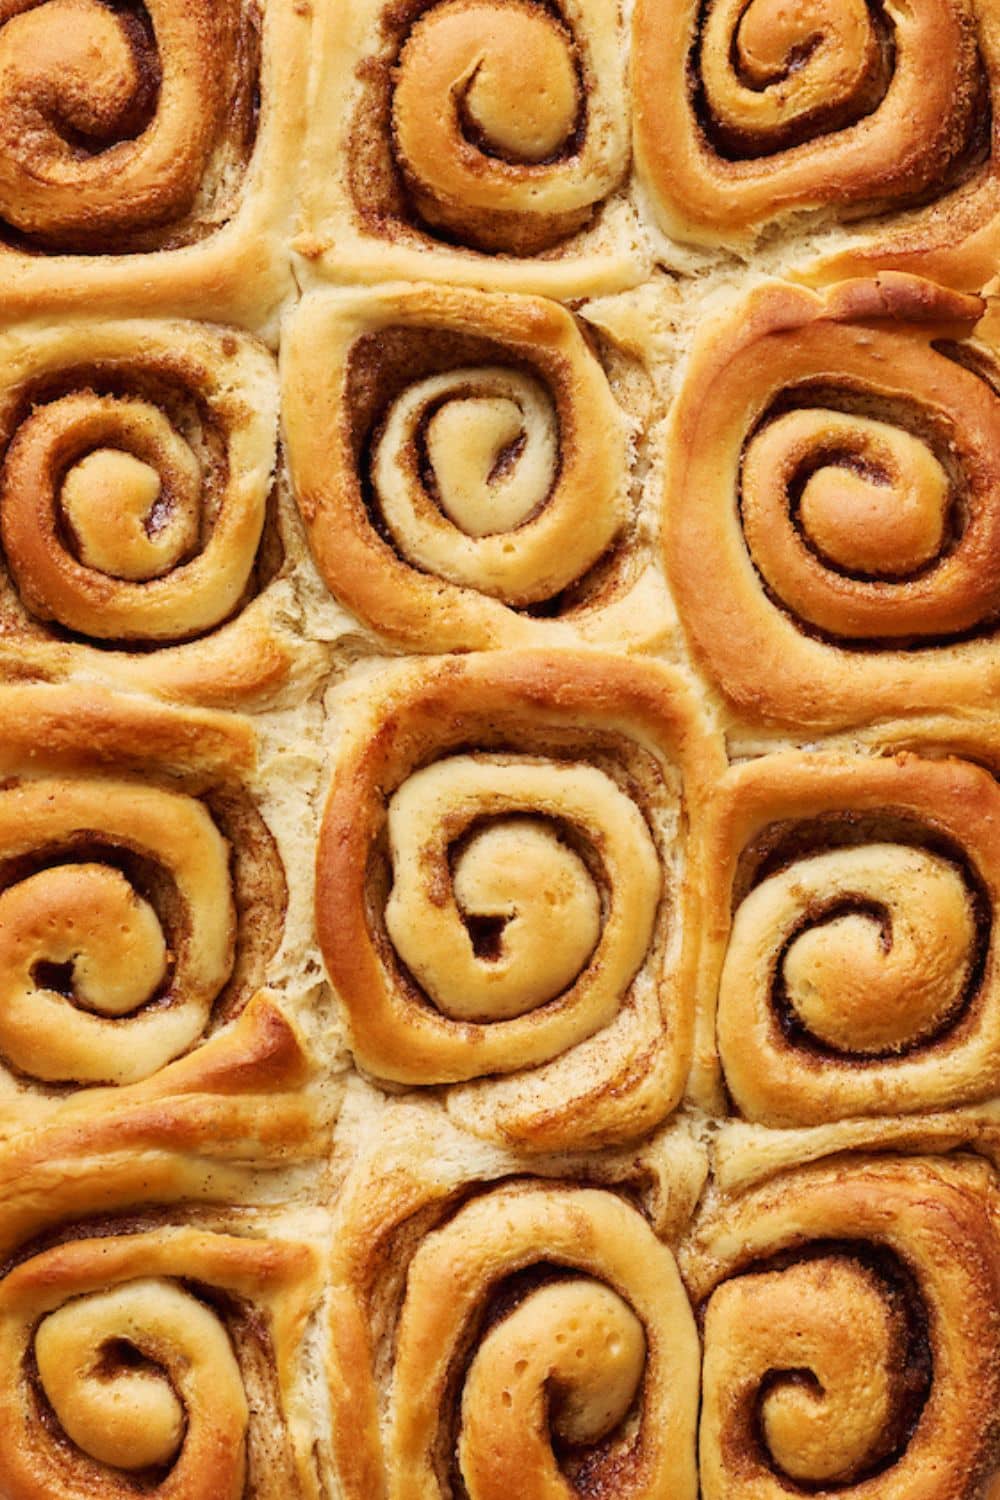
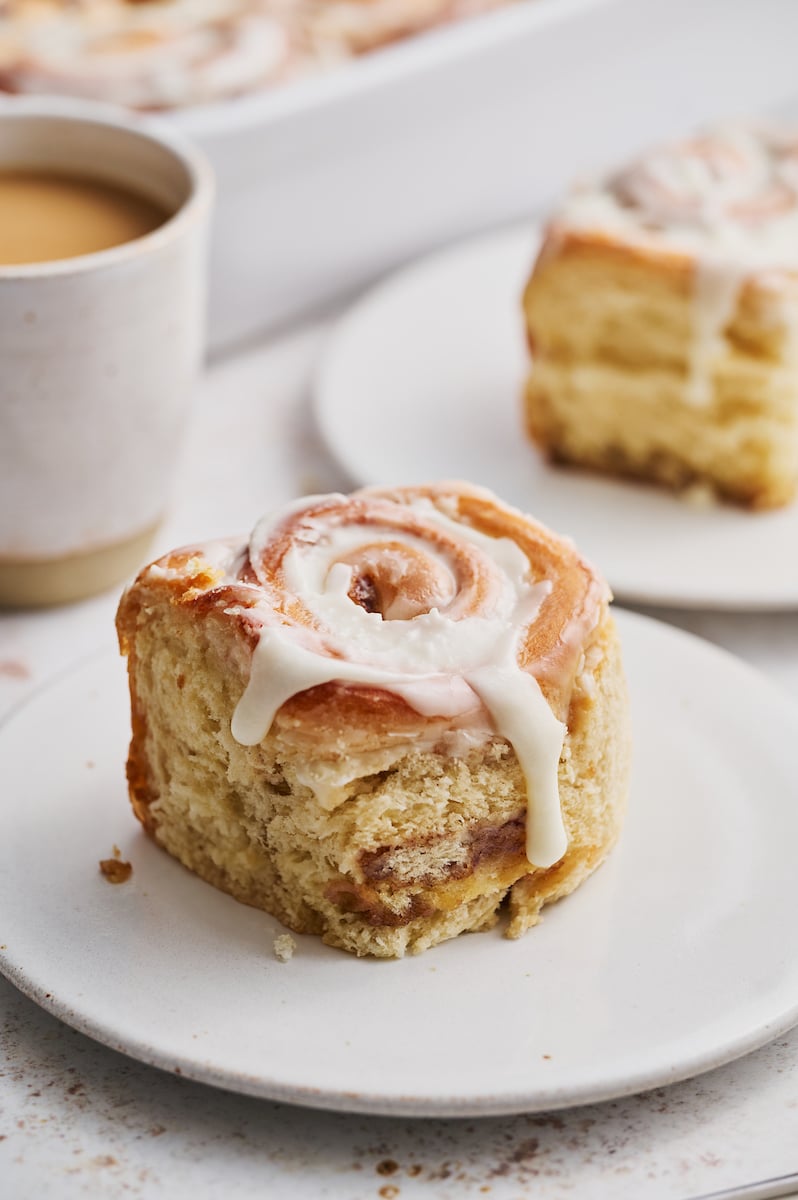
And it’s a recipe worth mastering. These cinnamon rolls are soft, fluffy, stuffed with gooey cinnamon sugar, and topped with sweet glaze. They’re a Christmas morning tradition in our house… and so good with a big cup of coffee. Or a big cup of milk, if you’re like my two-year old.
Cinnamon Roll Dough Ingredients
- Milk: For best results, I suggest using whole milk. In a pinch, lesser fat milks and even plant based milks will work. Although the dough will be less soft and flavorful due to less fat in the milk.
- Butter: Unsalted butter is preferred, but if you only have salted butter on hand, use it. And simply reduce the amount of salt called for by 1/2. Or omit completely if you know your butter is very salty.
- Flour: All-purpose flour is the only flour I can guarantee will work for these cinnamon rolls. Some readers have reported great success using 1 for 1 GF flour. So you could use that in the dry ingredients if you’re up for experimenting.
- Active Dry Yeast: Make sure to use fresh yeast that has not expired. I don’t suggest rapid rise yeast or instant yeast because it works too fast for the methods used in this recipe. And do not try subbing baking powder for yeast, it won’t work.
- Sugar: You’ll need three varieties of sugar for this recipe. Granulated sugar for the rolls, brown sugar for the filling sugar mixture, and confectioners’ sugar for the glaze.
- Salt: This ingredient enhances all of the flavors in the recipe while also balancing sweetness.
- Egg: Be sure to use a large egg that’s been brought to room temperature.
- Spices: Ground cinnamon and just a touch of cloves add warmth and depth of flavor the cinnamon roll filling. If you don’t have cloves, feel free to just use cinnamon.
- Heavy Cream: This is used to make the sweet icing, but in a pinch, milk will also work. Start with a smaller amount of milk as it’s thinner than cream so it will alter the texture.
- Vanilla Extract: You can add vanilla extract to the frosting as an optional ingredient.
How to Make Homemade Cinnamon Rolls
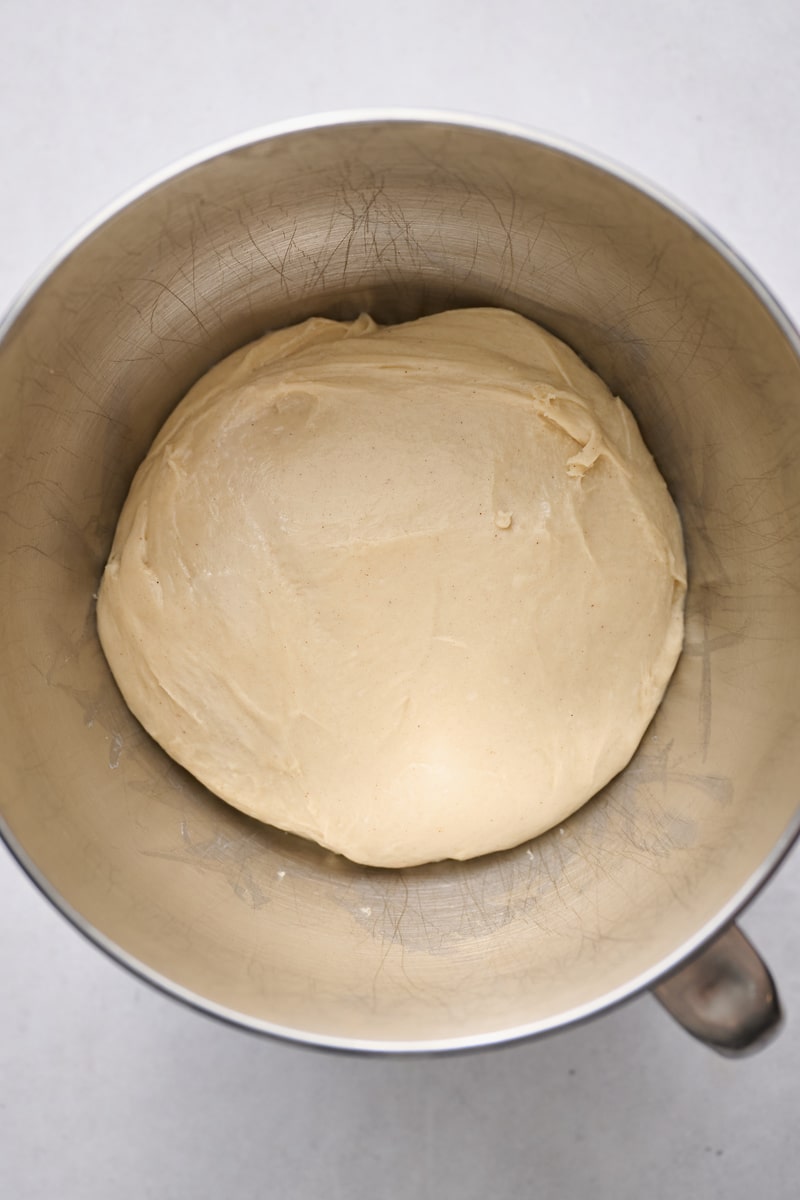
- Cinnamon Roll Dough: You’ll use the bowl of a stand mixer fitted with a dough hook to make the cinnamon roll dough. Once you combine all the ingredients, beat the cinnamon roll dough for 5 minutes. Keep an eye on your stand mixer, as it might move around a good amount. Then knead the dough by hand for a minute or so.
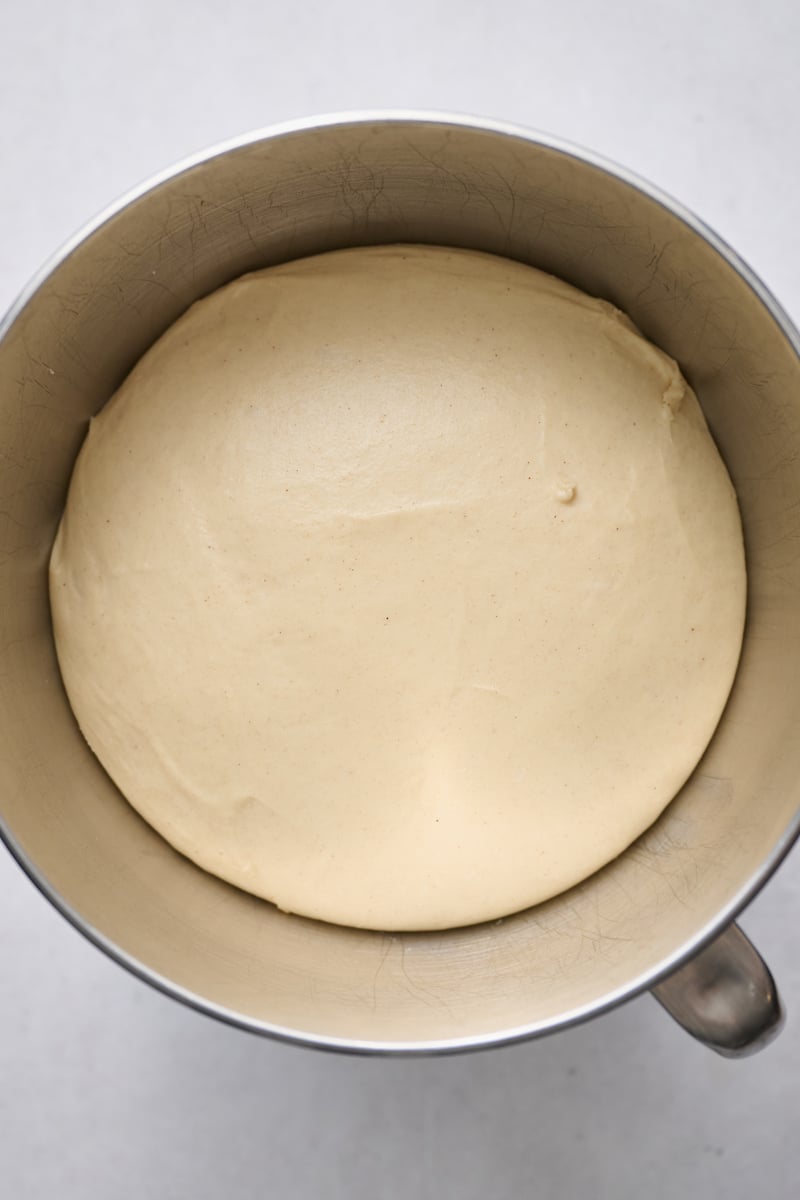
- Let the Dough Rise: Form the dough into a ball and place it inside the prepared bowl. Tightly cover the bowl with plastic wrap and set it aside until it doubles in size. Yeasted doughs require patience, don’t rush this step.
- Pan Prep: Generously grease a 9×13-inch baking dish and set it aside until you’re ready to bake. If you use a ceramic or glass pan, your rolls may take longer to bake than if you use a metal pan.
- Roll the Dough: Punch down the cinnamon roll dough, then turn it out onto a lightly floured work surface. Use a rolling pin (or wine bottle lol) to roll it into a large rectangle that’s evenly thick.
- Fill the Dough: Using a small spatula or the back of a spoon, spread the cinnamon sugar filling combination over the dough. Leave about a 1/4-inch boarder around the dough so it doesn’t ooze everywhere when you roll it up.
Cut the Rolls
- Roll the Cinnamon Roll Dough: Tightly roll up the dough then slice the log into 12 even cinnamon rolls. Pro-tip: use unflavored dental floss to do this! The floss method is so much easier and neater than using a knife. But a sharp knife will work if you don’t have floss.
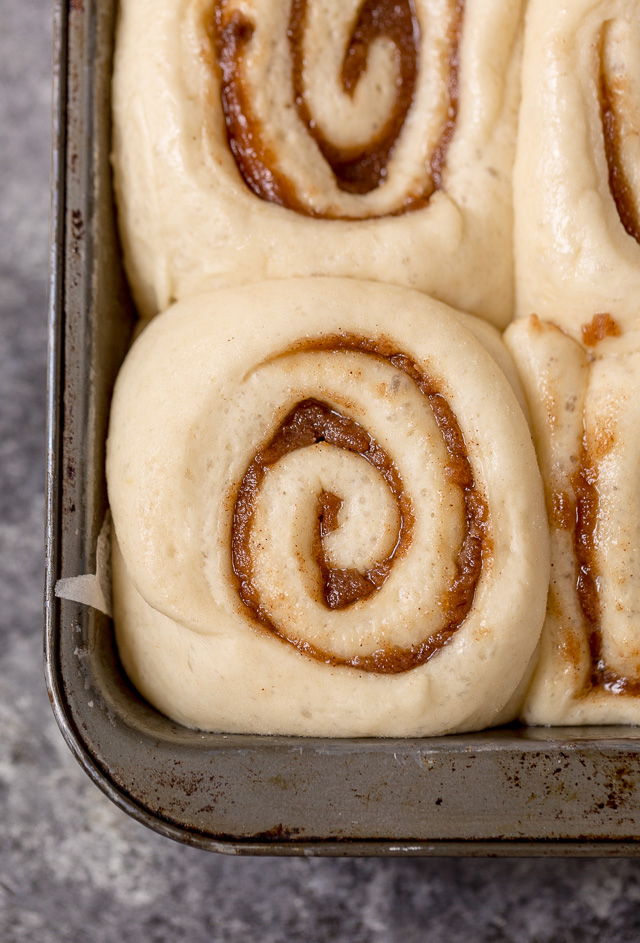
- Transfer to Baking Pan: Then place the rolls in the prepared baking pan.
- Second Rise: This is where you come to a crossroads with the rolls rising. You can either cover the pan tightly with plastic wrap and place it in the refrigerator for 8 to 12 hours. This is the overnight cinnamon rolls option. Or, you can cover with plastic wrap and let sit at room temperature for another hour, or until they’ve doubled in size.
Ready to Bake?
- Bake your Cinnamon Rolls: Preheat the oven to 375 degrees about 20 minutes before baking. If you chose the overnight option, remove the pan from the fridge and let the rolls rise in a warm place until they’ve puffed up and almost doubled in size, about 2 hours. If you chose to rise at room temp, you can simply bake right away.
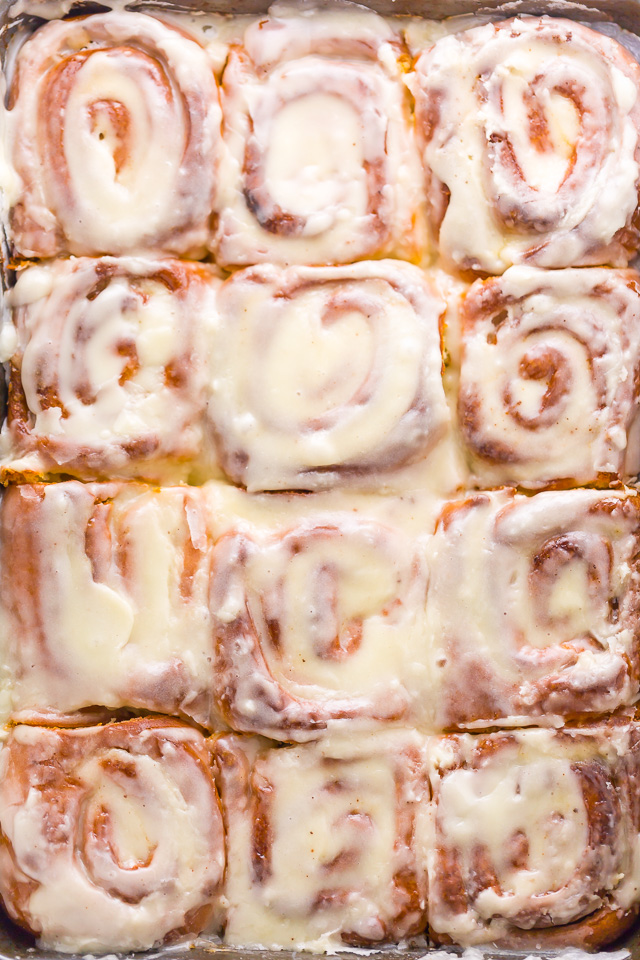
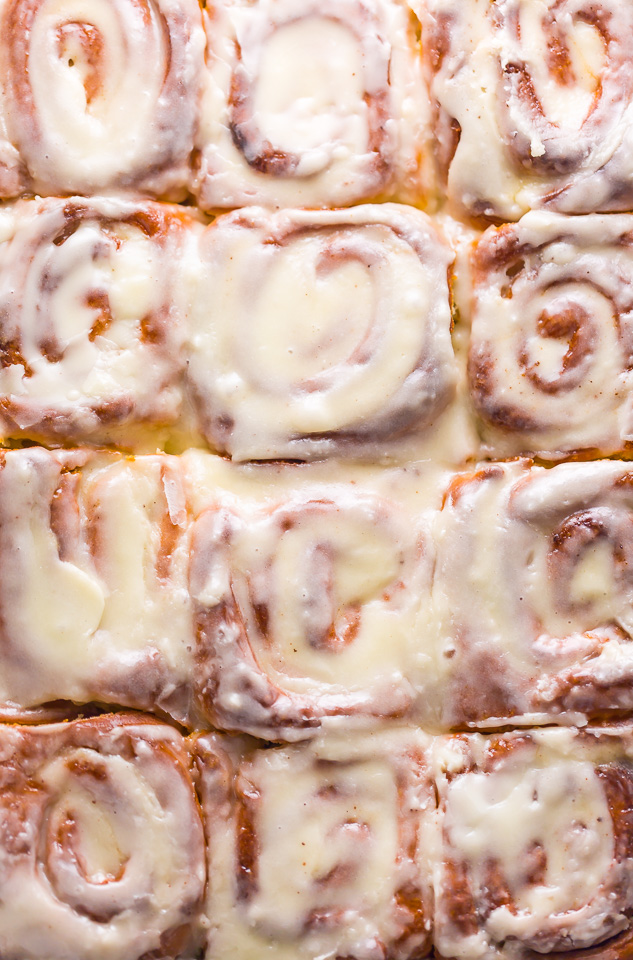
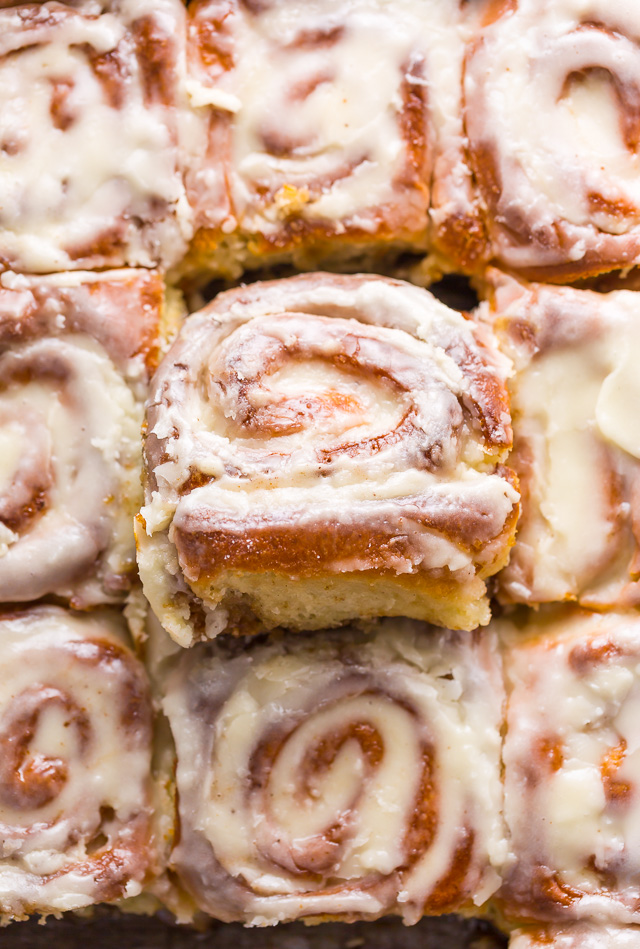
- Glaze: Spread the warm cinnamon rolls with sweet glaze, or whip up a batch of cream cheese frosting and use that instead. Serve while they’re still warm to the touch, or cool completely. No matter how you serve them, they’ll be delicious.
Can I Use Cream Cheese Frosting?
Of course, you can use cream cheese frosting instead! I prefer the glaze because it’s less sweet and dominating than cream cheese frosting. But if cream cheese frosting is your jam, use your favorite cream cheese frosting recipe or you can use store-bought cream cheese frosting.
Spread it on after the rolls have cooled a little if you prefer the frosting to hold it’s shape. Or spread it on the rolls while they’re hot for a gooey cream cheese glaze.
How to Avoid Burnt Cinnamon Rolls
If you find your rolls are browning too much, you can cover them loosely with aluminum foil halfway through the baking process. Personally, I like my rolls with a good amount of color so this doesn’t bother me.
But just be sure you bake them for at least 22 minutes, otherwise they could be raw or undercooked in the middle. If you remove the rolls from the oven and see any raw looking dough, place the pan back in the oven for another 5 minutes, then check again.
Tools for Homemade Cinnamon Rolls
- Stand Mixer with Dough Hook Attachment: Unfortunately a handheld mixer won’t work for this. In a pinch, you can knead the cinnamon roll dough by hand. But be ready to pump that elbow grease working the dough.
- Digital Kitchen Scale: The best way to measure flour – and all ingredients – is with a digital scale. If you don’t own one, fluff your flour first then lightly spoon it into the measuring cup. Never pack your flour into a measuring cup.
- Baking Dish: A 9×13 inch baking pan works best, but a large skillet will also work. Just remember the material of your baking pan will alter the baking time, so keep an eye while your rolls are baking. Thicker pans require more time while thinner pans will require less time.
- Rolling Pin: Every baker should have a trusty baking pin! But in a pinch, use a clean wine bottle.
- Small Bowls: These are great for measuring out spices or making the glaze.
- Plain Dental Floss: This might sounds strange, but unscented and unflavored floss is actually the best way to slice cinnamon rolls. I swear by this method for cutting the cinnamon roll dough and I think you will too after trying it.
Next time you have a free afternoon in the kitchen, put on your apron and give these overnight cinnamon rolls a try! You can bake them all at once, or use the overnight method, which lets you make them partially in advance. Once they’re in the oven, sit back and enjoy the delightful smell of brown sugar and cinnamon filling your kitchen. No scented candle required!
More Perfect Cinnamon Roll Recipes
- Christmas Morning Gingerbread Cinnamon Rolls
- Butter Pecan Cinnamon Buns
- Strawberry Rolls with Vanilla Glaze
- Salted Caramel Sticky Buns
- Triple Almond Sticky Buns
- Soft Fluffy Orange Cinnamon Rolls

Overnight Cinnamon Rolls with Sweet Glaze
Ingredients
For the Cinnamon Rolls:
- 1 cup (227ml) whole milk (full-fat)
- 4 tablespoons (57g) unsalted butter room temperature
- 3 and 1/3 cups (400g) all-purpose flour divided
- 1 0.25 ounce package active dry yeast
- 3 tablespoons (42g) granulated sugar
- 1/2 teaspoon salt
- 1 large egg room temperature
For the Filling:
- 1 cup (213g) light brown sugar
- 1/4 cup (50g) granulated sugar
- 1 tablespoon ground cinnamon
- 1/4 teaspoon ground cloves
- 3/4 cup (170g) unsalted butter melted
For the Glaze:
- 3 and 1/2 cups (392g) confectioners' sugar sifted
- 1/2 cup (113ml) heavy cream
- 1/4 teaspoon salt
Instructions
For the Cinnamon Rolls:
- Lightly grease a large bowl and set it aside.
- In a small saucepan over medium-low heat, warm the milk just until small bubbles begin to form around the edge of the pan; remove from heat. Add in the butter and stir until it’s completely melted; let mixture cool while you mix your dry ingredients.
- In the bowl of a stand mixer fitted with the dough hook attachment, combine 2 and 1/2 cups of flour, yeast, sugar and salt; mix on medium-low speed until ingredients are evenly combined. Add in the egg, then add in the warm milk mixture and beat until combined.
- Add the remaining flour, a little bit at a time, mixing well after each addition.
- Once all of the flour has been added, increase the speed to medium and beat for 5 minutes. The dough should form a ball around the hook and pull away from the edges of the bowl.
- Transfer the dough to a lightly floured surface and knead it with your hands for 1 minute. Form the dough into a ball and transfer it to the prepared bowl.
- Cover the bowl with plastic wrap and let sit in a warm place until doubled in size, about 1 hour.
- Generously grease the sides and bottom of a 9×13-inch baking pan and set it aside.
- Gently punch down the risen dough, then turn it out onto a lightly floured work surface and, using a rolling pin, roll it into a 12×18-inch rectangle. Be sure the dough is evenly thick before adding the filling.
For the Filling:
- In a medium mixing bowl, combine the melted butter, both sugars, cinnamon, and cloves; mix well until it’s a uniform paste. Using a small spatula or the back of a spoon, spread the sugar/butter combination all over the dough.
- Tightly roll up the dough to form an 18-inch log. Using a piece of unwaxed/unflavored dental floss, slice the log into 12 even rolls. To do this, simply slide a 12-inch piece of floss under the roll where you want it cut, grab both ends of the floss (one in each hand), cross it over the top of the roll, and pull it until the slice you want is cut. Repeat for all slices.
- Arrange the rolls in the prepared baking pan, cut sides up. Cover the pan tightly with plastic wrap and place it in the refrigerator for 8 to 12 hours.
- When ready to bake, remove the pan from the refrigerator and let the rolls rise in a warm place until they’ve puffed up and almost doubled in size, about 2 hours.
- Once the rolls have risen, preheat the oven to 375°F (191°C). Bake for 23 to 25 minutes, or until golden brown.
- Remove pan from the oven and cool the rolls on a wire rack while you make the glaze.
For the Glaze:
- In a large spouted measuring cup, combine all of the ingredients and mix until well combined. If the glaze appears too thick, add a little more cream; if the glaze appears too thin, add a little more confectioner’s sugar.
- Drizzle the icing over the warm rolls and serve at once, or set aside and allow the icing to set before serving.
- Wrap any leftover rolls tightly in plastic wrap and store at room temperature for up to 2 days.


I made these last week and they were amazing! I only keep 2% milk in the house so I added an extra 2 tablespoons of butter, but otherwise followed the recipe exactly. I’ve tried several other recipes and it seems like the rolls end up too hard or dried out, but these were perfectly soft with gooey centers. They disappeared quick! Thanks for the recipe!
Love this recipe, the glaze needed much more cream than called for, mine didn’t double in size after I removed from refrigerator but I left them for 2 days, still came out fine but dense!
Could you use part wholeweat
I made this to share with friends. These rolls came out really good and wverybody loved it. I did some changes to the frosting though. I use one block of cream cheese and reduced the powder sugar. Thank you for sharing this recipe.
GIRRRRRRRRRRRRRRRRRRRRRRRRRRRRRRLLLLLLLLLLLLLLLLLLLLLLLLL
I did exactly as instructed but the bottom burned, and the rack was in the middle and temperature is 375°. I’m so pissed off I wasted ingredients.
That’s too bad they burned. To be honest you shouldn’t give 1 star for your mistake. This is an intermediate to advanced recip. Not fair of you. Do the right thing and change that rating.
Sometimes if you use a cheap pan that could happen.
Use parchment paper…especially if your pan is dark.
I was thinking the same about the parchment paper, and am glad I saw these comments. I was debating using it and I think I will just in case since I’ve never used this specific oven for these before. Are you sure your oven temp is correct? (I mean calibrated, not you setting the degrees.) just a thought. Sorry they burned!
And you burnt your rolls is her fault why? No one else had this issue
I just baked them this morning. They are so delicious! Thank you for the recipe.
Thank you for a beautiful recipe. Made this tonight for my family and the kitchen smells divine. It tastes even better.
I’m trying to figure out if this recipe is worth making and while your comment implies the recipe was great, your rating is just 4 stars. Can you please elaborate or make a suggestion?
My gosh go in your kitchen and make them, then you can rate them you’re self!!.. Some of you people on here seem so ungrateful.. maybe say “thank you for the recipe, maybe I’ll give it a try“..geez!
These are a lot of work but awesome!,
Good morning! These look delish! Quick question though, wouldn’t adding cream to the thin out an already thin glaze and wouldn’t adding more sugar thicken and already thickened glaze?? I want to make sure I’m reading this correctly under the first step in the directions for the glaze.
Loved the recipe! Will be making it for sure!
I also love your writing style!
On a side note, you should review step 1 of the glaze.
Thanks!
Those measurements can’t be right. I know what I’m making so, I’m good. Newbies, maybe not. I’m other news, these things are amazing and totally worth the effort.
Can you please share the right measures? Please
Just made these and they are really good! Im so surprised I was able to make them. Thank you!!