


 Search
If you like pumpkin pie and classic cheesecake, you’ll love this easy pumpkin cheesecake recipe for Thanksgiving dessert! A whole can of pumpkin puree, plus a homemade pumpkin pie spice and vanilla, add so much delicious pumpkin flavor to this pumpkin dessert! Follow my tips for a creamy crack free cheesecake.
Goodbye Store Bought Pumpkin Cheesecake
Like many, I fell in love with pumpkin cheesecake at ‘The Cheesecake Factory’. I worked there in my early 20’s and probably ate over 200 slices of pumpkin cheesecake during that time! Pumpkin cheesecake is just so flipping good… and the perfect Thanksgiving dessert recipe!
After I moved on from that job, I was determined to create my own pumpkin cheesecake recipe that was just as delicious! It took about a dozen cans of pumpkin and blocks of cream cheese, but I finally did it. This pumpkin cheesecake is rich, creamy, and packed with pumpkin flavor!
Make Pumpkin Cheesecake for Thanksgiving Dessert if You:
- Prefer pumpkin cheesecake over pumpkin pie
- Want to skip the boring underwhelming store bought desserts this year
- Love extra creamy and richly spiced pumpkin cheesecake
- Need to use up a whole can of pumpkin
- Dig a crunchy yet buttery cheesecake crust
- Love a make-ahead dessert recipe
- Want to wow your family and friends
Pumpkin Cheesecake FAQ
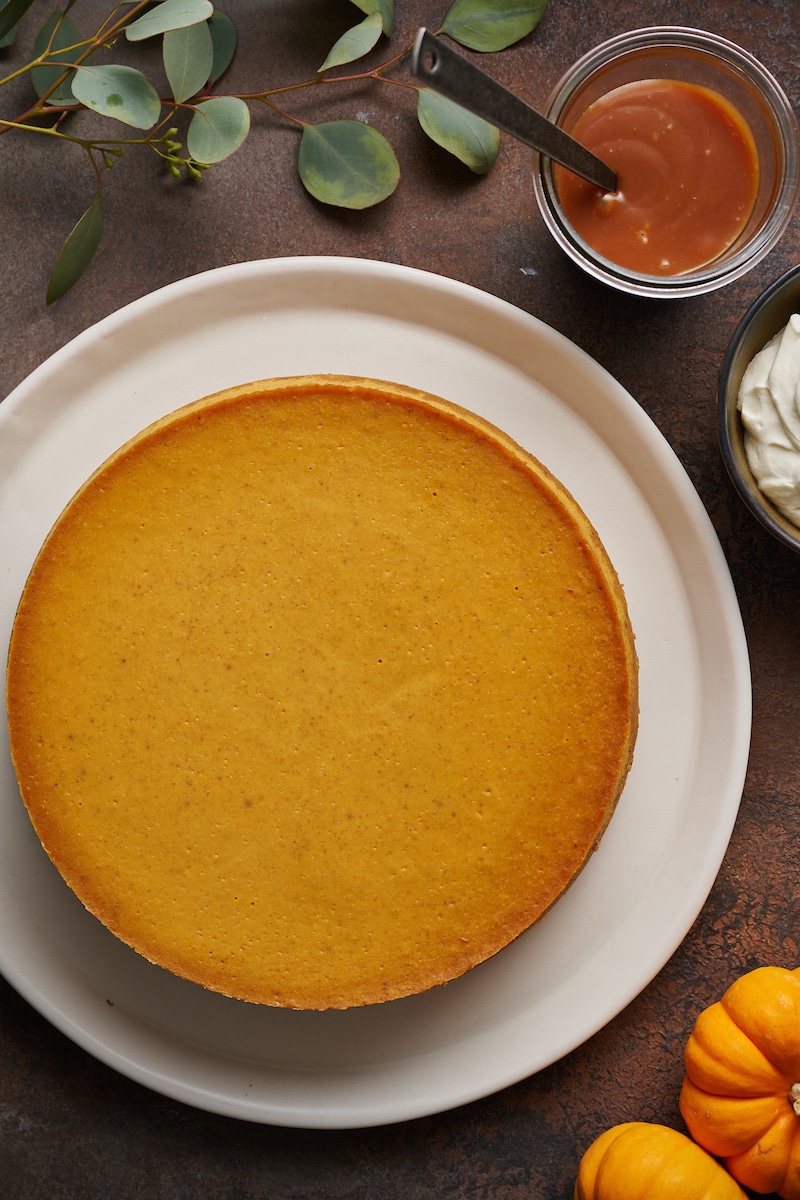
If you’ve been searching for the BEST pumpkin cheesecake recipe, you’re in luck! This pumpkin cheesecake recipe is heaven in a springform pan.
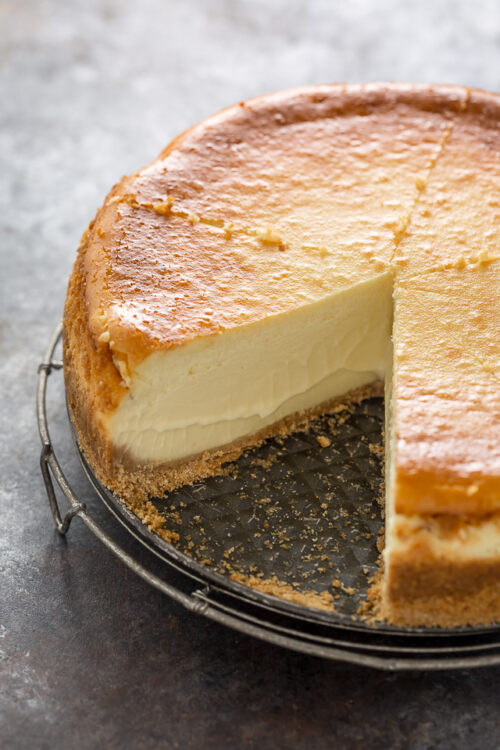
- This pumpkin cheesecake is just like a classic cheesecake texture wise! Rich, creamy, and just a little bit dense, a small slice is all you need.
- Loaded with delicious pumpkin flavor thanks to an entire 15 oz can of pumpkin puree and pumpkin pie spice.
- A classic graham cracker crust adds just the right amount of crunch. To use a store bought cheesecake crust, divide the filling among 2 crusts (you’ll have a lot of filling).
- This pumpkin cheesecake is make-ahead friendly. You can store it in the fridge for several days. Or wrap it in plastic wrap and freeze your homemade pumpkin cheesecake for 2 months!
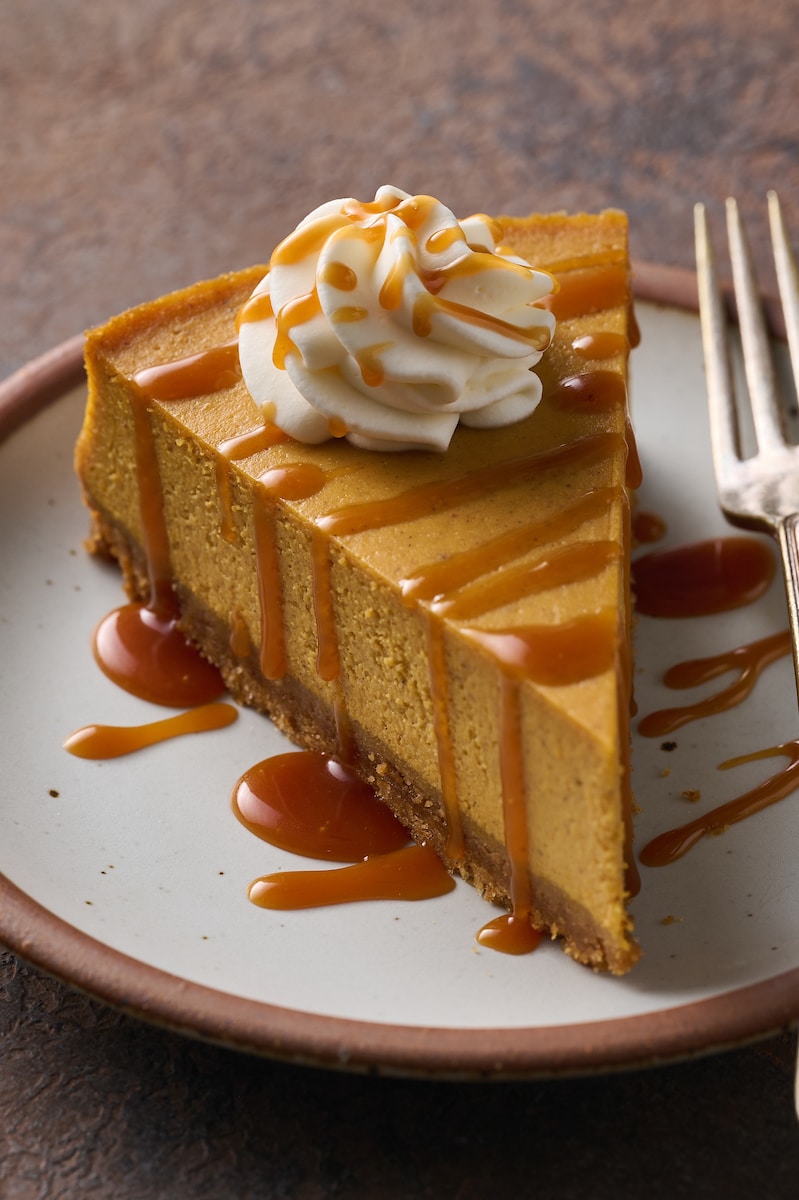
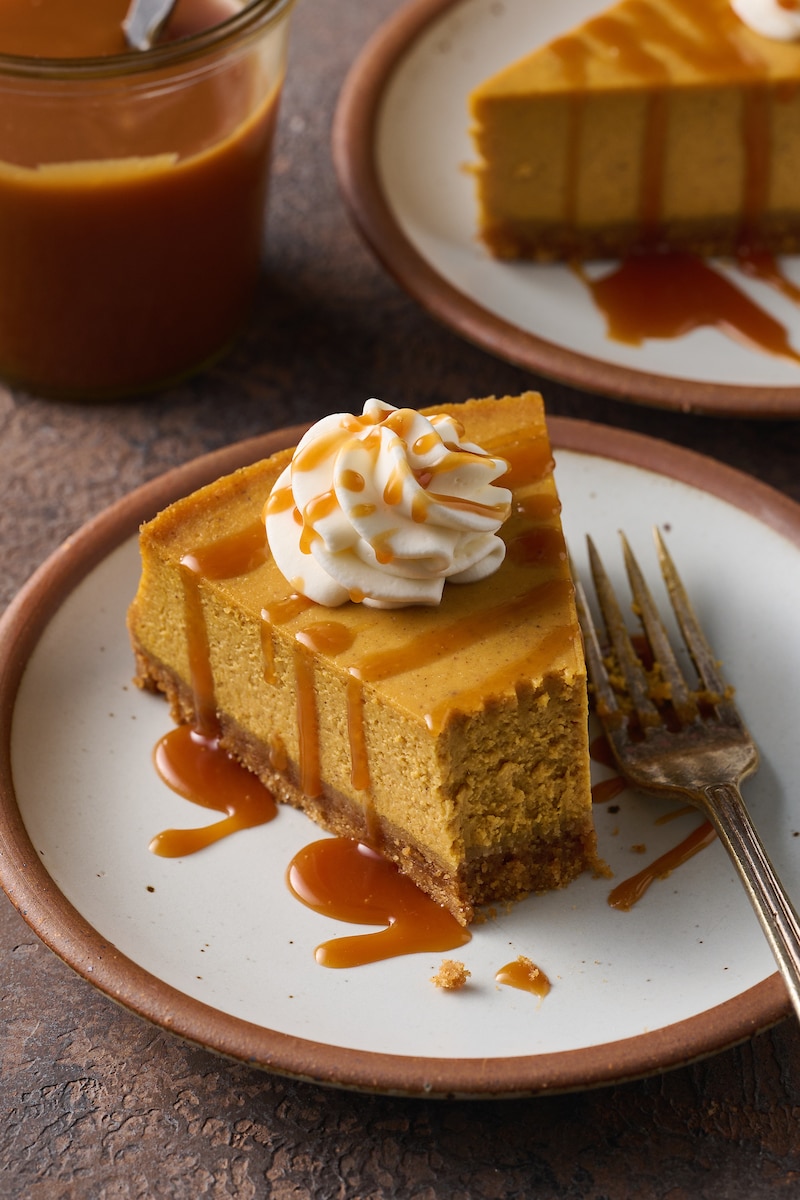
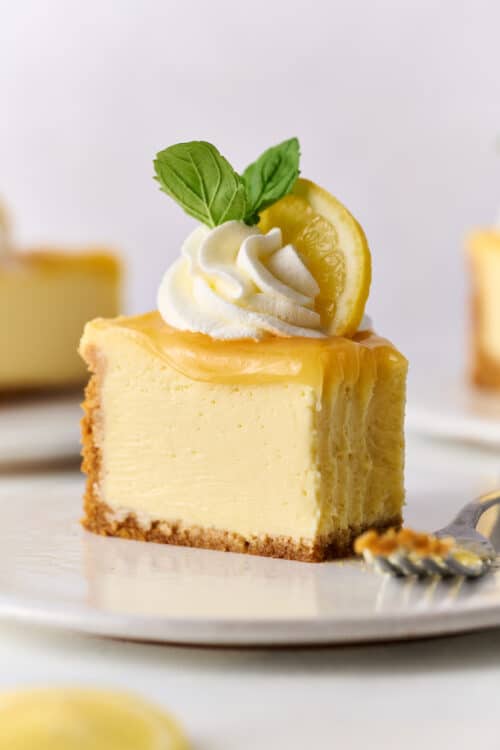
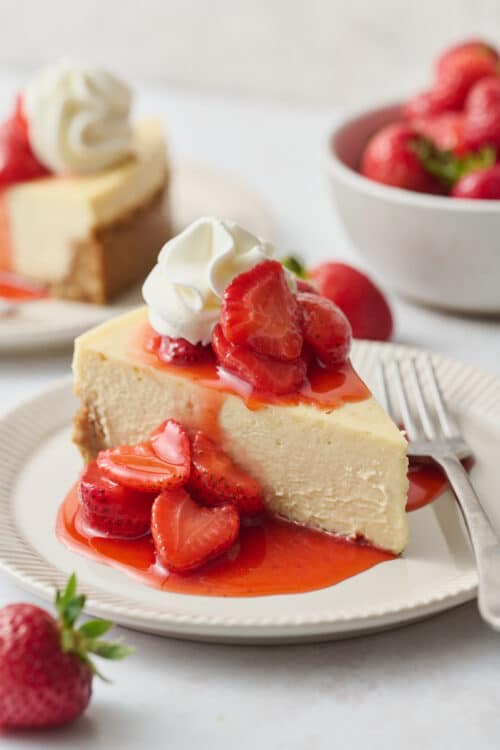
- This pumpkin cheesecake is heavenly with freshly whipped cream and salted caramel sauce on top.
- The perfect fall dessert – always a crowd pleaser for Thanksgiving and Christmas! As soon as you open the oven, your whole house will smell like a delicious pumpkin patch.
Pumpkin Cheesecake Recipe
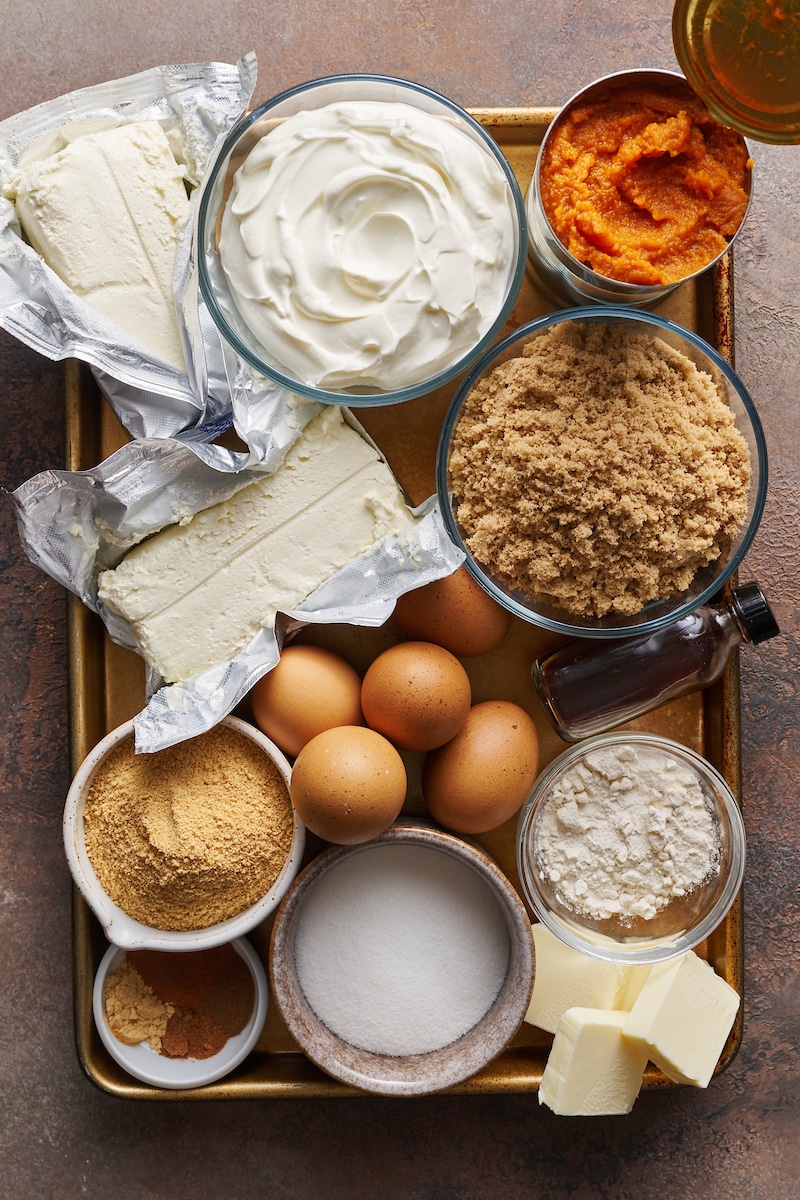
- Graham Cracker Crumbs: For ease, I use store-bought graham cracker crumbs. You can make your own graham cracker crumbs by crushing graham crackers into fine crumbs. Use your blender or food processor to do this.
- Sugar: This cheesecake recipe uses both brown sugar and granulated sugar. This sugar combo adds sweetness and moisture to the pumpkin cheesecake recipe.
- Salt: A tiny dash adds flavor to the graham cracker crust. If you don’t have salt, you can use salted butter in the cheesecake crust recipe.
- Butter: Melted butter serves as the binder for the graham cracker crust. If you use salted butter, omit the salt called for in the graham cracker crust.
- Cream Cheese: Full-fat brick-style cream cheese works best. The best cream cheese for pumpkin cheesecake is brick-style Philly brand. Not sponsored, just my honest opinion.
- Sour Cream: If you can’t find full-fat sour cream, full-fat plain Greek yogurt works best as a sub. I don’t suggest subbing heavy cream or milk instead.
- Eggs: You’ll use whole eggs and egg yolks. No need to add eggs one at a time. Just be sure not to over mix after you add them. And don’t sub the egg yolks for whole eggs.
- Pumpkin Puree: Which is different from pumpkin pie mix. I don’t suggest using homemade pumpkin puree. It can contain a lot more moisture than canned pumpkin puree.
- Pumpkin Pie Spice: Cinnamon, cloves, nutmeg, and ground ginger make our homemade pumpkin pie spice mix. You can use store-bought pumpkin pie spice instead.
- All-Purpose Flour: For that classic cheesecake texture, add a small amount of flour. This helps the cheesecake recipe get dense while baking.
- Vanilla Extract: Adds it’s signature rich vanilla flavor while enhancing the pumpkin flavor in this classic cheesecake recipe.
You’ll also need a wire rack and a 9-inch springform pan for this pumpkin dessert recipe!
Pumpkin Cheesecake Tip: Room temperature ingredients are crucial to making a crack free creamy pumpkin cheesecake recipe! So bring your cream cheese, eggs, and sour cream to room temperature before use.
How to make Pumpkin Cheesecake Recipe
- Make the Graham Cracker Crust: In a medium bowl combine the graham cracker crumbs, sugar, and melted butter. Partially bake the graham cracker crust to ensure it’ll be nice and crunchy. Press the crust in the middle of the pan, then up the sides of the pan.
- Make the Pumpkin Cheesecake Batter: You’ll need an electric stand mixer or large food processor for this part. Make sure the cream cheese is at room temperature. Cream cheese takes about an hour to be soft enough to blend. And once you add the eggs (no need to add eggs one at a time) don’t over mix.
- Combine Crust and Batter: Pour the pumpkin cheesecake batter on top of the partially baked graham cracker crust. Use a spatula to smooth the batter over the cheesecake crust.
- Bake the Cheesecake: Place in a water bath (you’ll need a large roast pan for this) then place in the oven. Bake cheesecake in a water bath the entire time. The water bath helps the cheesecake bake slowly. It’ll also help the cheesecake cool slowly and come out crack free.
- Cool the Cheesecake: Cool the pumpkin cheesecake in the oven first, with the oven off, but without opening the oven door. Then cool the cheesecake at room temperature. Then chill in the fridge for at least 6 hours. Don’t attempt to slice this cheesecake when hot or even warm, it’ll ooze like lava.

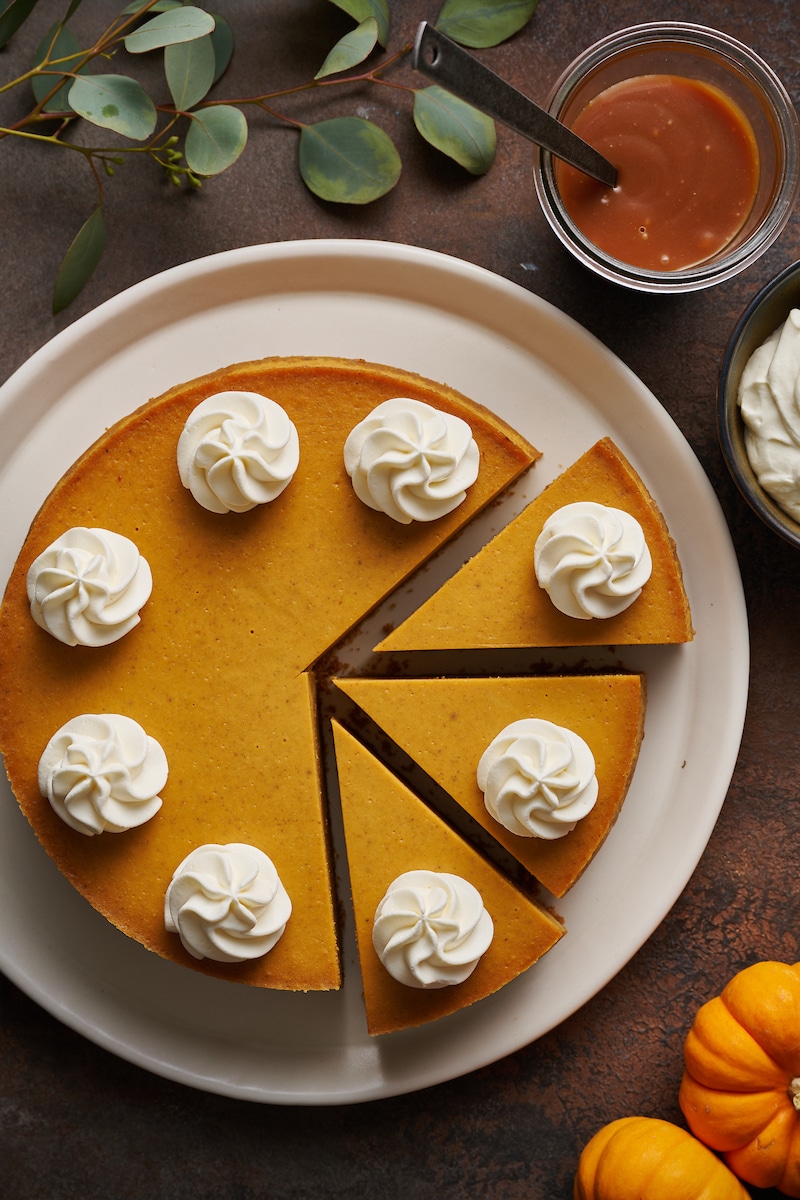
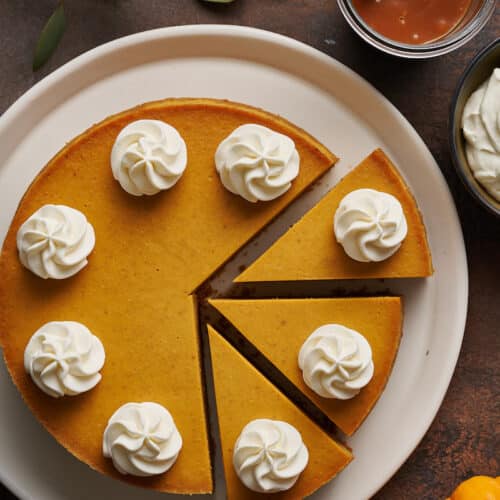
How to Decorate Pumpkin Cheesecake
- Top with swirls of whipped cream! Or top with a billowy pile of whipped cream for a different look. If you don’t want to make homemade whipped cream, you can use store-bought whipped cream or even ice cream.
- Drizzle with salted caramel sauce. I love using homemade but store-bought salted caramel sauce or even butterscotch sauce will work.
- Top with candied pecans or candied almonds! This is optional and obviously not recommended if you or any of your guests have nut allergies.
I hope this goes without saying, but all these decoration ideas are optional! This pumpkin cheesecake recipe is delish without any of these garnishes. Although I personally would be sad if my slice of pumpkin cheesecake didn’t have a swirl of homemade whipped cream on top!

Canned Pumpkin Puree vs Homemade Pumpkin Puree
- For the most consistent results, I suggest using canned pumpkin puree. Such as Libby’s.
- Homemade pumpkin puree and even organic pumpkin purees often contain excess moisture. Which can lead to a watery cheesecake recipe.
- If you experiment with homemade pumpkin puree, remove some of the moisture before use. Do this by patting the pumpkin puree with paper towels.
My professional opinion is to save the homemade pumpkin puree for soups and stews (or even pumpkin mac and cheese). And use canned pumpkin for baking. I pretty much exclusively use Libby’s because I know what to expect every time. You don’t want surprises when you’re baking – especially not when you’re baking for Thanksgiving dessert!

Pumpkin Cheesecake Recipes for Thanksgiving Dessert
- Mini Pumpkin Cheesecakes (perfect if you’re serving a crowd; you can easily double the recipe!)
- Pumpkin Pie Cheesecake Bars
- Creamy Greek Yogurt Pumpkin Pie Cheesecake
- Pumpkin Ricotta Cheesecake
Are you making this for Thanksgiving dessert this year? Or have you made it for a special fall celebration in the past? Let’s get this convo started in the comment section! I love hearing how you use my recipes for your special holiday gatherings.
Pumpkin Cheesecake Recipe
Ingredients
For the Graham Cracker Crust:
- 2 cups graham cracker crumbs
- 1/3 cup granulated sugar
- 1/4 teaspoon salt
- 1/2 cup (113g) unsalted butter melted
For the Pumpkin Pie Cheesecake Filling:
- 2 8 ounce pacakages (454g) full-fat brick-style cream cheese very soft
- 1 and 1/2 cups (340g) full-fat sour cream room temperature
- 3 large large eggs room temperature
- 2 large egg yolks room temperature
- 1 15 ounce can pumpkin puree
- 3/4 cup (159g) light brown sugar
- 3/4 cup (149g) granulated sugar
- 3/4 teaspoon ground cinnamon
- 1/8 teaspoon ground cloves
- 1/8 teaspoon ground nutmeg
- 1/4 teaspoon ground ginger
- 2 and 1/2 Tablespoons (35g) all-purpose flour
- 2 teaspoons vanilla extract
For the Whipped Cream:
- 1 cup heavy cream
- 1/4 cup confectioners’ sugar
- 1/2 teaspoon vanilla
Instructions
Make the crust:
- Preheat the oven to 350 degrees (F). Lightly spray a 9" springform pan with non-stick baking spray. Wrap the bottom and sides of the pan with heavy duty extra wide aluminum foil. Several diligent layers ensure no water creeps through when you place the pan in the water bath. Set aside.
- In a large bowl, combine the graham cracker crumbs, sugar, salt, and melted butter. Mix well.
- Press the crust into the prepared pan, pressing the crust down firmly and slightly up the sides. Bake in a preheated oven for 10 minutes. Place partially baked crust on a cooling rack and set aside while you prepare the filling. Reduce the oven to 325 degrees (F).
Make the filling:
- In a very large bowl using a hand held mixer, beat the cream cheese and sour cream until completely smooth, scraping the bowl as needed.
- Add the eggs, egg yolks, pumpkin puree, sugars, and spices, and beat on low speed until just combined. Don’t over mix here or the batter will rise and fall in the oven!
- Add flour and vanilla and beat on low for another 30 seconds, or until flour has completely disappeared into the batter. Don't over mix!
- Pour the filling into the crust, and spread evenly, smoothing the top. Place the springform pan into a large baking pan (with high sides) and fill the pan with 3 inches of hot water; this is your water bath.
- Place the cheesecake in the oven and bake for 30 minutes, then reduce the temperature to 300 degrees and continue baking for another 55 minutes.
- Turn the oven off but let the cheesecake sit, undisturbed inside the oven with the door shut, for 45 minutes. The cheesecake should still be slightly wiggly.
- Remove cheesecake from the oven, and run a knife very gently around the edge of the cake. Place the pumpkin cheesecake on a cooling rack and cool completely, then loosely cover the pan with saran wrap and chill in the refrigerator for at least 6 hours.
Make the Whipped Cream:
- In a large chilled bowl, using a handheld electric mixer, beat the heavy cream on medium-high speed, adding in the confectioners’ sugar a tablespoon at a time, until medium stiff peaks form. Add in the vanilla and beat for another minute or so. Swirl or dollops on top of cheesecake slices right before serving.
yummm! I need to try this recipe,
What is the temperature for the oven when baking it?
Greetings from Spain.
The whole water bath thing was intimidating until my daughter asked me to make 10 cheesecakes (without cracks) for her wedding. No pressure! I did some research and now use a tall sided cake pan just big enough to hold the springform pan. The springform pan sits in the cake pan and the cake pan sits right in the roasting pan that I use for the water bath. It works perfectly and now I make a lot more cheesecakes because I don’t have to wrap the bottom of the springform pan!
It is in the oven fingers crossed the co workers love it I had a good time making it
How did go? Eager to hear.
Question about the water bath technique: I wrapped my spring form pan with 2 layers of heavy duty foil all the way to the top, no tears or piercings. But when I took off the foil after baking, water stil came out!! I am thinking it got in there from the steam in the oven. Was I suppose to wrap the foil over the top edge of the pan and into the inside a bit to prevent this? But the cake rises to the top, and it might touch the foil if I fold it over like that? I’m making 1 more for the holidays….What to do?
The key to a good water bath is to use the xtra long roll of tin foil.. therefore there are no seams
I put my 9” spring pan in a 12” silicone pan no tin foil because I’ve had same problem also just tried a pan of water on below rack
Instead of wrapping the pan with the foil, can you put the water bath a rack below the cheesecake?
Yes, but it’s not a sure thing it won’t crack a little this way.
Ive been doing it that way as I had some leakage with the water bath, even though I thought I’d wrapped it well. Putting the water bath on the rack below has worked great for me, twice now. I just made this pumpkin cheesecake and it was fabulous! Baker By Nature is the only place I’m coming for cheesecake recipes! Thank you for sharing your talent with us!
This cheesecake is amazing. Thank you for sharing this with us. Remember to wrap your pan in HEAVY DUTY FOIL. She emphasizes do so. I didn’t listen, used normal foil, didn’t wrap the pan very well, and my crust got water on the edges. Please wrap the pan well. Thanks again. My family is in lobe with this cheesecake.
Hi Sean! So happy you loved this pumpkin cheesecake as much as we do 🙂 Happy holidays!
A little trick I’ve learned for cheesecakes is to wrap the spring form pan in 2 layers of heavy duty aluminum foil, ensuring you do not go above the level of the pan, AND wrap a crockpot liner around the foil. This ensures that NO WATER gets in. I have a perfect cheesecake every time. Just place the foiled spring form pan inside an open liner, scootch it all the way back, grab the excess in front, twist it while pulling up, and then tuck it in on itself. Then you can place the whole thing in your water bath and poof! Perfect cheesecake.
Im attempting to make this for Thanksgiving!!!
Yay! Good luck! Happy Thanksgiving 🙂
This looks delicious! I’m going to attempt it for Thanksgiving. Thanks for sharing.
Yay! Can’t wait to hear how it turns out 🙂
What a gorgeous cheesecake! I bet this would be perfect with a big mug of hot coffee. It’s the ideal dessert for fall!
Your photography skills are amazing. I come to your site all the time. I think you put a lot of attention to detail. Thx
Thank you so much, Iram. Your sweet comment just made my night 🙂 xoxo