Baker by Nature
A Baking Blog by Ashley Manila

Welcome to Baker by Nature! Aka a food lover's paradise!
Welcome to Baker by Nature! Aka a food lover's paradise!
I’m Ashley Manila, and I’m here to help you create a delicious life!
Good food is a cornerstone of happiness, and the best memories are created around the table… bar… kitchen island… or picnic blanket. I believe food should look just as good as it tastes, and that a little garnish goes a long way! But most of all, I know time is precious, so there’s no room in life for dry cake, burnt cookies, or bland pasta. I obsessively test recipes behind the scenes in pursuit of perfection, and strive to be a trusted recipe resource for you and your loved ones. Essentially, I deal with recipe flops and mountains of dirty dishes so you don’t have to! You just get the good stuff!
All of the recipes, menus, and entertaining ideas I share here are developed to help you feel confident, inspired, and joyful in the kitchen! I hope you’ll use them to bring people together, create long lasting memories, and build new traditions with your loved ones!
New? Start Here
Browse All CategoriesLooking For Something?
Seasonal Highlight Christmas in July
It’s never too early to think about Christmas…
Welcome to our 2nd annual Christmas in July celebration! During these slow Summer months, Christmas feels like it’s light-years away. But then, like clockwork, Thanksgiving rolls around and we’re all left wondering, Where did the time go? That’s where Christmas in July comes in! My goal for this tradition is to make your Summer experience magical with festive ideas, delicious recipes, and delightful gift ideas you can enjoy now, and later! I hope you’ll use these recipes as an excuse to learn new techniques, indulge in something luxuriously decadent, and gather with your loved ones around the table! Merry Christmas in July! Xx – Ashley
Boozy Recipes
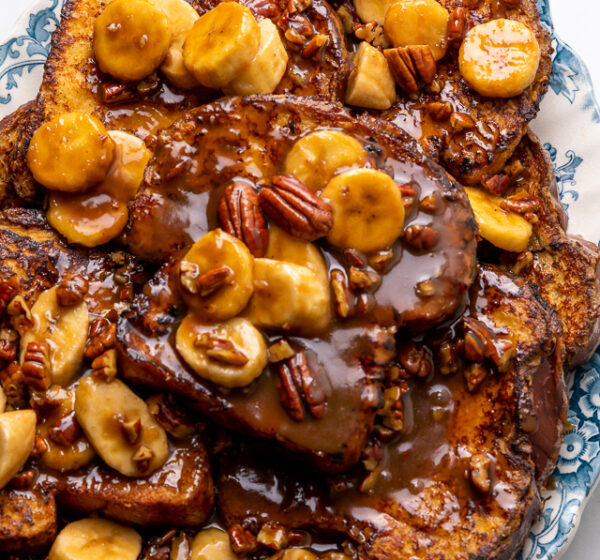
Easy Bananas Foster French Toast
This Easy Bananas Foster French Toast is one of our favorite breakfast recipes! Crispy slices of buttery brioche are topped with a delicious homemade bananas foster sauce made from dark rum, butter, brown sugar, heavy cream, and crunchy pecans. Delicious on it’s on, but devilishly good with whipped cream or vanilla ice cream! Bananas Foster…
Read the Blog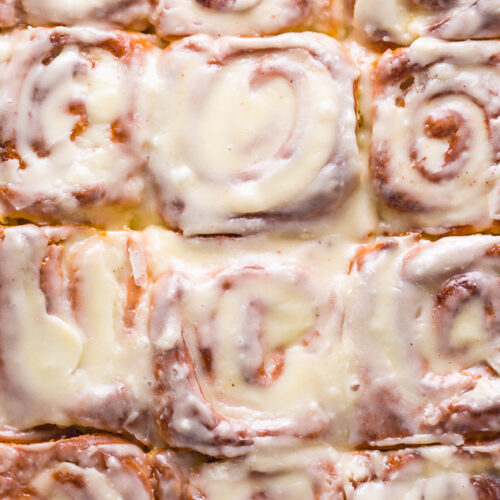

Christmas In July
Join the list!
Top 5 Most-Pinned Recipes
Recent Video
Appetizers
Soft Pretzel Garlic Knots
Soft Pretzel Garlic Knots are chewy, flavorful, and so delicious! Made with a simple soft pretzel dough, they’re shaped like knots and baked until golden brown. Then topped with garlic butter and parmesan cheese!
[adthrive-in-post-video-player video-id="bsHjApmF" upload-date="2021-03-19T13:38:50.000Z" name="Soft Pretzel Garlic Knots " description="Soft Pretzel Garlic Knots are chewy, flavorful, and so delicious! Made with a simple soft pretzel dough, they’re shaped like knots and baked until golden brown. Then topped with garlic butter and parmesan cheese!" player-type="default" override-embed="default"]
Spotlight on Recipes
Here’s what’s in season and trending right now on BBN!
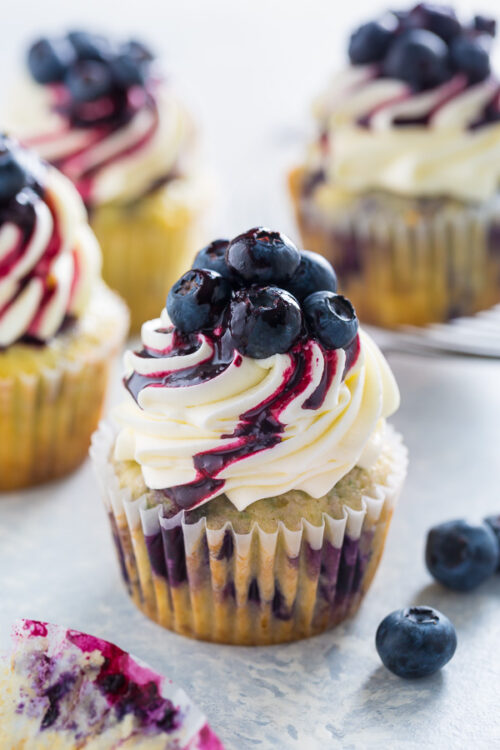
Blueberry Recipes
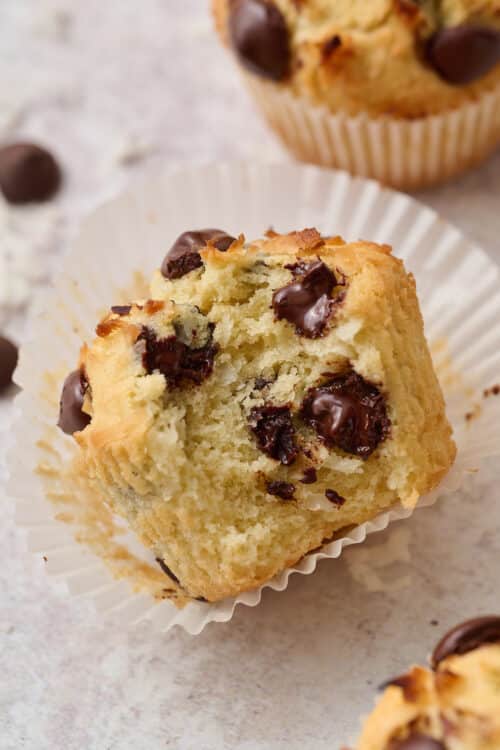
Banana Blueberry Muffins (Use Fresh or Frozen Blueberries!)
Breakfast
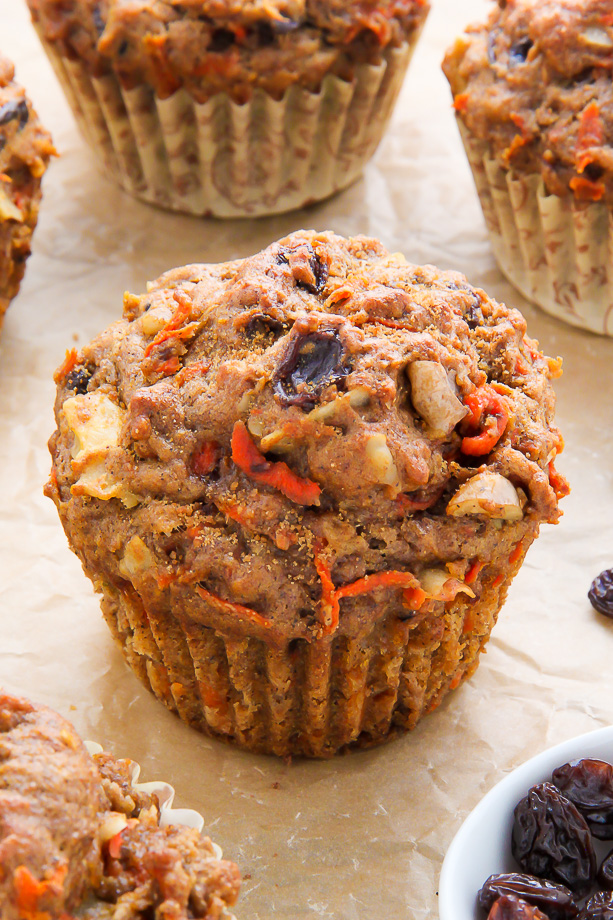
Best Morning Glory Muffins (Egg Free and Healthy)
Breakfast
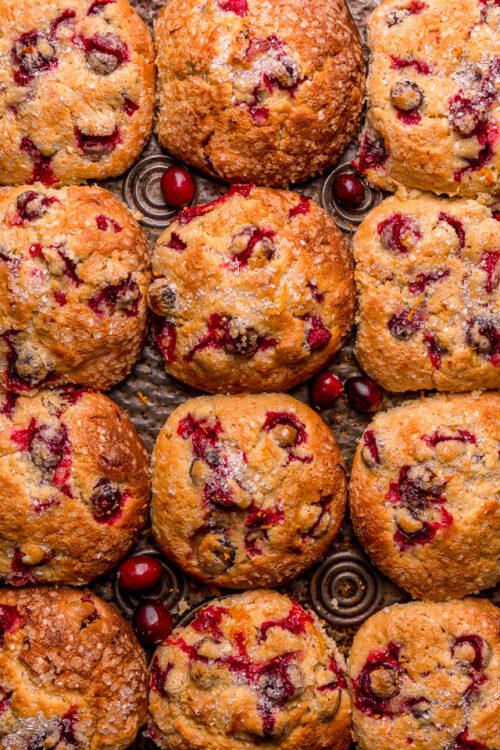
Cranberry Orange Muffins (Bakery-Style)
Apple Recipes
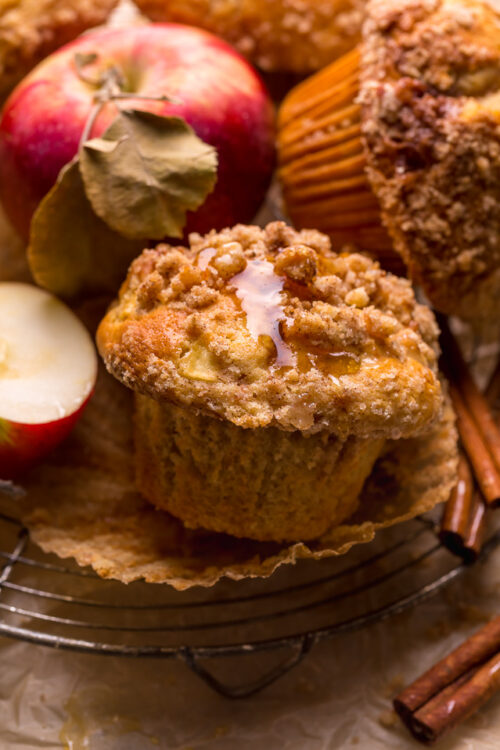
The Best Apple Crumb Muffins
Breakfast
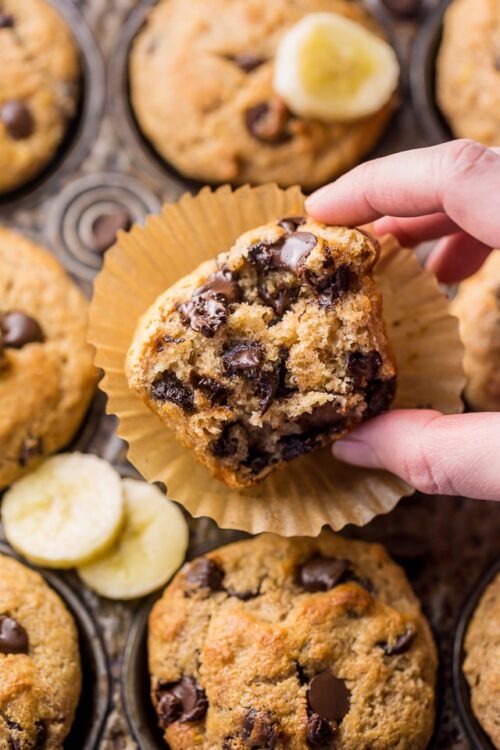
Healthier Banana Chocolate Chip Muffins
Breakfast
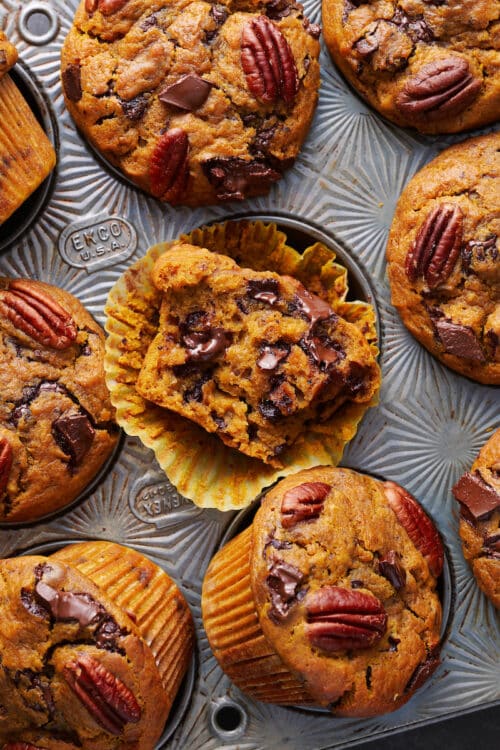
Pumpkin Chocolate Chip Muffins (Bakery-Style)
Blueberry Recipes
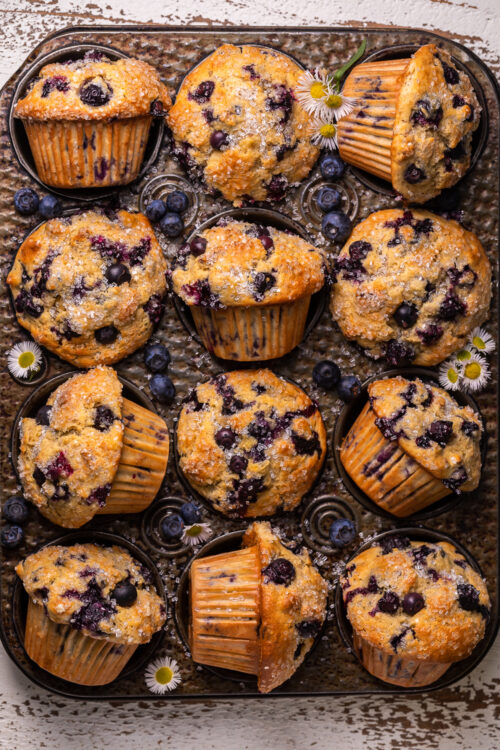
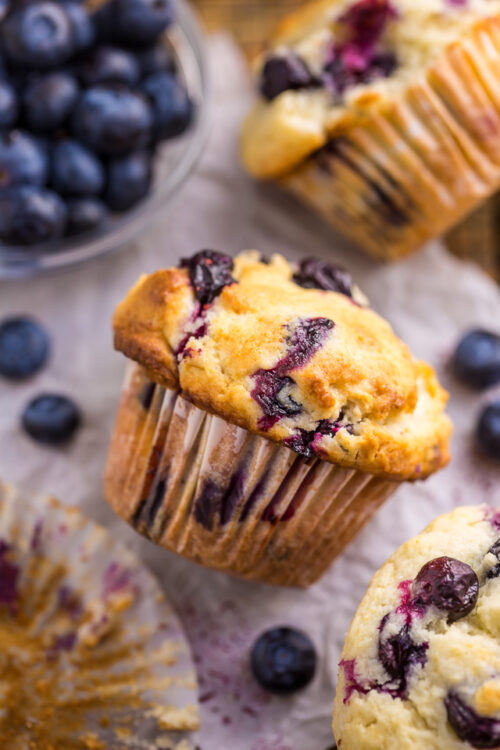
The Best Blueberry Muffin Recipe
Breakfast
Chocolate Chip Coconut Muffins
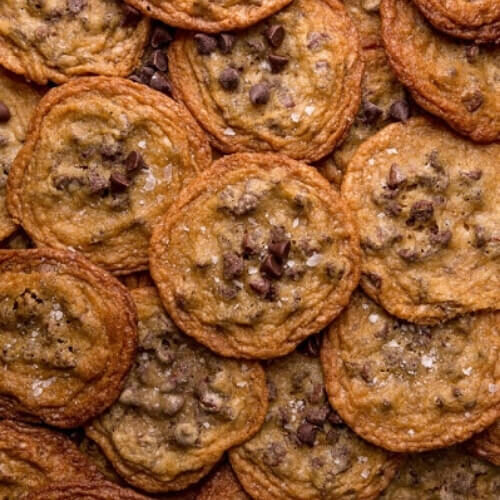
Chocolate
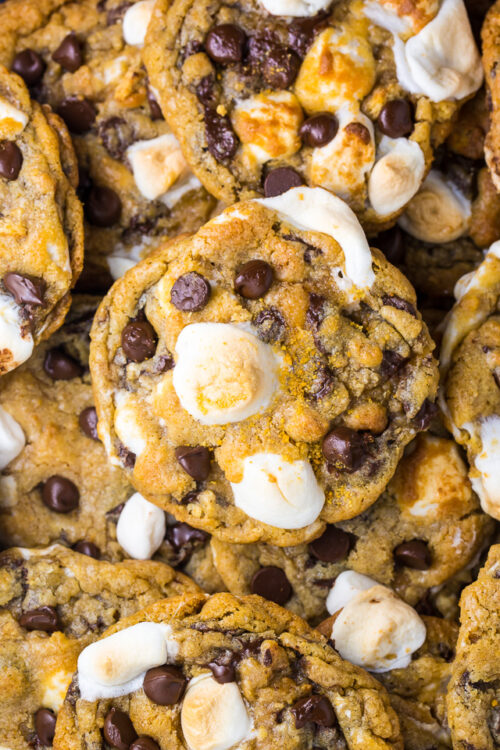
S’mores Chocolate Chip Cookies
Christmas in July
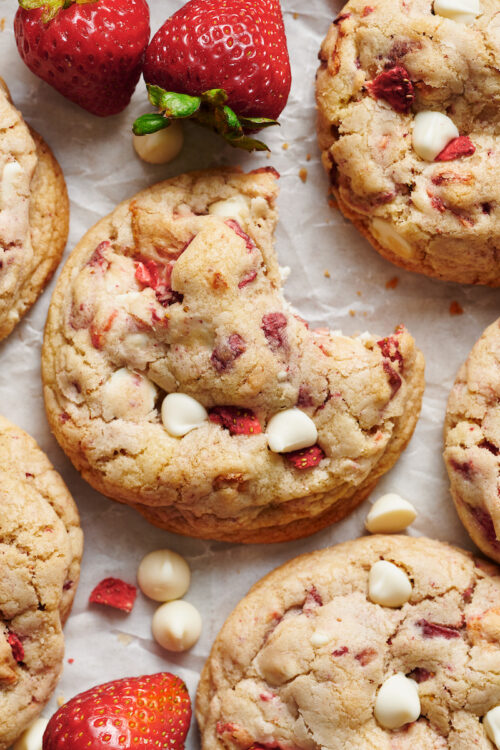
Strawberries and Cream Cookies
Chocolate
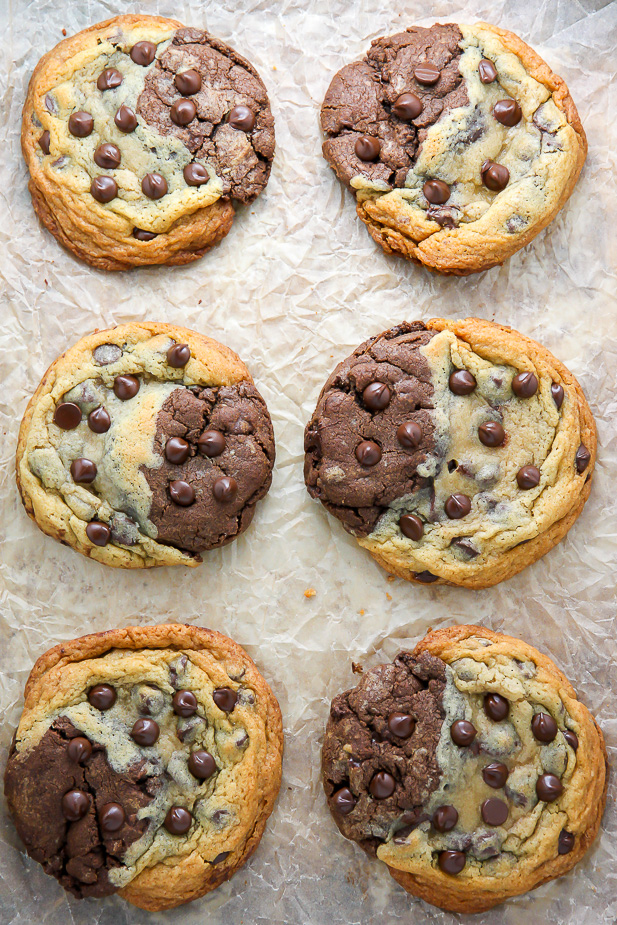
The Best Brookies (Half Chocolate Chip Cookie Half Brownies)

Christmas
Vegan Chocolate Chip Cookies (Egg Free)
Christmas
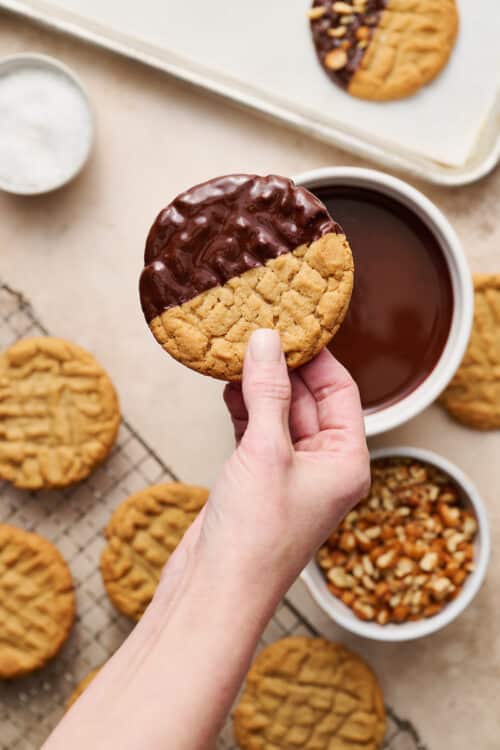
Perfect Peanut Butter Cookies Recipe
Christmas
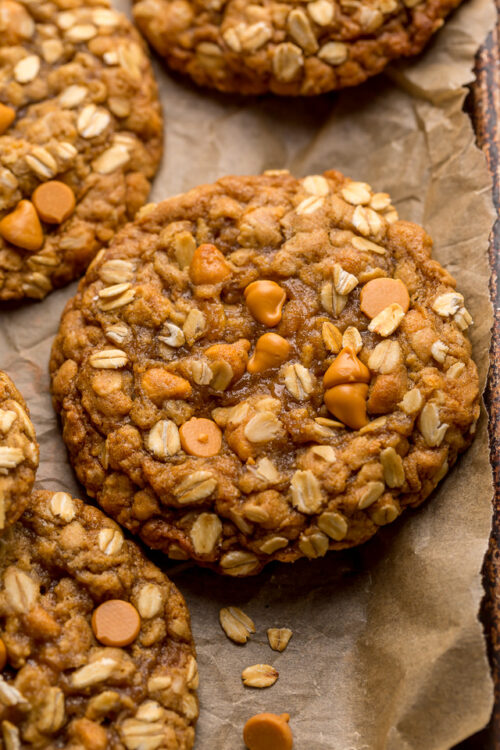
Butterscotch Oatmeal Cookies (Oatmeal Scotchies)
Christmas
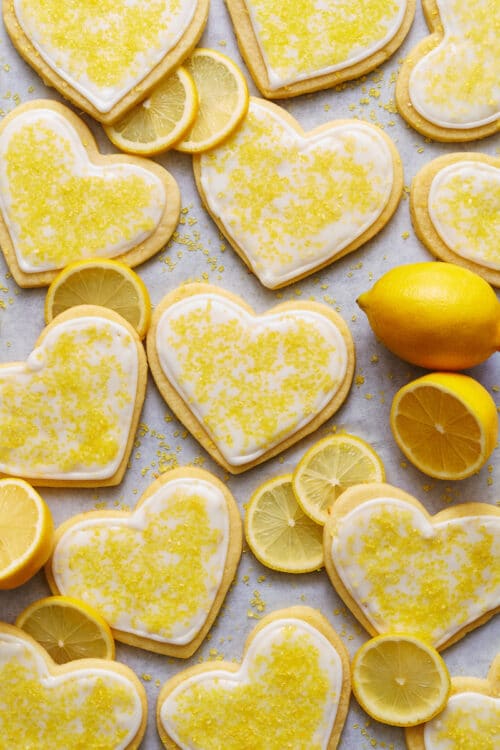
Iced Lemon Sugar Cookie Hearts
Chocolate
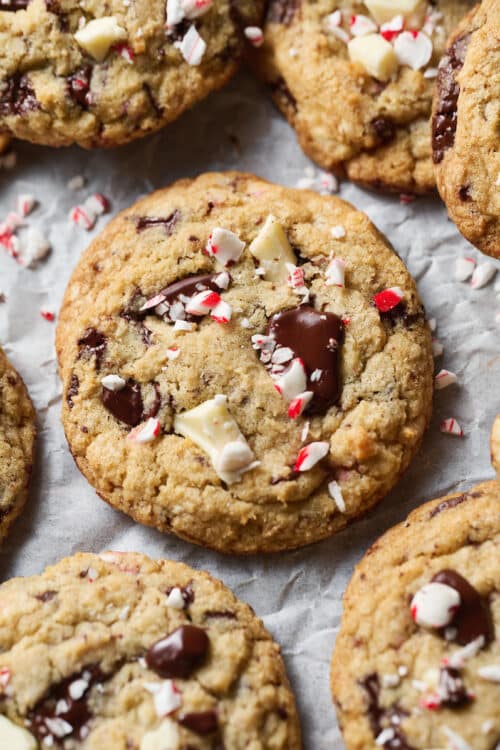
Chocolate Chip Candy Cane Cookies
Chocolate
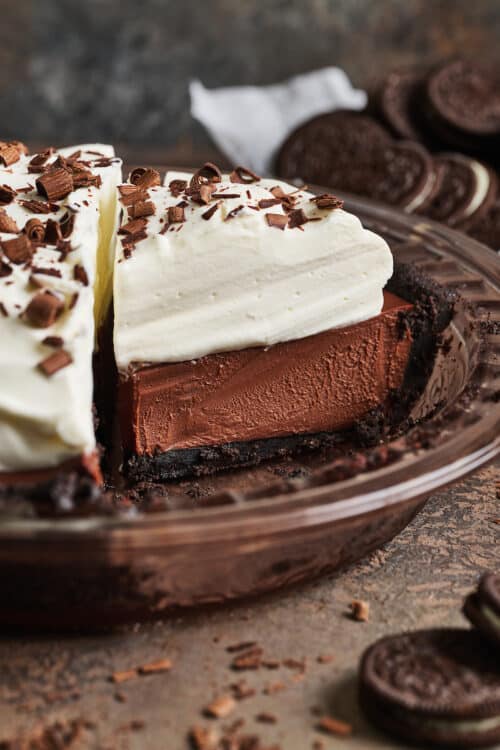
Chocolate Cream Pie (Oreo Pie Crust)
Christmas in July
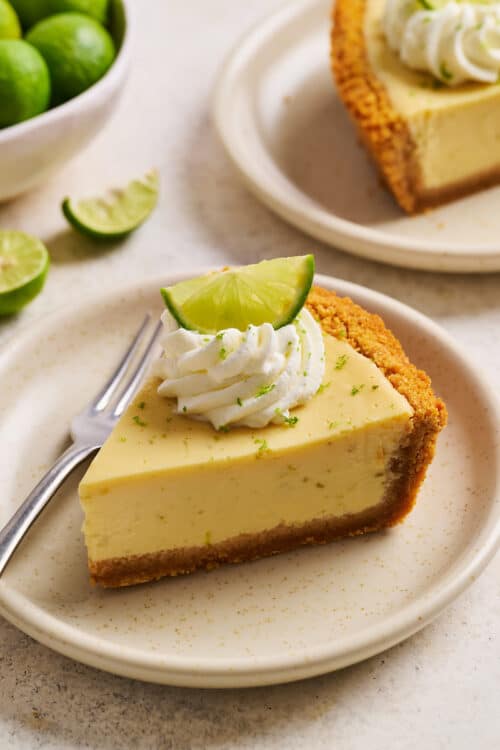
Key Lime Pie (Recipe Video)
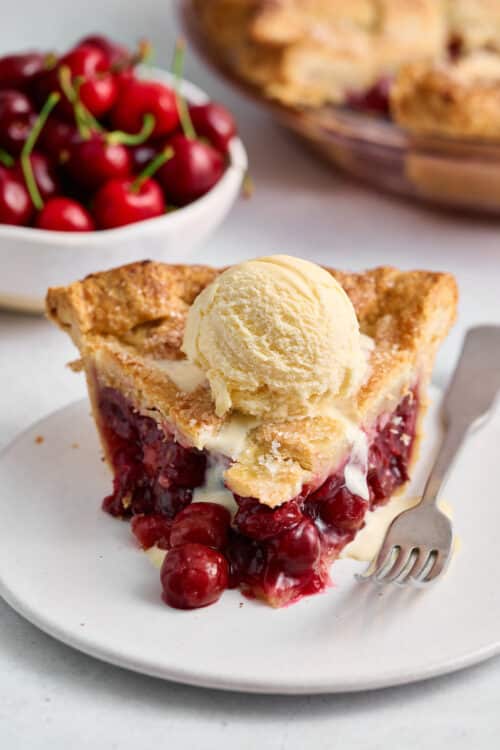
Cherry Recipes
Best Cherry Pie Recipe (Homemade Pie Crust)
Chocolate
No Bake Chocolate Peanut Butter Pie
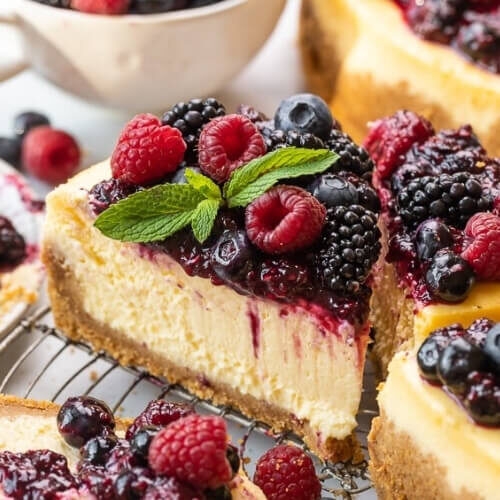
Cakes
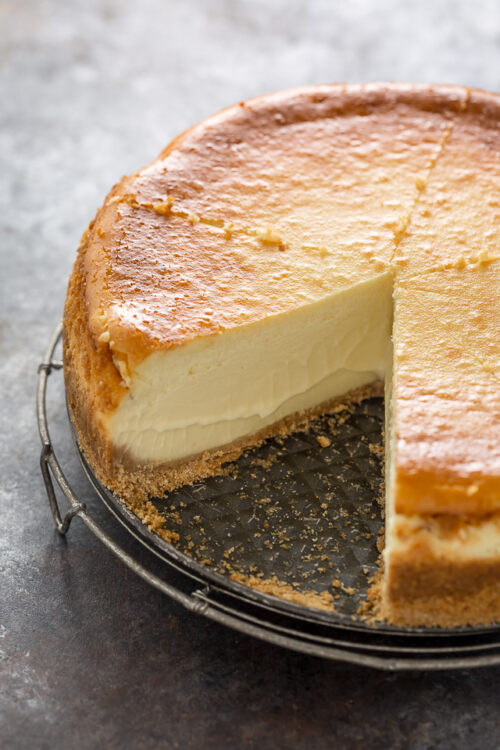
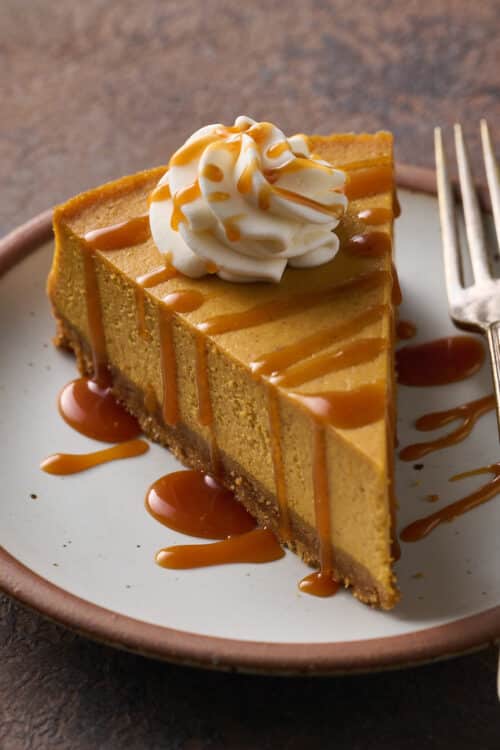
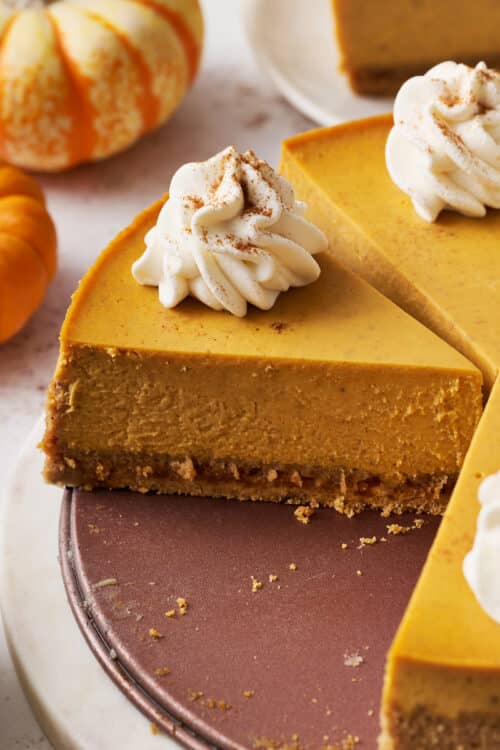
Pumpkin Cheesecake Recipe (Best Pumpkin Flavor)
Chocolate
Mini Chocolate Cream Pie Recipe
Cakes
Pumpkin Ricotta Cheesecake
Pie
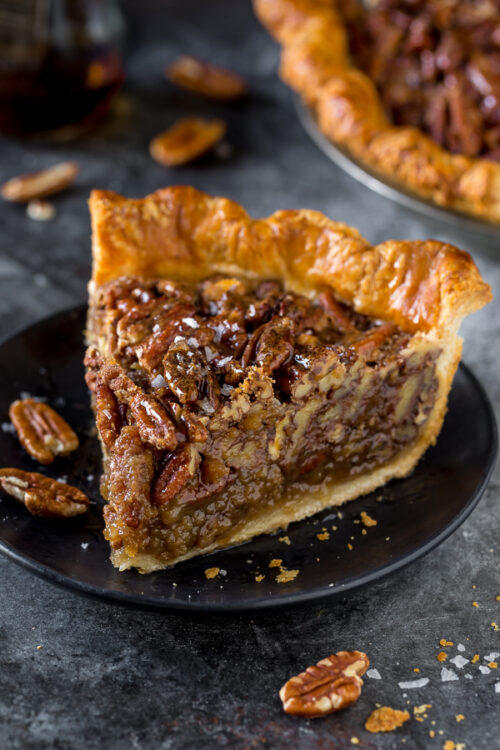
Pecan Pie with No Corn Syrup

Cocktails
The Best Moscow Mule Recipe

Brunch
Sunrise Strawberry Mimosa Recipe
Christmas
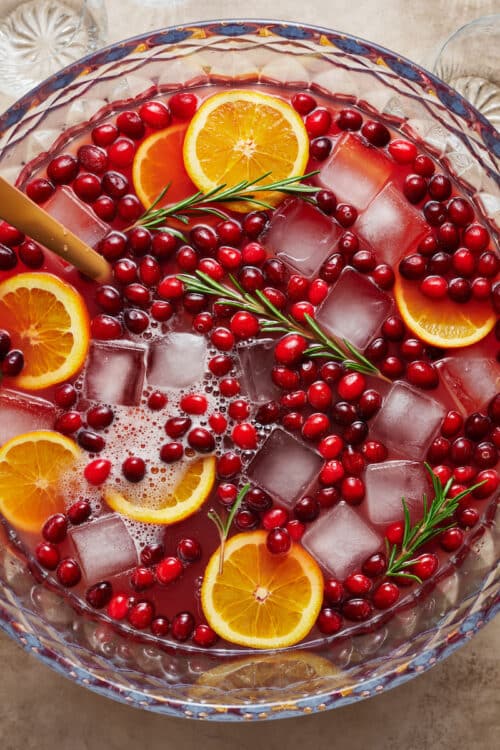
Festive Christmas Punch (Non-Alcoholic)
Apple Recipes
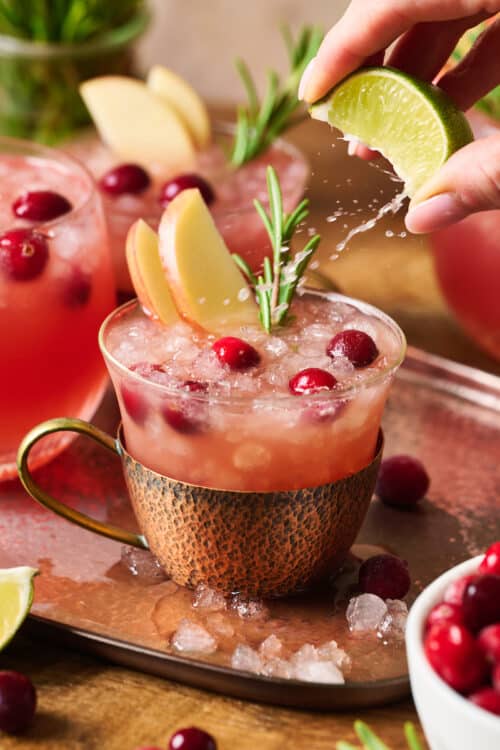
Cranberry Apple Moscow Mule Recipe
Boozy Recipes
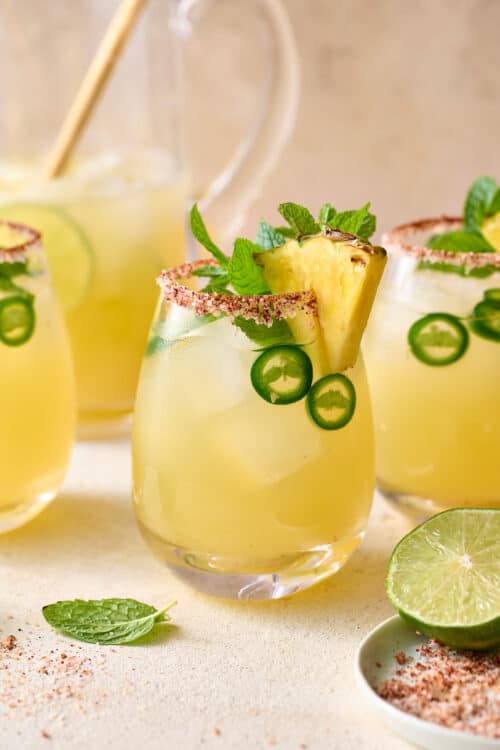
Spicy Pineapple Margaritas
Cinco de Mayo
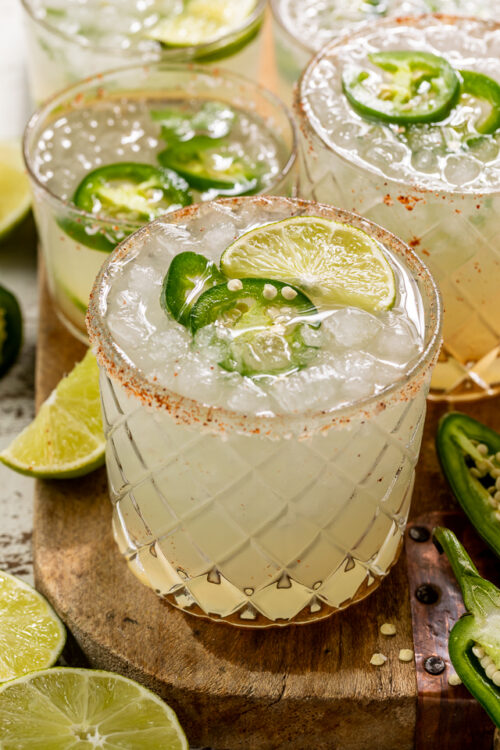
Spicy Jalapeño Margaritas for a Crowd
Cocktails
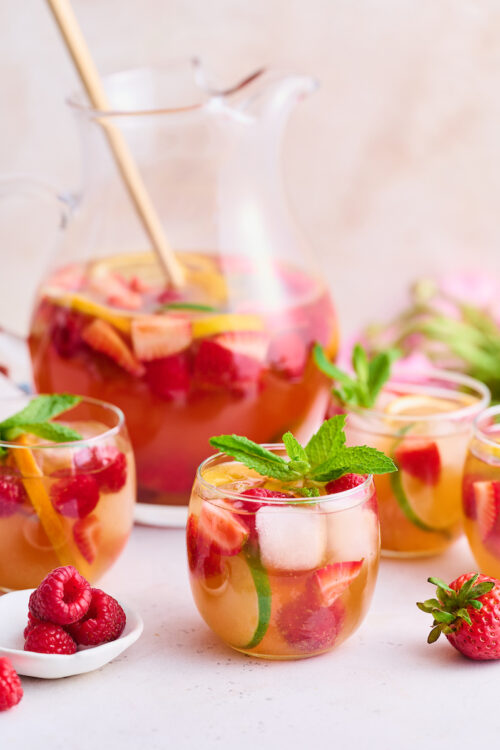
Refreshing Rosé Sangria
Cinco de Mayo
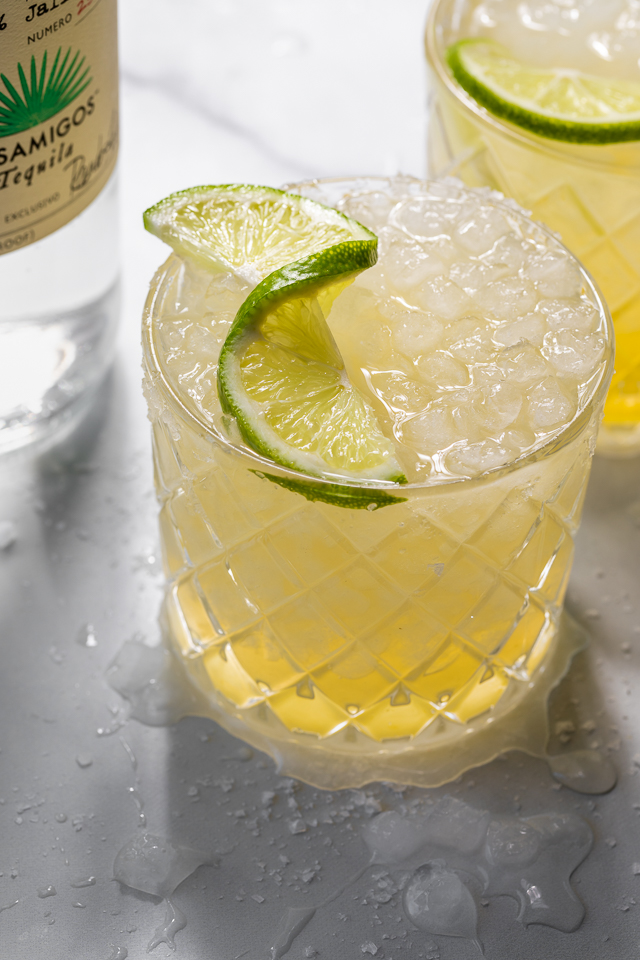
Best 5 Minute Margarita Recipe

Beef
Best Italian Meatball Sub (Family Approved Sandwich Recipe)
Christmas
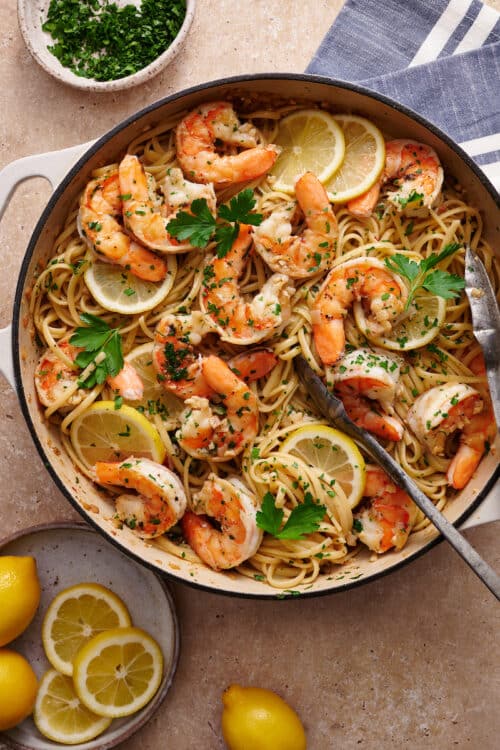
The Best Shrimp Scampi (Quick and Easy)
Christmas
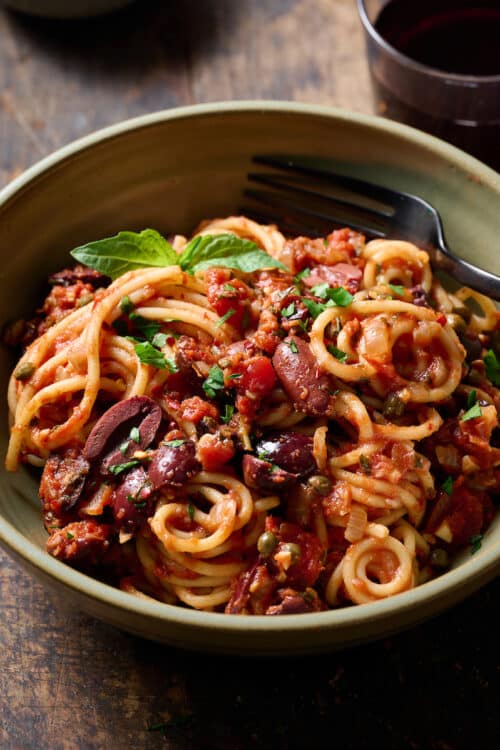
Puttanesca Sauce (Italian Pasta Recipe)
Christmas
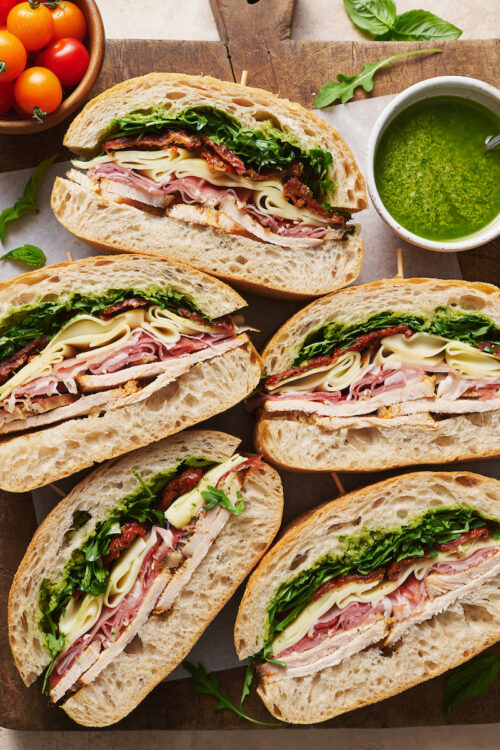
Italian Turkey Club Sandwiches

Beef
Mom’s Baked Ziti Recipe
Date Night Ideas
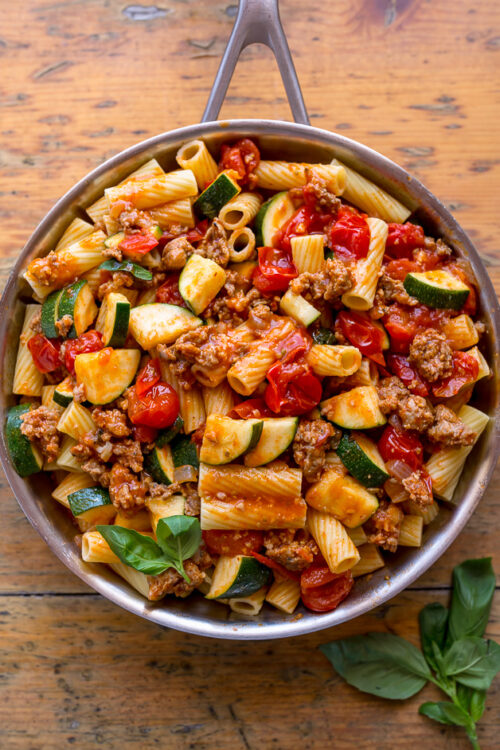
Rigatoni with Sausage, Tomatoes, and Zucchini
Beef
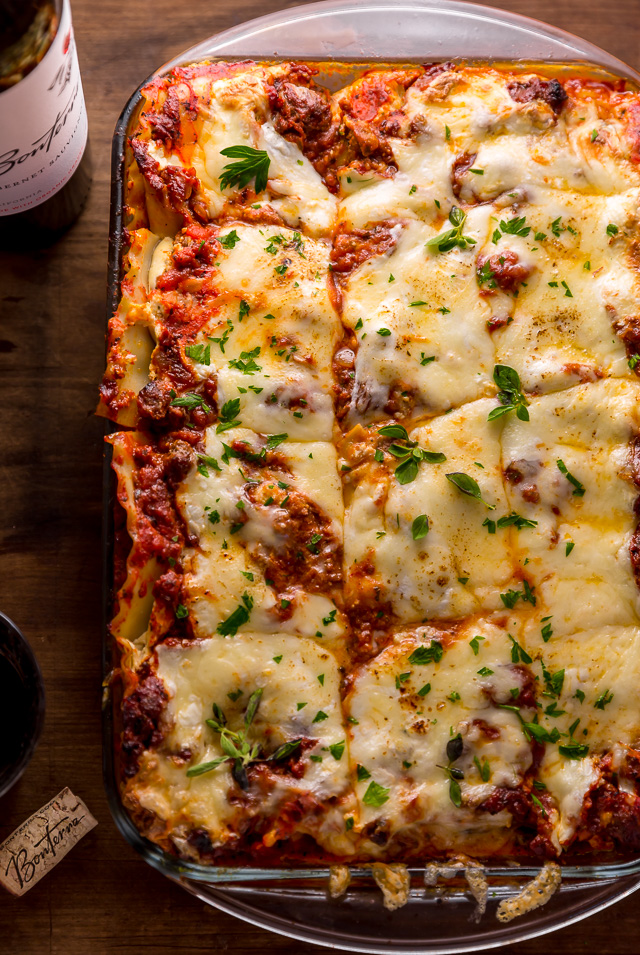
Homemade Lasagna Recipe
Dinner
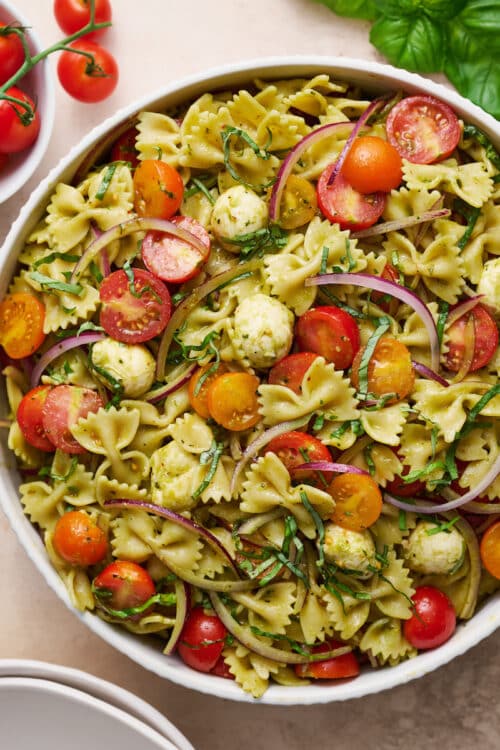
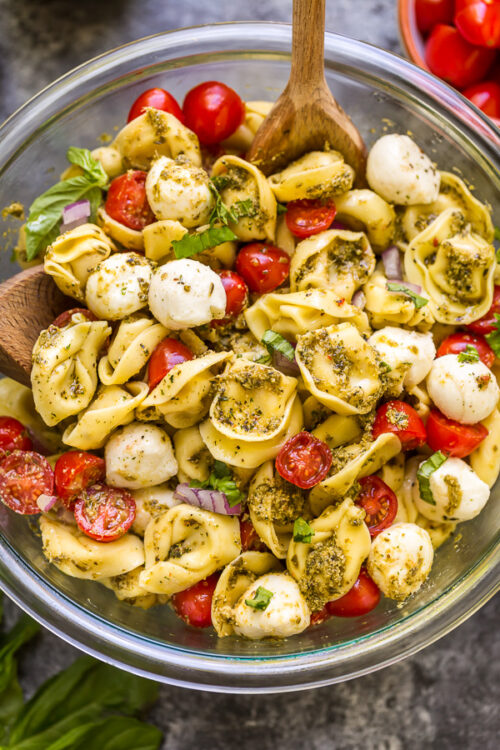
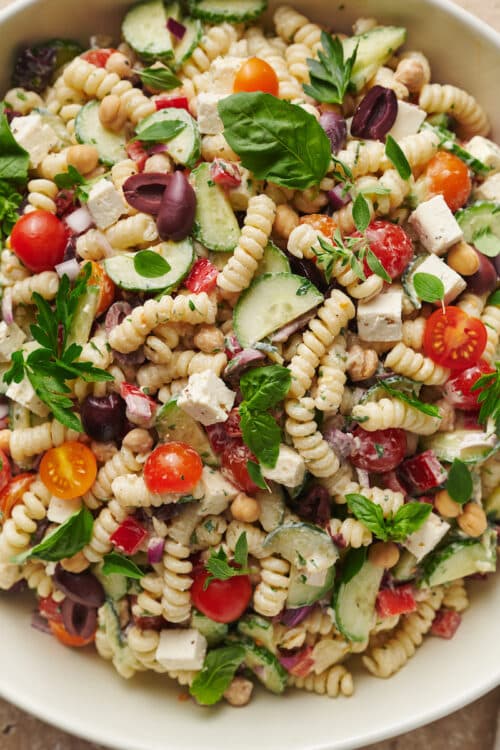
Greek Pasta Salad Recipe (Family Favorite)
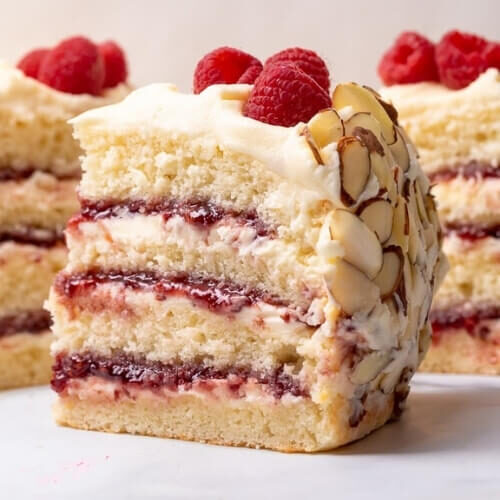
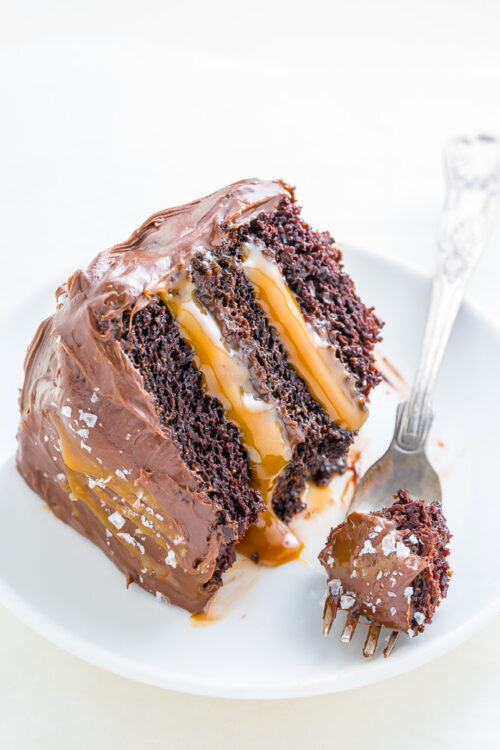
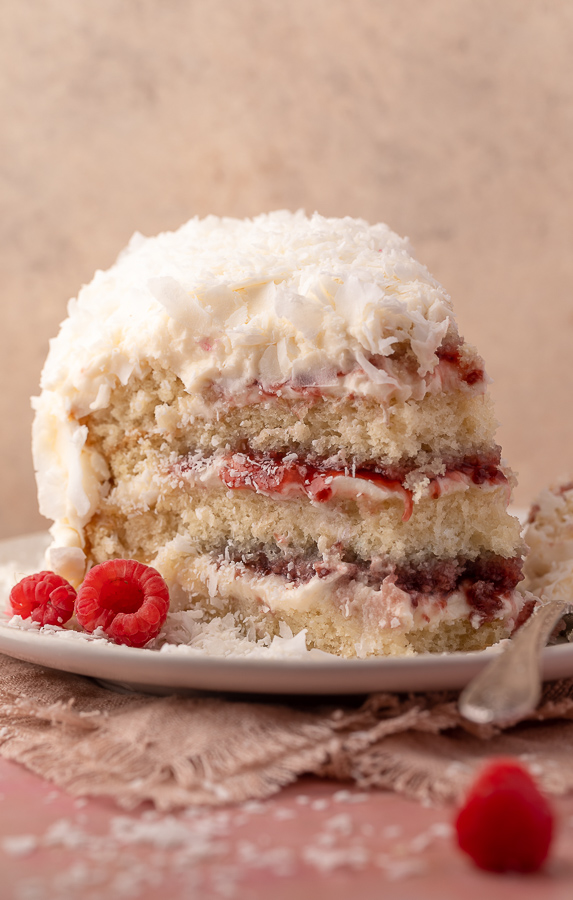
Highlight Cakes
The great Julia Child is rumored to have once said “a party without cake is just a meeting”… and I couldn’t agree more! Cakes are a symbol of celebration, and make any gathering feel more magical. And there’s something so satisfying about baking a cake from scratch. Which is why I have hundreds of cake recipes on this website… and see no end in sight! My recipes range from humble pound cakes to traditional favorites to jaw dropping layer cakes that are sure to earn you the title of star baker among your inner circle.
Cakes
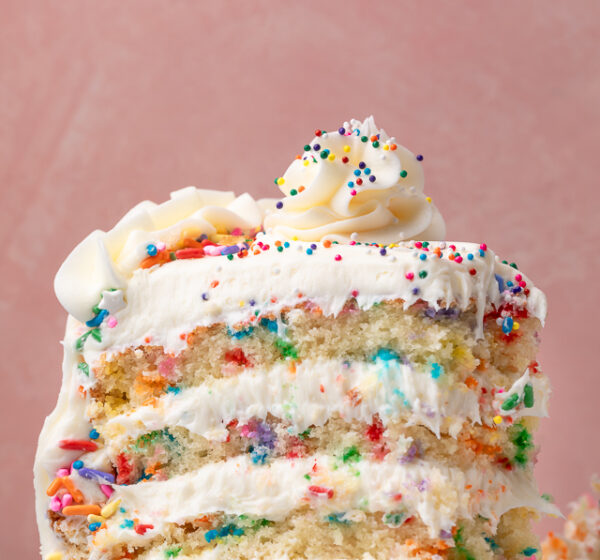
Funfetti Cake with Cream Cheese Frosting
Exploding with rainbow sprinkles, this super moist funfetti cake recipe is perfect birthday cake! The vanilla cake layers are heavenly moist and fluffy… and feature colorful sprinkles in every-single-bite. We top this colorful cake with classic cream cheese frosting and extra sprinkles. Jump to the recipe card for the full recipe and recipe video! Funfetti…
Read the Blog

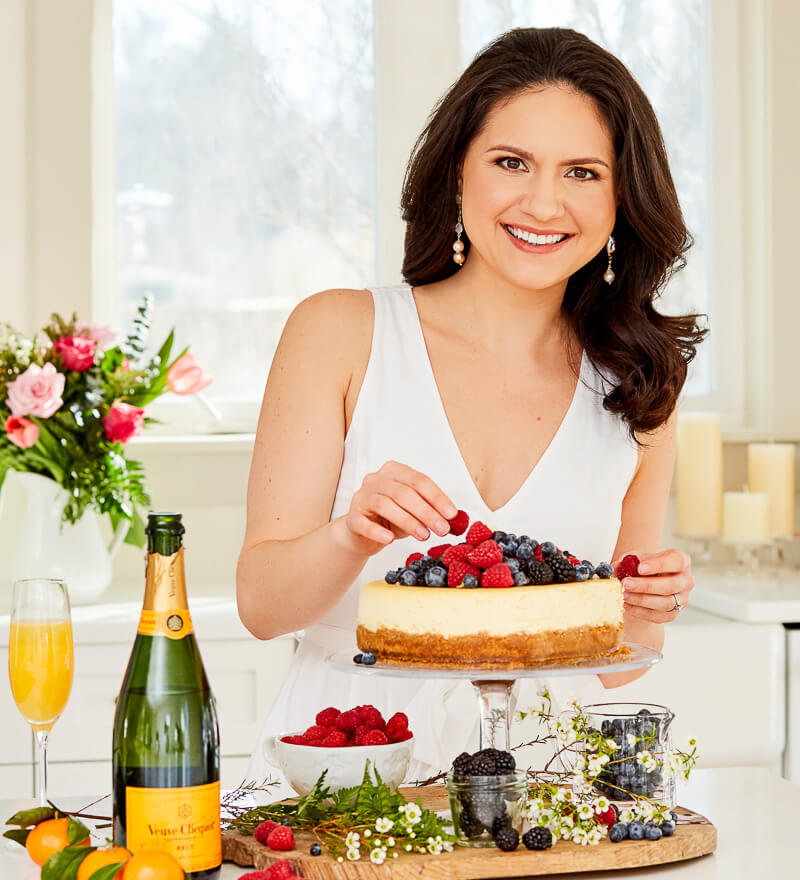
Meet Ashley
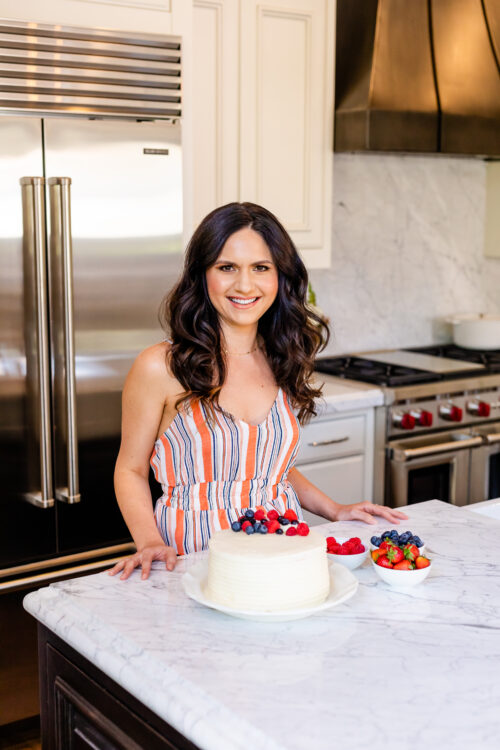
Ashley's Faves
Hi, I’m Ashley Manila and welcome to my blog, Baker by Nature.
Which is why I created BBN in 2010… and have been sharing recipes with the world ever since!
Every recipe I share here comes from the heart! And often reflects my favorite flavors and frequent cravings! So don’t be surprised if you see lots of indulgent desserts and comfort food! I’m passionate about pasta, crazy for cheesecake, and obsessed with Christmas! And if you put chocolate or red wine anywhere near me, they will definitely disappear within minutes!
These recipes are developed to help you build confidence, have more fun in the kitchen, and create delicious memories with your loved ones! Cheers to the sweet life! – Ashley
Read MoreOther Posts You Might Like
Sign Up for Our Newsletter
Sign up to receive new recipes and more.
Connect
Join our community on social media!


